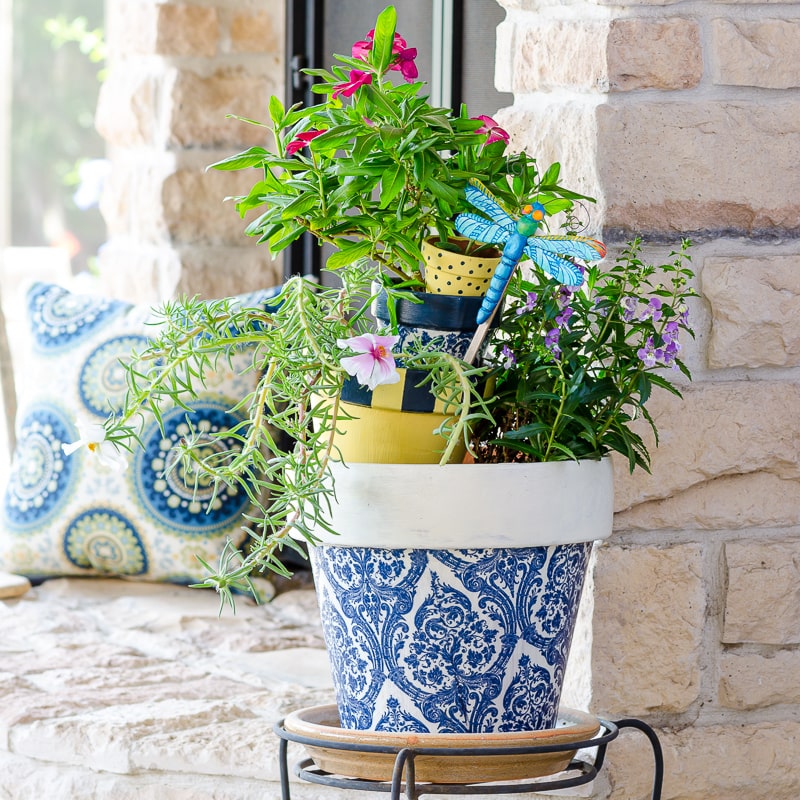
Painting Terracotta Pots
Your folders
Your folders
Total: 400
Servings: 1
Ingredients
Export 4 ingredients for grocery delivery
Instructions
Step 1
Before painting, make sure you remove any dirt or tags from the pot and let it dry completely. Immerse the pot in warm water to loosen any grime.
Step 2
If necessary, sand the pot with fine-grit sandpaper to smooth any rough ridges.
Step 3
Prime the inside and outside of the pot with 1-2 coats of the clay pot sealer and let it dry.
Step 4
Paint the pot with 2-3 coats of acrylic paint or spray paint until you reach the desired level of coverage. Wait for the paint to dry between coats, per the manufacturer’s instructions.
Step 5
Add any desired designs or stencils to the pot.
Step 6
Once dry, seal the pot with Outdoor Mod Podge. Make sure the pot is fully cured before exposing to the outdoors and filling with plants.