Paris The Goddess of LibertyPavlova with White Currant CurdPARIS FOOD AND FLORAL WORKSHOPEspresso Cinnamon BunsChocolate and Orange Babka WreathRicotta Cheesecake with White Chocolate and Pine NutsStrawberry and Carrot CakeFrench Crullers
Your folders
Your folders
Prep Time: 510
Cook Time: 104
Total: 90
Servings: 7
Author : stemsandforksstemsandforksBetty BinonstemsandforksstemsandforksBy Betty Binonstemsandforksstemsandforksstemsandforksstemsandforks

Ingredients
Export 11 ingredients for grocery delivery
Instructions
Step 1
DIRECTIONS - PAVLOVA:
Step 2
Preheat oven with rack in middle to 325 F and line a baking sheet with parchment paper and draw two 7 inch circles with a gap of at least 4 inches between the two circles
Step 3
In a very clean stand mixer with very clean whisk attachment, beat the egg whites and salt on low speed and work your way up gradually to medium high speed until soft peaks are formed
Step 4
Start adding the sugar on high speed a table spoon at a time until egg whites are stiff and shiny...test by holding bowl upside down...whites shouldn't move. As well, take a bit of meringue and test between fingers...should be smooth with no grittiness left from sugar...takes about 5-7 minutes
Step 5
Sift the cornstarch over the meringue and whisk again on medium for max 5 seconds
Step 6
With spatula, gently fold in the vanilla and vinegar into the meringue until combined
Step 7
Take spatula and evenly divide the meringue into the two circles traced on the parchment paper
Step 8
Take an off set spatula and smooth out into circles and smooth out tops...you can make swirls or kisses on the side for an interesting design
Step 9
Place baking tray with meringues in 325 F pre heated oven but immediately turn down to 300 F and bake for 1 hour.
Step 10
Once bake time is finished, turn oven off, but do not remove or open door to oven!!! Leave in oven for at least 2-3 more hours. !Important otherwise major cracking and/or sinking pavlova! (keep in mind a little sinking and a little cracking is okay!)
Step 11
Allow to complete cooling outside in room temperature
Step 12
DIRECTIONS - CURD:
Step 13
While the pavlova is baking, in a medium saucepan, cook the stemmed white currants and the water for about 5 minutes all the while mashing them with a potato masher
Step 14
Once the berries have reduced, remove from heat and push the currant puree through a fine mesh strainer into a bowl... (you'll be left with about ¾ cup of currant puree) ..discard seeds and skin
Step 15
In a clean saucepan over medium heat add the egg yolks, sugar and white currant puree until well mixed and dissolved- whisking constantly about 4 minutes
Step 16
Add butter cubes one at a time once mixture warms up and is lightly bubbling and whisk frequently for another 5 minutes or until the mixture is thick and bubbling
Step 17
Strain through sieve into a bowl (for quicker cooler, use a baking tray lined with parchment paper.)
Step 18
Cover with plastic film so it touches the curd and refrigerate
Step 19
DIRECTIONS - WHIPPED CREAM:
Step 20
Take a clean stand mixer bowl, the whisk attachment, the cream and pop in freezer for 10 minutes
Step 21
Put the cream, sugar and vanilla extract in the cold stand mixer bowl and whisk on high speed for 1-1½ minutes or until medium stiff peaks form - do not over mix!
Step 22
ASSEMBLING PAVLOVA:
Step 23
Place first meringue layer down on your cake stand, take an offset spatula and spread the cooled down white currant curd evenly over the layer
Step 24
Place next meringue layer on top ...top with all the whipped cream
Step 25
Garnish with some white currant berries
Step 26
Keep refrigerated for up to 2 days, however be aware pav will become soggy. Best to consume same day it's been prepared.
Step 27
Pavlova discs can be made a few days in advance and stored at room temperature in an air tight container with parchment paper between the discs to avoid them from sticking
Step 28
Instructions for the dough Scald 1/3 cup milk in small sauce pan till small bubbles form at side of pan or until it reaches a temperature of 110-120 F and is very warm to the touch but not so hot that it’s unbearable to touch Gently stir in the teaspoon of sugar and tablespoon of yeast. Set aside to poof to double it’s size… about 8-10 minutes In stand mixer with paddle attachment, mix the buttermilk, the eggs, salt and 1/2 cup sugar with the 6 tablespoons of very soft room temperature butter… Don’t worry too much if the butter is lumpy. Once the yeast has poofed pour into the stand mixer bowl and stir for a few seconds Swap out the paddle attachment now with the hook attachment Add about half the flour in until shaggy and somewhat combined, then add the rest of the flour and knead for about 8 minutes on low speed. Dough should be smooth, shiny, tacky and stick to the bottom of the bowl (not the sides) don’t be tempted to keep adding flour. Only add more if it’s sticking to sides and bottom…and add a spoonful at a time only. Less is more here. If it’s too dry, add a spoon of milk Transfer to a lightly oiled bowl keeping in mind the dough will double…cover with plastic and allow to rise in a warm part of home…2 - 2 1/2 hours Line with parchment or generously butter a 12 inch baking pan or pizza pan (with no holes on the bottom. I used a pizza pan) and set aside In a medium bowl, mix the cinnamon, brown sugar and espresso powder together and set aside Once the dough has risen to at least double, lightly dust a work surface with flour Punch dough down and transfer to counter. Take sharp serrated knife or dough scraper and cut the dough into 4 equal parts. Roll each of the pieces out in a rectangular shape about 8 inches by 12 inches Slather/spread about two tablespoons (from the half cup butter) on each rectangle using your fingers and leaving about half an inch on the edge of the entire border Sprinkle and spread about a quarter of the filling per rectangle and roll snuggly Not mandatory but very helpful at this point to chill the rolled dough for about 15 minutes before proceeding to next step - slightly chilled dough makes it easier to work with. Once all four have been rolled, take a very sharp serrated knife and cut down lengthwise centre and set aside You should have 8 tendrils now Refer to pics above for the following steps Take the tendril and bend at the center to make a “U” Twist/braid the the two 'legs' so they weave together Now starting from the center end, roll the weaved tendril all the way in a swirl motion. Once you’ve reached the end, tuck that tail under the bun Repeat with all 8 tendrils Arrange your rosy buns on your baking pan or pizza pan and completely cover with a damp cheesecloth or light kitchen towel (dampen cloths by soaking with water than wringing out excess water) Place in warm area for the second rise (until they’ve almost doubled in size) about 1 hour Preheat oven to 375 F and place rack to middle position in oven Brush on/pour over the 1/4 cup of cream all over the buns…make sure you use the entire 1/4 cup…its okay if it puddles between the buns…the liquid will get absorbed as it bakes Bake for 20-22 minutes…I usually tent mine with aluminum foil for the last 5 minutes as my buns tend to brown rather quickly towards the end. All ovens vary, so keep an eye on your buns to avoid over browning! They are ready once the internal temperature in the center of the buns reads 185 F on a thermometer and no longer looks doughy. While the buns are baking, prepare the frosting With paddle attachment, beat the room temperature cream cheese until smooth and creamy, then add the butter and beat until fully incorporated (if it gets lumpy, blow a hair dryer over the frosting while it’s beating for a few seconds) Add the powdered sugar and beat until smooth and silky
Step 29
There are a few ways to serve with the frosting. You can slather the entire pan of buns with the frosting while they are still a bit warm (not hot) Probably the most appetizing, but also the messiest and unestheitcally pleasing as the frosting completely covers the beautiful rosette buns The other way to serve is by lightly drizzling the frosting over the buns with a spoon or fork once they’ve cooled and serving with a heaping dollup of extra frosting on the side. Or serve these buns as is with a side of frosting for dunking. Anyway you pick, it’ll all be super yummy and fun.
Top similar recipes
Curated for youYour folders
 467 views
White chocolate and raspberry chees...
bbc.co.uk
4.2
(32)
30 minutes
Your folders
 60 views
White chocolate and strawberry chee...
womensweeklyfood.com.au
30 minutes
Your folders
 70 views
Mango and white chocolate cheesecak...
womensweeklyfood.com.au
Your folders

 247 views
Babka with Chocolate and Hazelnut
polishhousewife.com
50 minutes
Your folders

 338 views
Mango and white chocolate cheesecak...
coles.com.au
1 hours
Your folders
 56 views
Easy white chocolate and raspberry ...
bbc.co.uk
5.0
(3)
1 hours
Your folders

 114 views
Raspberry and white chocolate chees...
taste.com.au
4.5
(10)
Your folders
 30 views
White chocolate and berry cheesecak...
womensweeklyfood.com.au
180 minutes
Your folders

 133 views
White Chocolate and Raspberry Chees...
bestrecipes.com.au
4.9
(74)
5 minutes
Your folders
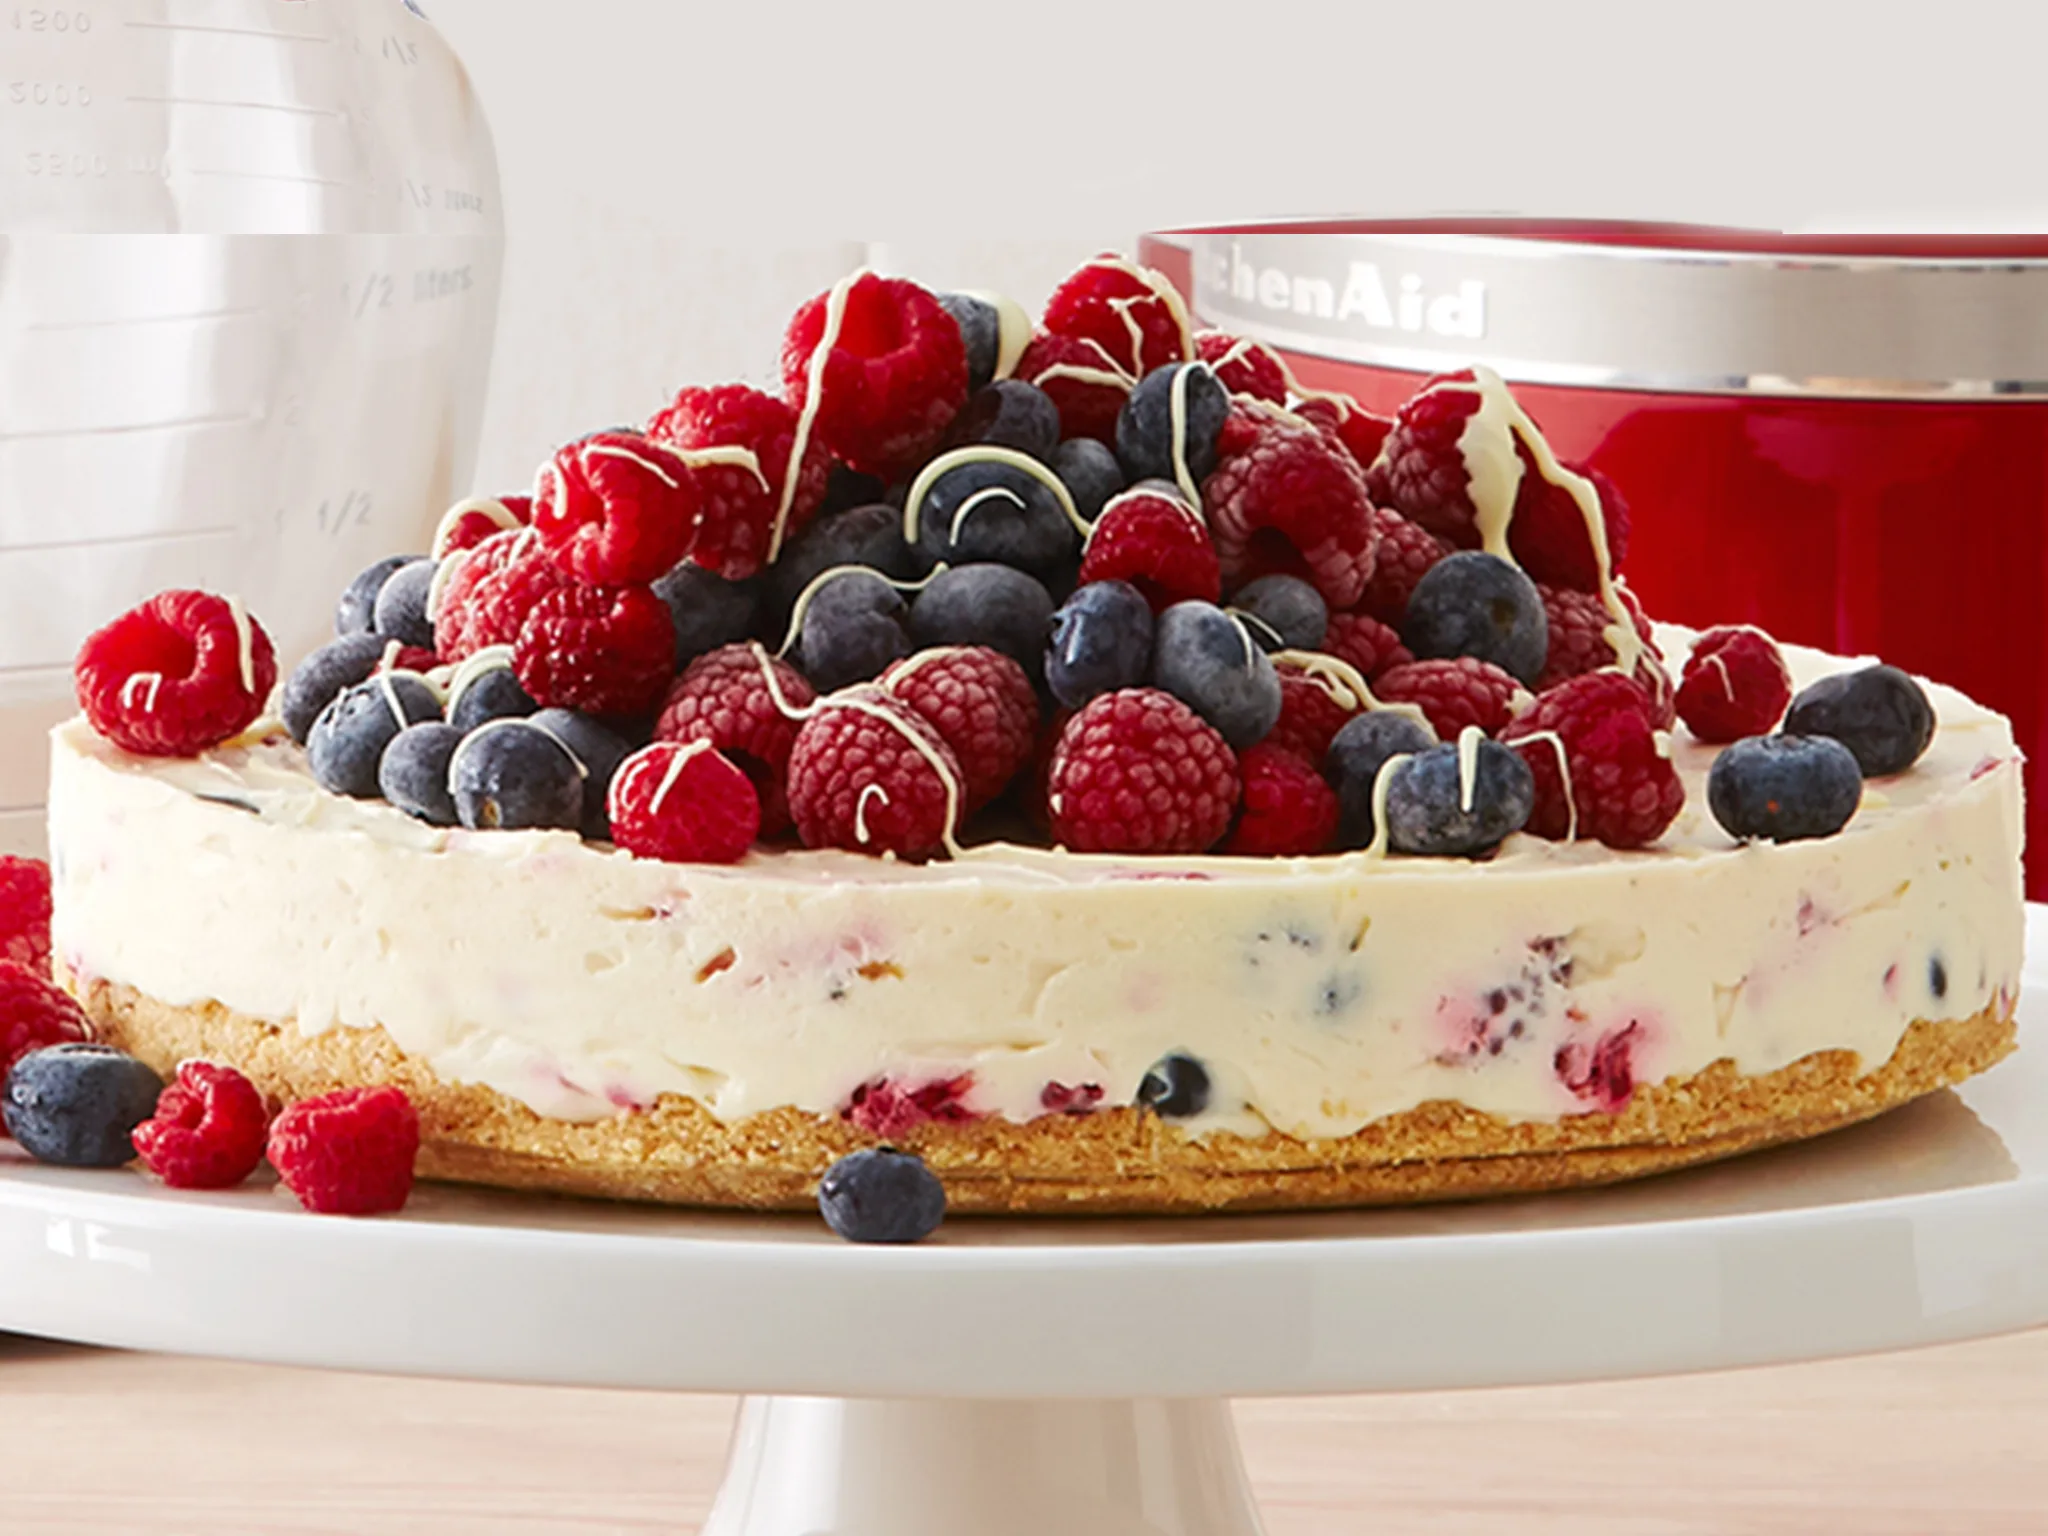
 80 views
White chocolate and mixed berry che...
womensweeklyfood.com.au
5 minutes
Your folders
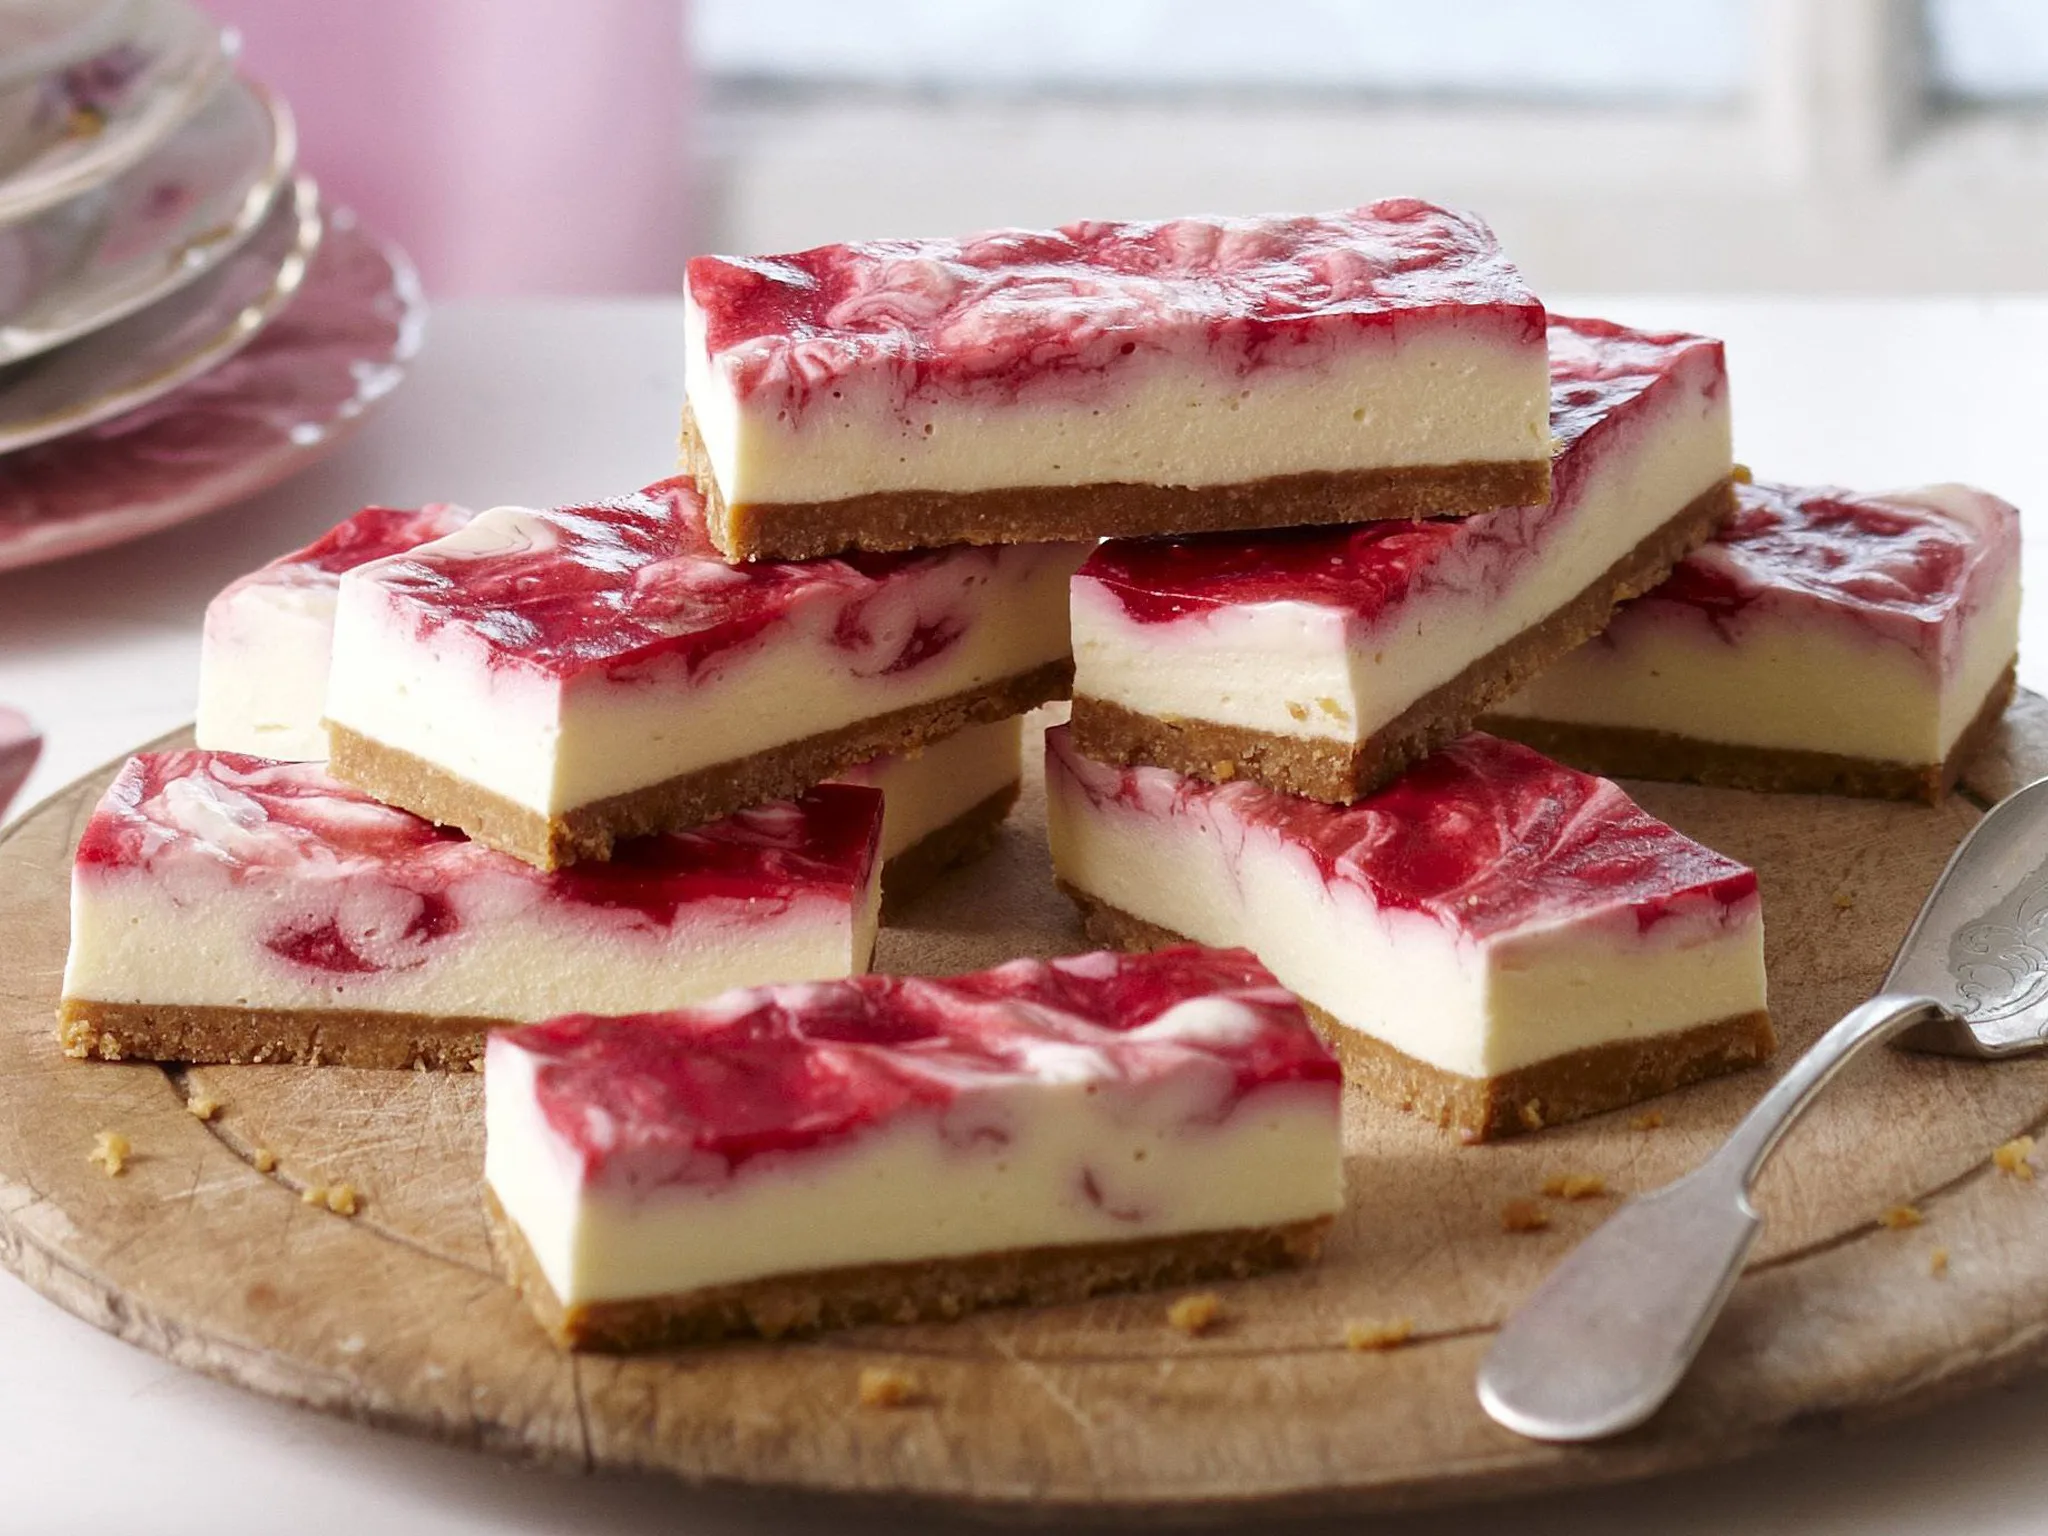
 83 views
White chocolate and raspberry swirl...
womensweeklyfood.com.au
30 minutes
Your folders
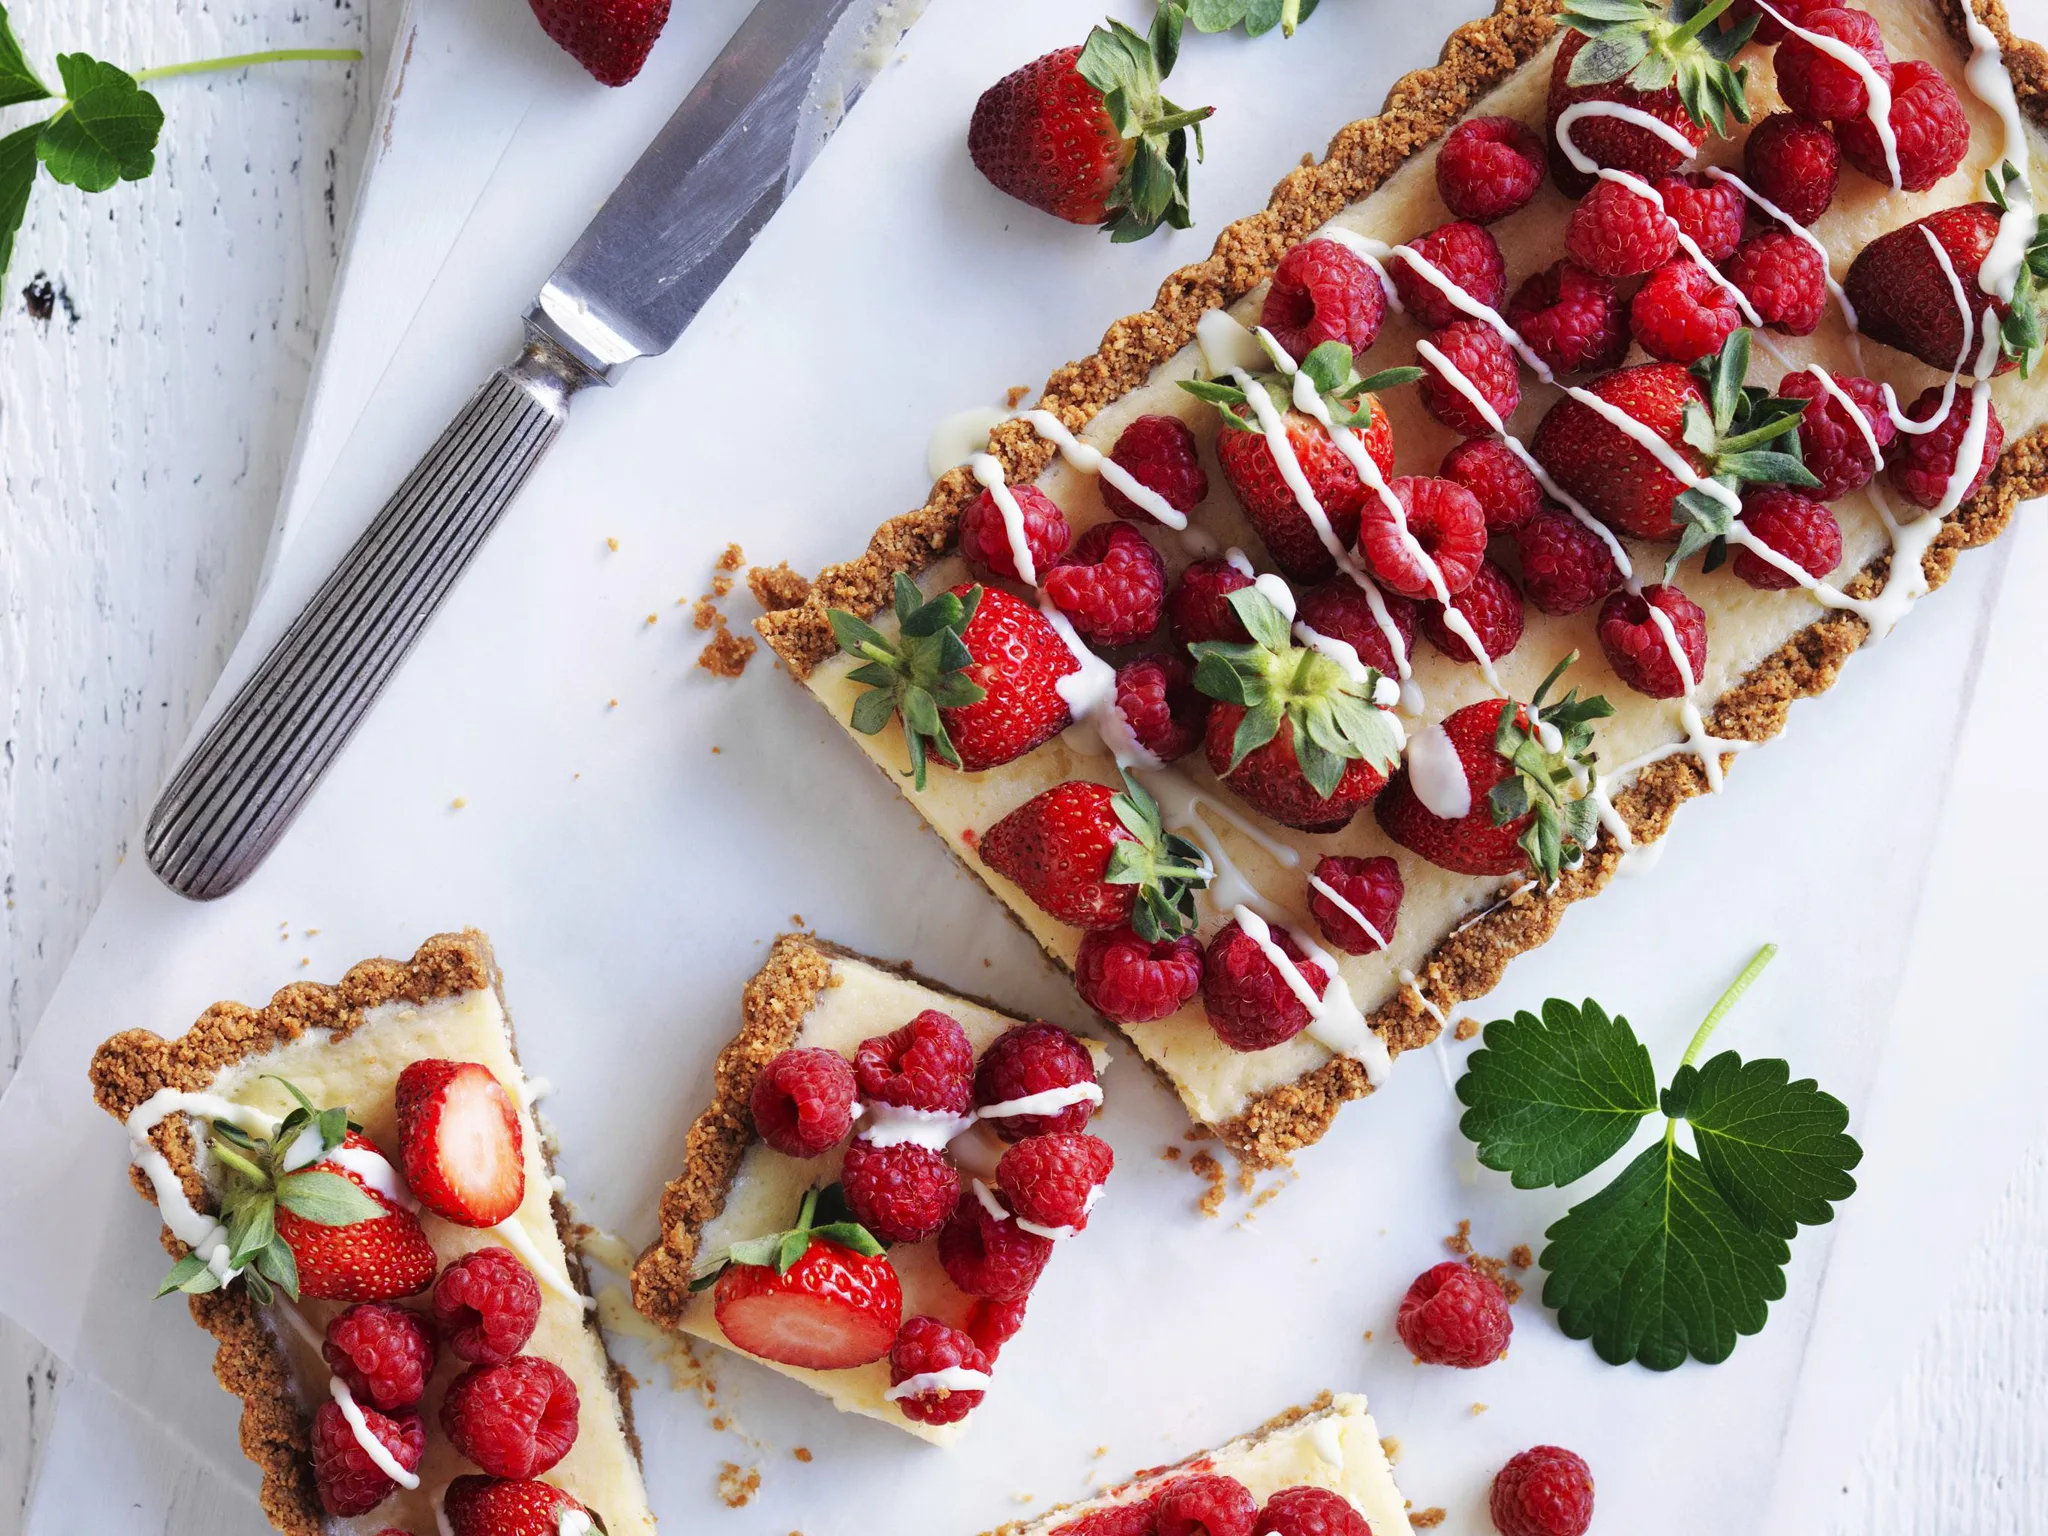
 60 views
Strawberry and raspberry white choc...
womensweeklyfood.com.au
70 minutes
Your folders

 228 views
White Bean and Carrot Tagine
recipes.instantpot.com
5.0
(2)
60 minutes
Your folders

 401 views
carrot and white bean burgers
smittenkitchen.com
Your folders

 131 views
White Chocolate Creme Brûlée Recipe...
chefjeanpierre.com
4.5
(20)
Your folders
 32 views
White Chocolate Creme Brûlée Recipe...
chefjeanpierre.com
Your folders

 250 views
Vegan Cinnamon and Macadamia Biscui...
theveganlarder.com
20 minutes
Your folders

 52 views
White chocolate and pear cookies wi...
theguardian.com
35 minutes
Your folders

 139 views
White Choc And Raspberry Cheesecake
recipes.com.au