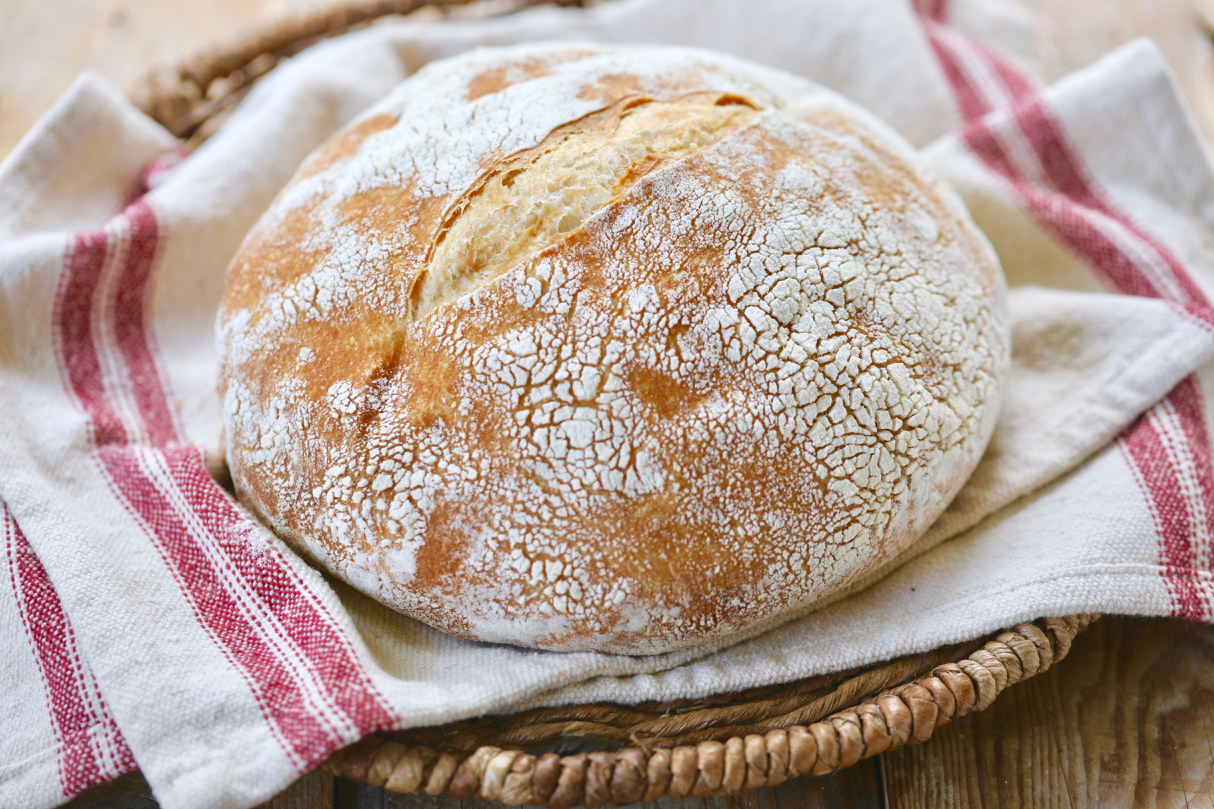
Perfectly Crusty Sourdough Bread Recipe For Beginners
4.7
(428)
Your folders
Your folders
Prep Time: 60 minutes
Cook Time: 60 minutes
Servings: 6
Author : Gemma Stafford
Ingredients
Export 4 ingredients for grocery delivery
Instructions
Step 1
In a large bowl, add in your sourdough starter, water, and olive oil and whisk to combine.
Step 2
Add the flour and salt and mix together using either a spatula or your hand. I prefer my hand so you can feel exactly how wet or dry your dough is.
Step 3
Bring your dough together to form a ball that cleans the bottom of the bowl. (If your dough is a little on the dry side add a splash more water).
Step 4
Remove the dough from the bowl and grease that bowl with a little olive oil. Place your dough back into the bowl and tightly cover with cling wrap and a dishtowel.
Step 5
Set aside the dough to proof for roughly 12-18 hours. I mix mine up the night before and let it proof overnight. If you are unable to bake it off after this time place it in the fridge for up to 3 days.
Step 6
Carefully remove the dough from the bowl and place on a floured surface. I don’t knock out the air but rather I fold the dough over itself to strengthen it.
Step 7
On a flourless surface, shape the dough into a boule or a ball by pushing the dough against your surface to make it round and smooth.
Step 8
Lay a kitchen towel in a bowl or breadbasket and dust it generously with flour.
Step 9
Place your dough into the bowl with the seams facing you and the smooth side down. Cover over with the towel so that none of the dough is exposed to the air. (Air is not a doughs friend so keep it well covered so it doesn’t form a skin)
Step 10
Proof the dough for roughly 1 ¾ -2 ½ hours or until the bread has risen to almost double the size. Don't rush this step, if your bread is not ready then give it the time it needs. Once the dough is well risen and feels almost lighter and not as dense then it’s time to bake it off.
Step 11
Preheat your oven to 450°F (225°C) and place a tray on a lower shelf in the oven.
Step 12
Safely and carefully turn the dough out onto a different floured flat baking tray. Gently, shape it back into a round loaf with your hands by pushing the seams underneath the bread.
Step 13
Score the bread with a blade or a sharp knife. I cut it straight down the middle.
Step 14
Turn down the oven to 400°F (200°C) and slide your bread onto your preheated tray.
Step 15
Bake for 55-65 minutes or until a gorgeous golden brown color.
Step 16
So this is optional, BUT, the introduction of steam during the baking process does make a big difference to the texture and color of your crust. You can do this by using a Dutch oven, an oven-proof metal bowl, or a cake pan with water.
Step 17
Skip the proofing bowl and allow the dough to proof in the actual dutch oven for the time given above. Making sure to line it with parchment or dust with flour beforehand.
Step 18
Once risen and not as dense, bake your sourdough with the lid on for roughly 25-30 minutes. Remove the lid and continue to bake in the pot for the remaining time.
Step 19
Place a large metal oven-proof bowl directly over the dough immediately as it goes into the oven. This bowl will create steam around your loaf. Carefully remove the metal bowl after 30 minutes and bake as normal for the remaining time. Tip: An 18/10 stainless steel pot with stainless steel handles will work well for this.
Step 20
Place a cake pan or shallow baking tray in the oven with hot water to create steam for the bread giving it a nice color and chewier crust. Carefully remove the cake pan of water after 30 minutes and bake as normal for the remaining time.
Step 21
Once the crust is crisp, a deep golden brown and sounds hollow when tapped remove from the oven. Note: the crust softens once it cools so just note that you might think it got too crisp but a little later it will be softer.
Step 22
Allow cooling down completely before cutting your bread. It’s tempting, but don’t cut hot bread, it’s just not the same. Let it cool down for at least 2-3 hours before cutting.
Step 23
Store your sourdough covered at room temperature for up to 3 days. And CONGRATS! You just made a loaf of sourdough bread from scratch.