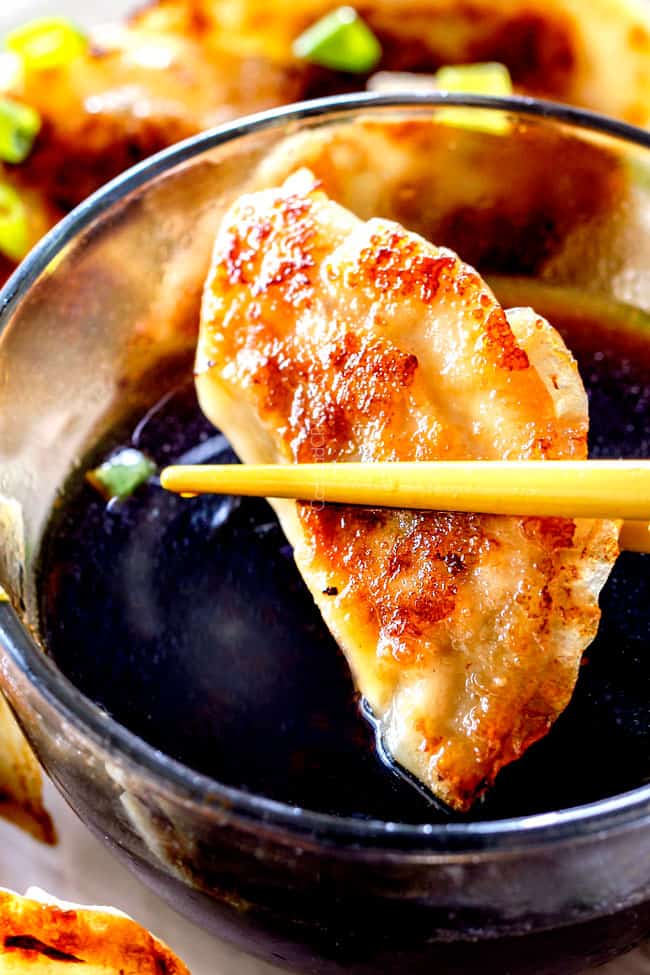
Potstickers
Your folders
Your folders
Prep Time: 40 minutes
Cook Time: 30 minutes
Total: 105 minutes
Servings: 35
Author : Jen

Ingredients
Export 20 ingredients for grocery delivery
Instructions
Step 1
Add cabbage to food processor and process until fine. Add diced cabbage to a fine mesh sieve and toss with 1/2 teaspoon salt. Place over a bowl and let sit for 20-30 minutes then press cabbage down with a rubber spatula quite a few times to squeeze out any excess moisture. Set aside. (You can do part of this step in advance and leave the cabbage in the sieve in the refrigerator for as long as you like.)
Step 2
Add mushrooms, green onions, ginger and garlic to food processor (you don’t need to clean it out) and pulse until finely chopped. Add mixture to one side of a large bowl. To the other side of the bowl add egg yolk and whisk. Add cabbage, ground pork and all remaining filling ingredients and mix with your hands until thoroughly combined. Cover with plastic and either freeze for 15 minutes or refrigerate at least 30 minutes (or up to 24 hours) to chill mixture.
Step 3
Line a baking tray with parchment paper and prepare some damp paper towels or a damp cloth (to cover assembled pot stickers and keep them from drying out). Keep all wrappers covered in plastic wrap when you are not using them. Fill a small bowl with water.
Step 4
Working with 2-4 wrappers at a time (depending on how fast you are), add 1 tablespoon filling to the middle of each wrapper. Dip your finger in water and run it around the edge of HALF the wrapper. At this point you can either Fold wrapper over in half to create a half-moon shape, pinch the edges firmly together to seal and crimp with a fork OR create 4 pleats (instructions below).
Step 5
To create pleats: keep the back, moistened wrapper flat, and work with the front moistened wrapper (you are pleating just ONE side of the wrapper). Start with one side and work across to the other side. First, create one pleat with the front ummoistened wrapper by taking a small portion of dough, making a little fold and tucking it back. Firmly press completed pleat into back of wrapper to seal edges. Repeat for 4 pleats. *SEE PHOTOS IN POST*
Step 6
Place filled wrappers on prepared baking tray and cover with damp paper towels/cloth. Repeat with remaining wrappers.
Step 7
Place paper towels on a baking tray to place cooked potstickers. Heat 1 tablespoon oil in a large NONSTICK skillet (that has a lid) over medium high heat.
Step 8
Add about 12 dumplings to skillet flat side down, enough that will comfortably fit. Cook without touching until the underside is lightly golden, approx. 2 minutes. Watch closely so they don’t burn! - check the bottom of a potsticker occasionally and adjust heat if needed.
Step 9
Turn heat to LOW. Stand back and use one hand holding the lid as a shield, as you pour 1/3 cup chicken broth around the dumplings then quickly place the lid on. You can even remove skillet from heat for 30 seconds if this will make you more comfortable against splattering.
Step 10
Cook until chicken broth has completely evaporated. Remove lid, increase heat to medium and cook 1-2 additional minutes to crisp up bottoms. Transfer potstickers to a paper towel lined baking tray. Repeat until all potstickers are cooked. Best served warm with Dipping Sauce.
Step 11
Whisk together Dipping Sauce ingredients. Add chili sauce to taste if desired.