Scandinavian Star Ornament
Your folders
Your folders

Ingredients
Export 2 ingredients for grocery delivery
Instructions
Step 1
Gather your supplies and materials.
Step 2
Cut 4 pieces of fabric to be 4 inches wide and 16 inches long. We like using 2 pieces each of 2 different patterns.We recommend using a rotary cutter and quilting ruler to cut the fabric, but you can use what you have available. Just try to get the pieces as straight as you can.
Step 3
Place one of the pieces of fabric on an ironing board and spray it with spray starch.
Step 4
Iron the fabric on medium heat, no steam, until it’s nicely pressed.
Step 5
Fold the piece of fabric in half, lengthwise, and iron the fold.
Step 6
Open the fabric back up and fold the bottom up so that it almost meets the center crease. Leave about a millimeter of space between.Iron the bottom fold into place.
Step 7
Now fold the top part of the fabric down to the center, again leaving a small space so it doesn’t quite meet the fold. Iron this fold into place.
Step 8
Now fold the fabric in half and iron it some more. You may want to add a bit more spray starch at this point.
Step 9
Repeat with the other 3 pieces of fabric.
Step 10
Fold one of the strips in half and set it down with the fold at the top.
Step 11
Fold another strip of the same colour in half and set it to the right of the first piece, with the fold at the bottom.
Step 12
Fold the next strip in half. Place it so that the fold is at the left, towards the bottom of the vertical strips.Open the fabric so that it goes around the left vertical piece (the white piece should be inside with the blue above and below it). Then bring the two layers together to place them inside the right vertical piece (so the blue is between the two white layers).
Step 13
Finally, add the last piece of fabric with the fold on the right, towards the top of the vertical strips.Put it around the right vertical strip and inside the left vertical.
Step 14
Pull the loose edges to tighten the weave in the center. Pull them so they’re snug together, but not too tight (you don’t want to the fabric to pucker up at all).
Step 15
Fold the top layer of the top strip down at the center.
Step 16
Repeat, going clockwise around the ornament.Take the top right end and fold it over to the left.
Step 17
Continue, bringing the first layer of the bottom strip up.
Step 18
Now bring the left strip over to the right and tuck it into the loop made by the first piece.
Step 19
Pull on the pieces of fabric that are shorter to adjust and tighten them into place.Each side should now have 2 strips of the same fabric, one shorter and one longer.
Step 20
Now we’re going to fold the points of the star.Choose any of the loose fabric pieces and fold it down at a 90 degree angle towards the outside of the star.
Step 21
Flip the whole star over while holding that fold in place.
Step 22
Fold the edge of the fabric down again at a 90 degree angle. You should see a roof-like triangle with a point at the top middle.
Step 23
Fold the outside half of the triangle in. There should be a straight edge on the outside and a 45 degree angle towards the inside.Use your fingernail to make sure the fabric is folded well inside, making the point nice and crisp.
Step 24
To keep the point in place, push the end of the fabric inside. There will either be a gap at the center of the star, or a loop to push the fabric into.We like to use a point turner/seam creaser to do this. It makes it easier to make sure the fabric goes in smoothly (ie. not folded over). You can also use your fingers, a knitting needle, or a pencil.
Step 25
Repeat, making the next point of the star.You can choose any of the other ends to do next. Just remember to fold the end towards the outside first before flipping the star over.Then fold the fabric down before folding half of the triangle in.
Step 26
Some of the fabric strips will be too long to tuck in. Trim them so that they won’t stick out past the loop.
Step 27
Tuck the end of the fabric in.
Step 28
Then repeat with the remaining points of the star.
Step 29
Cut an 8 inch piece of metallic cord that matches your ornament and thread it onto a needle.
Step 30
Push the needle in-between 2 points of the star, going from one side to the other.Once the needle is through you can remove the needle from the thread and adjust it so the ends are even.Tie a knot at the top of the cords to form a looped ornament hanger.
Step 31
Your Scandinavian star ornament is complete!
Top similar recipes
Curated for youYour folders

 268 views
Scandinavian Daiquiri
diffordsguide.com
4.5
(8)
Your folders

 206 views
Scandinavian Coffee
lifetimevibes.com
10 minutes
Your folders

 202 views
Christmas Ornament Cupcakes
preppykitchen.com
22 minutes
Your folders

 285 views
DIY Money Ornament
thecountrychiccottage.net
Your folders
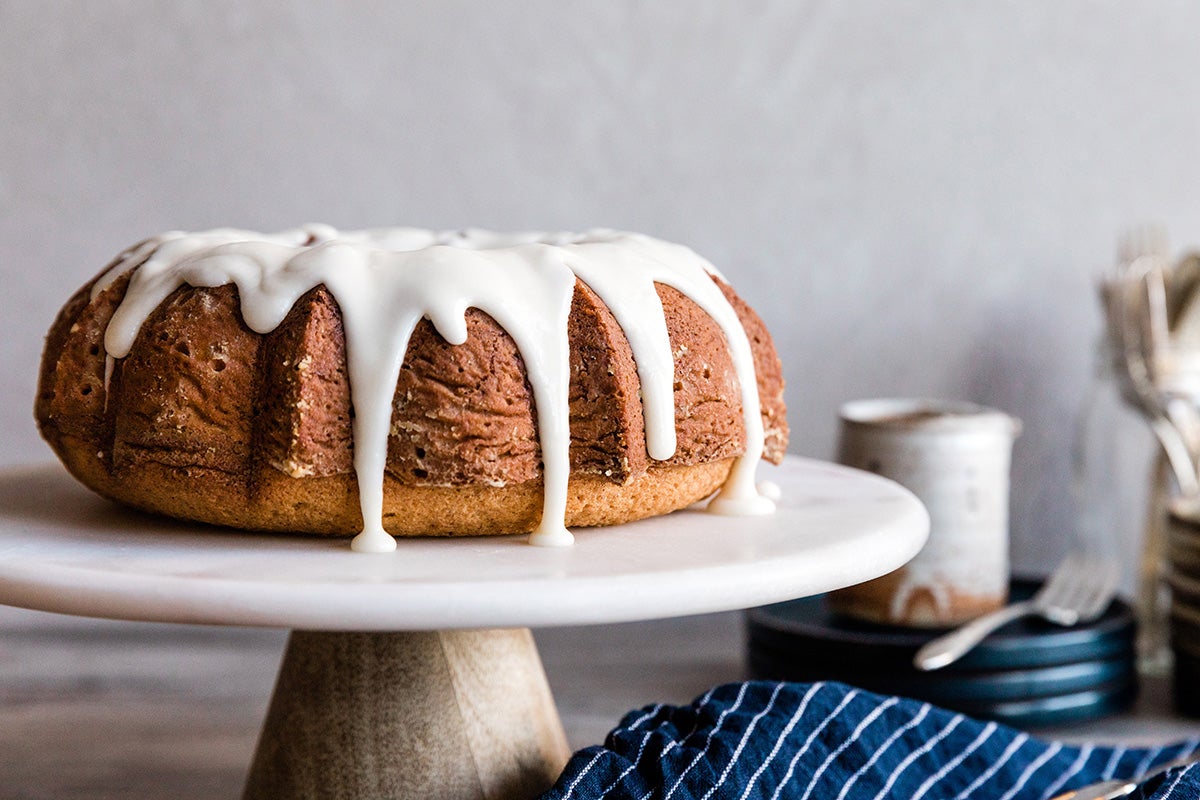
 302 views
Scandinavian Gold Cake
kingarthurbaking.com
4.8
(22)
1 hours, 15 minutes
Your folders

 252 views
Scandinavian Pecan Cookies
tasteofhome.com
5.0
(3)
10 minutes
Your folders

 417 views
Scandinavian Princess Cake
marthastewart.com
3.5
(169)
Your folders

 217 views
Scandinavian Egg Coffee
cuppabean.com
Your folders
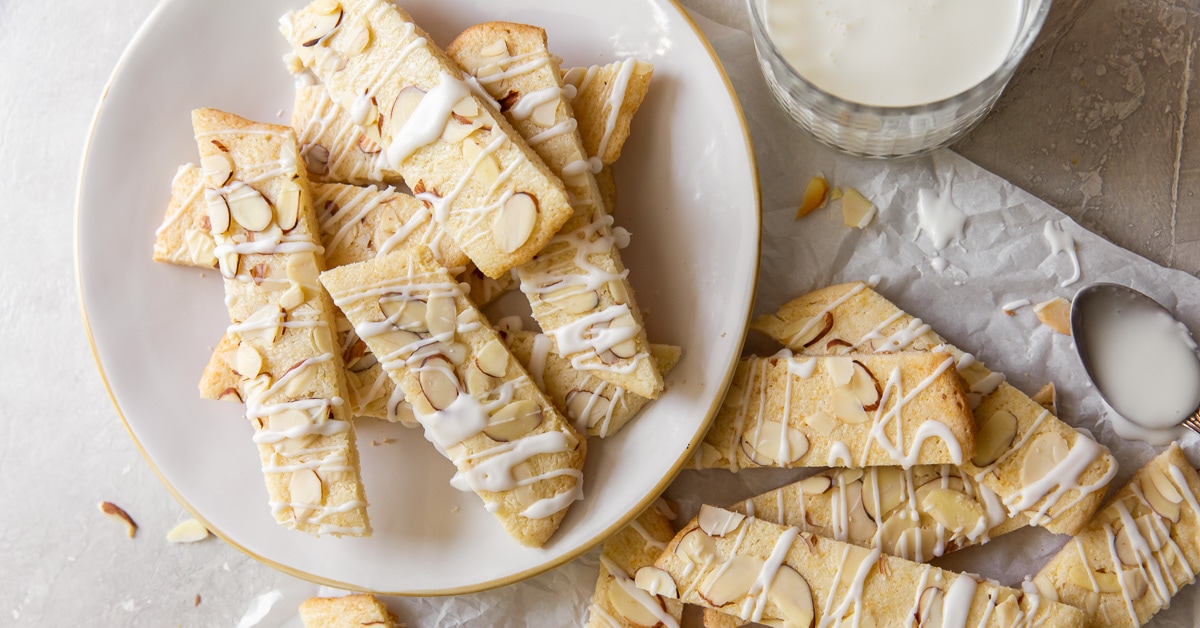
 286 views
Scandinavian Almond Bars
ifyougiveablondeakitchen.com
5.0
(13)
12 minutes
Your folders
 197 views
Dried Citrus Ornament DIY
abeautifulmess.com
Your folders
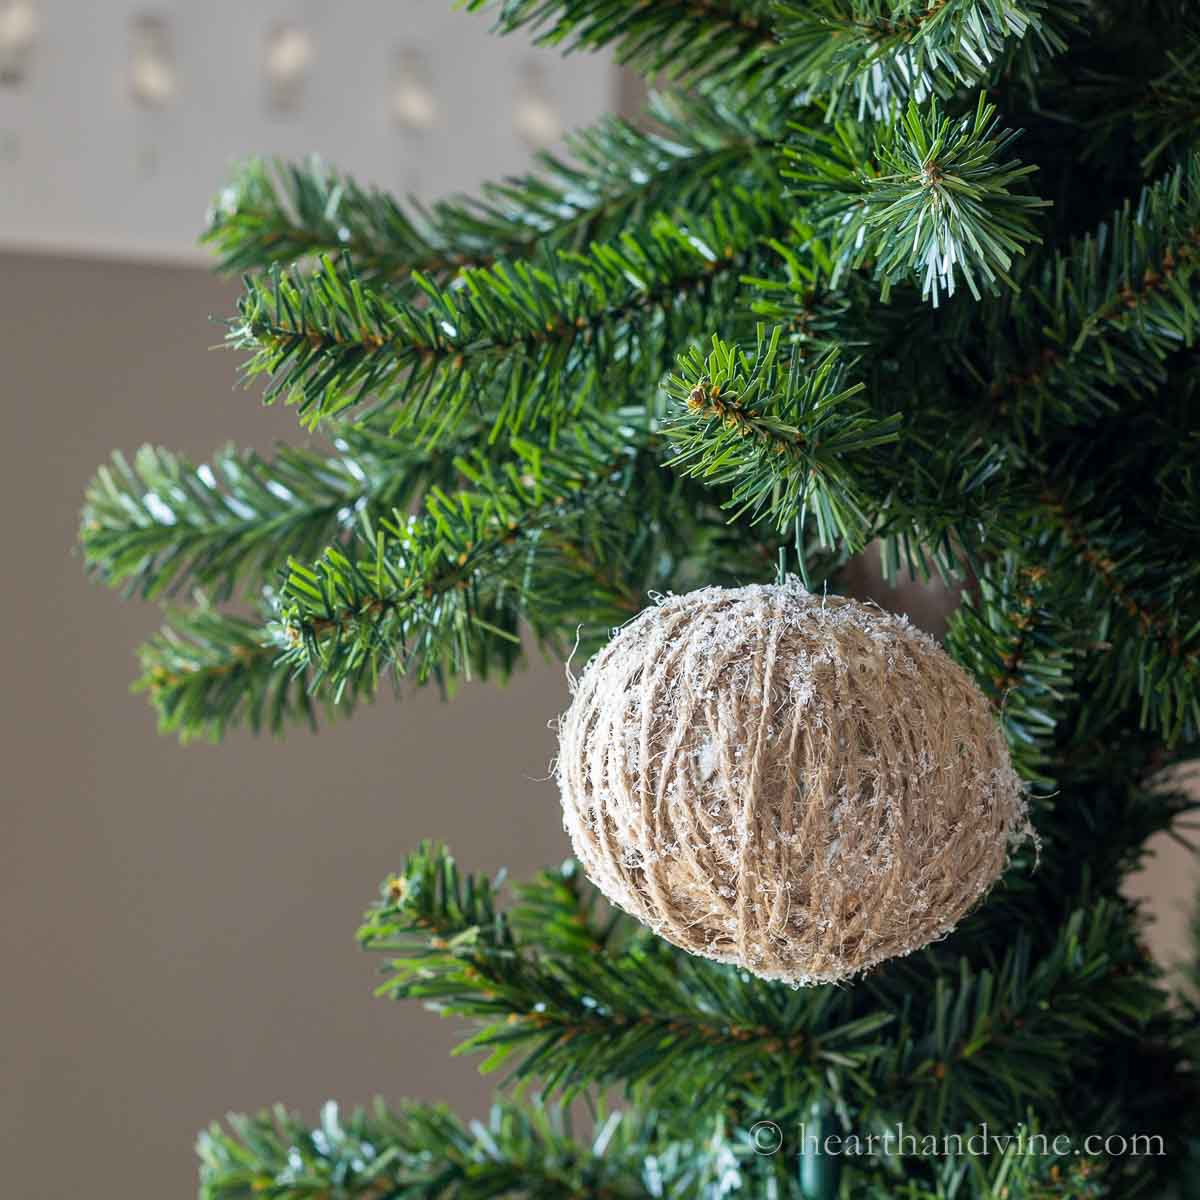
 136 views
DIY Twine Ball Ornament
hearthandvine.com
Your folders

 189 views
Salt Dough Footprint Reindeer Ornam...
craftymorning.com
Your folders

 200 views
Air Dry Clay Ornament Crafts
firstdayofhome.com
Your folders

 313 views
Mirror Glaze Christmas Ornament Cak...
loveandoliveoil.com
3 hours
Your folders
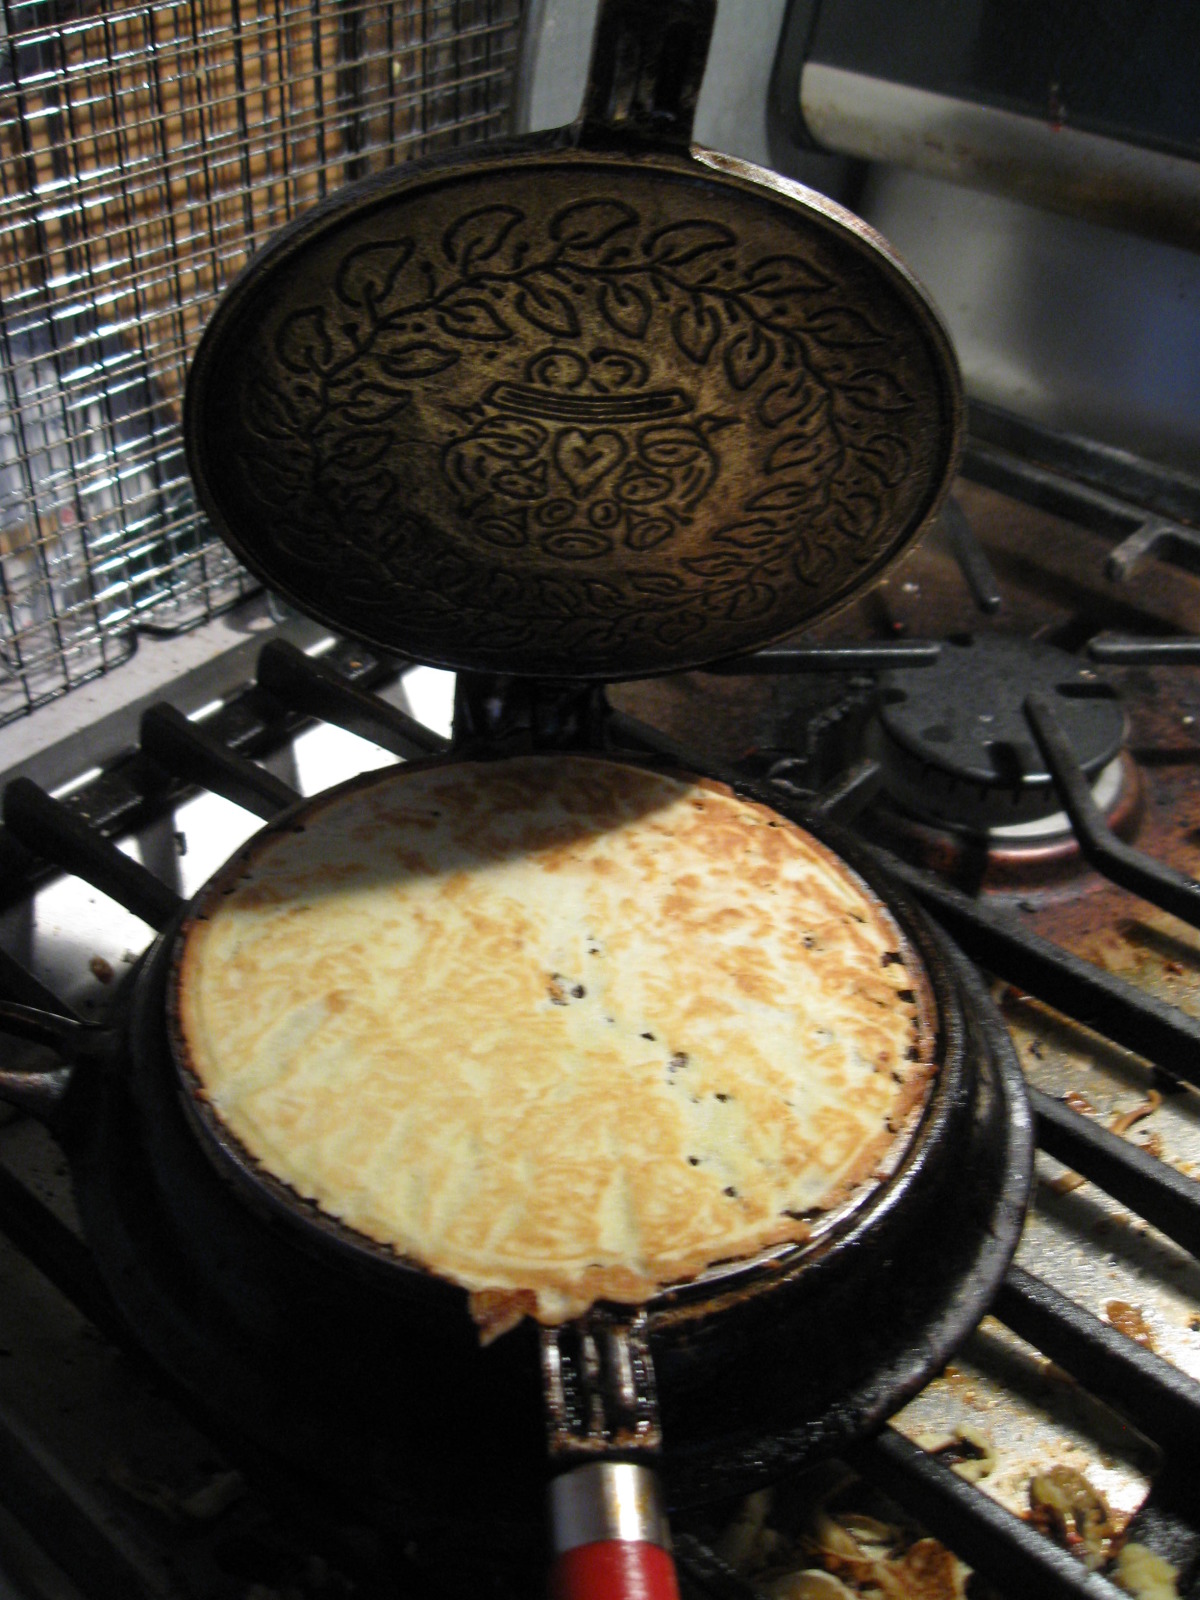
 216 views
Scandinavian Christmas Crispy Krumk...
food.com
5.0
(1)
2 minutes
Your folders

 208 views
Scandinavian Steak and Potatoes
bhg.com
3.8
(17)
Your folders

 331 views
Scandinavian Pickled Herring Bites
eatingwell.com
4.0
(1)
Your folders

 397 views
Scandinavian Sourdough Rye Bread
redstaryeast.com
Your folders

 320 views
Star shortbreads
taste.com.au
4.6
(12)
30 minutes