Shower Steamers Recipe
4.7
(250)
Your folders
Your folders
Prep Time: 1 hours
Total: 13 hours
Servings: 12
Author : Irena

Ingredients
Export 41 ingredients for grocery delivery
Instructions
Step 1
Wear gloves. Start by putting on nitrile gloves and a face cover. You can take the face cover off once the shower steamer mixture is mixed.
Step 2
Measure. Weigh out the ingredients.
Step 3
Combine dry ingredients. Sift the baking soda and citric acid into a glass mixing bowl and stir to combine.
Step 4
Add colorant. To make colored aromatherapy steamers, stir in the mica powder or plant powder. Without a coloring, the aromatherapy shower steamers will appear white, which is also pretty. Set aside.
Step 5
Mix liquid ingredients. Pour the Sorbitan oleate (or Polysorbate into a small mixing bowl. Add the essential oil and swirl together until well blended and you no longer see streaks of the essential oils.
Step 6
Make shower steamer mixture. Pour the liquid ingredients over the dry materials and whisk to combine. Using your hands, knead until the liquids are well distributed, and the dry mixture is evenly moistened. The mixture should have the consistency of wet sand and maintain its shape when pressed together.
Step 7
Adjust texture. If you live in a dry environment, you can add 1 to 2 additional tbsp Sorbitan oleate. I don't recommend this step in humid areas because baking soda and citric acid absorb moisture from the air. Adding more liquid would make the mixture too wet.
Step 8
Add decorations. Optionally, sprinkle a few botanicals at the bottom of each mold. Go lightly and avoid placing the botanicals too close to the edge.
Step 9
Fill mold. Next, fill the mold with mixture and press down with your fingertips, paying particular attention to the edges. Continue to load and compress the mixture until the cavity is completely full. I like to use the bottom of a 1/8 measuring cup to press down each shower tablet and achieve a flat bottom.
Step 10
Dry. Let the shower steamers dry in the mold undisturbed for 24 hours. Room temperature is fine, and you can leave the mold uncovered.
Step 11
Unmold. Before unmolding, gently tap the back of a steamer. Does it feel and sound solid? Then it's time to unmold. To unmold the steamers, carefully pull the silicone away. Using your thumbs, gently push the steamer out of the cavity.
Step 12
Assemble press. Choose your desired faceplate and connect it to the mold. The faceplate has little hooks to lock it in and keep it in place.
Step 13
Dust. Using a flat, soft brush, lightly dust the inside of the press with mica powder. Dusting ensures that the mixture doesn't stick and releases easily. I recommend doing this for every shower steamer.
Step 14
Load up. Loosely fill the mooncake press with mixture until 2/3 full. DO NOT pack and press mixture into the press. If you pack the mixture in, the steamer won't release properly, and the pattern will break.
Step 15
Release. Line a cutting board or tray with plastic wrap/cling film or parchment (baking) paper. Put the mooncake press down on the board. Press the handle down to compress the mixture. Then lift the press 0.5 in / 1 cm above the board and gently push the handle down again to release the steamer onto the board or tray. The shower bombs are soft and delicate at this point, avoid touching them.
Step 16
Dry. Allow your shower steamers to dry until solidified, about 12 to 24 hours.
Top similar recipes
Curated for youYour folders
 242 views
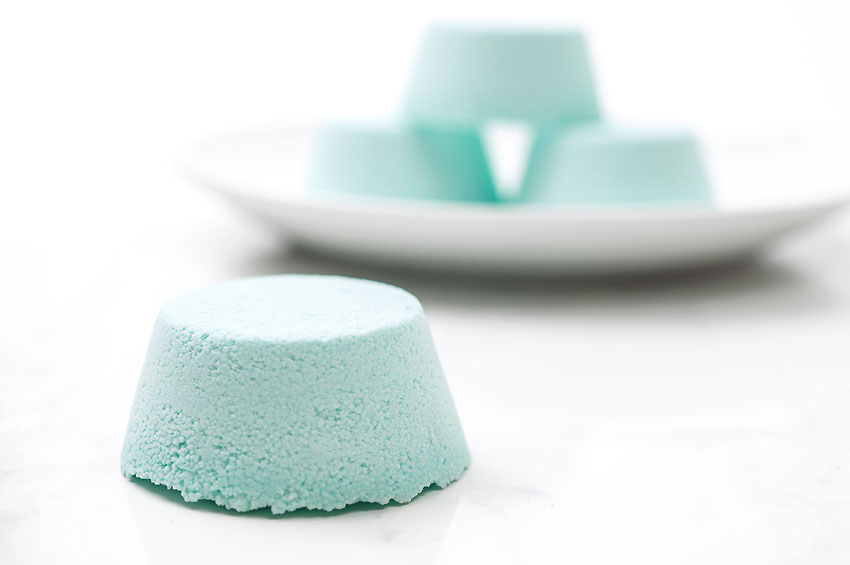
Shower Steamers
onelittleproject.com
Your folders
 62 views
Homemade Shower Bombs (Shower Steam...
lemonslavenderandlaundry.com
Your folders
 59 views
Recipe: Spiced Vanilla-Bean Steamer...
thekitchn.com
Your folders

 190 views
DIY Shower Bombs Recipe
alifeadjacent.com
5.0
(6)
20 minutes
Your folders
 66 views
Baby Shower Meatballs Recipe
themagicalslowcooker.com
5.0
(3)
300 minutes
Your folders
 279 views
DIY Aromatherapy Shower SpraysDIY A...
helloglow.co
Your folders
 2505 views
Pink Baby Shower Punch Recipe
diythrill.com
Your folders
 229 views
DIY Shower Cleaner
dontmesswithmama.com
Your folders
 161 views
Tub and Shower Magic
food.com
5.0
(115)
Your folders
 285 views
Homemade Daily Shower Spray
themakeyourownzone.com
Your folders

 53 views
Baby Shower Pasta Salad
whyitalians.com
10 minutes
Your folders

 889 views
Make Your Own Homemade Shower Clean...
onegoodthingbyjillee.com
Your folders
 56 views
Make Your Own Homemade Shower Clean...
onegoodthingbyjillee.com
Your folders
 220 views
25 Easy Baby Shower Punch Recipe Co...
insanelygoodrecipes.com
5.0
(1)
Your folders

 138 views
Buttery Milky Maine Clam Chowder wi...
fearlesseating.net
Your folders
 49 views
Golden Shower - Official Terraria W...
terraria.wiki.gg
Your folders

 180 views
DIY Foaming Bath & Shower Oil
muminthemadhouse.com
Your folders
 153 views
DIY Natural Daily Shower Spray
mymerrymessylife.com
5.0
(3)
Your folders

 156 views
DIY Natural Daily Shower Spray
mymerrymessylife.com
5.0
(3)