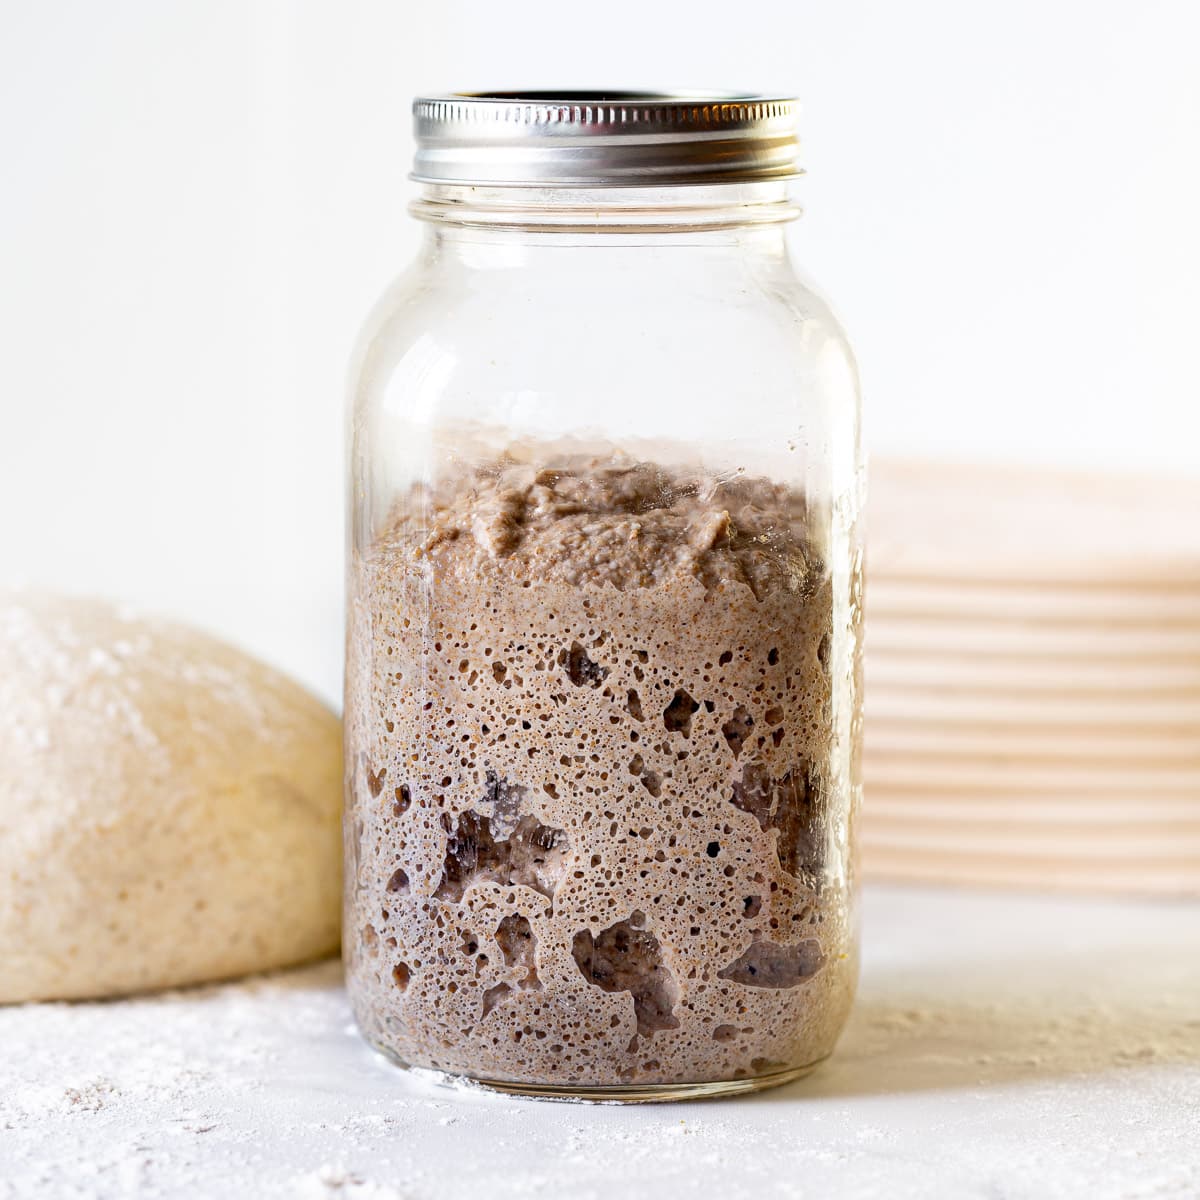
Sourdough Starter Recipe
5.0
(67)
Your folders
Your folders
Prep Time: 35 minutes
Total: 10115 minutes
Servings: 1

Ingredients
Export 1 ingredients for grocery delivery
Instructions
Step 1
Please start by reading my post above. It's long but it includes lots of important and useful information that will help you success.
Step 2
IMPORTANT - I do not recommend using cups/tablespoons to make this starter because they are not accurate enough and it has to be absolutely exact. But if you are going to use them, the cup/tablespoons/teaspoon conversions are based on you using rye flour which is what I recommend using if at all possible for best results. If you use any other kind of flour the cups/tablespoons and teaspoon measures will not be accurate so you will need to recalculate them. For reference 1 cup of rye flour weighs 102 grams. 1 cup of wholewheat flour weighs 128 grams and 1 cup of all purpose flour weighs 125 grams.
Step 3
ALSO IMPORTANT - At no point in this process should you discard any of the starter.
Step 4
Day 1 - To a clean jar/container that's between 750 ml (25 oz) and 1 litre (34 oz) in size, add 25 grams (3 tablespoons + 2¾ teaspoons) of rye flour and 25 grams (1 tablespoon + 2 teaspoons) of room temperature water. Mix well so you can't see any dry flour, level it as best you can and cover with the jar lid. Screw it on loosely but don't fully tighten it up. Don't screw the lid on tightly. If you have an elastic band, put it over the jar so it is level with the top of the flour/water mixture. That way you can see easily if there is any increase in volume. Leave the jar in a sheltered spot for about 24 hours, ideally at a temperature of between 20°C (72°F) to 26 °C (80°F) If your kitchen is very cool see my tips in the post above for how to keep your starter warm.
Step 5
Day 2 - There probably won't be any changes yet but you might see a few bubbles and/or notice a milky smell. Open the jar of starter and add another 25 grams (3 tablespoons + 2¾ teaspoons) of rye flour and 25 grams (1 tablespoon + 2 teaspoons) water. Mix well so you can't see any dry flour, level it as best you can and cover loosely with a lid, adjust the elastic band so it's level with the top of the mixture and put the jar back in it's spot.
Step 6
Day 3 - You might see and smell some changes now. Maybe a few bubbles and a fruity smell. Open the jar of starter and add another 25 grams (3 tablespoons + 2¾ teaspoons) of rye flour and 25 grams (1 tablespoon + 2 teaspoons) water. Mix well so you can't see any dry flour, level it as best you can and cover loosely with a lid, adjust the elastic band so it's level with the top of the mixture and put the jar back in it's spot.
Step 7
Day 4 - You will likely see more bubbles today and it could be increasing in volume. Don't get excited and think it's ready to use yet though. Sometimes this happens, then the activity will stop again for a few days, so keep going for now. Open the jar of starter and add another 25 grams (3 tablespoons + 2¾ teaspoons) of rye flour and 25 grams (1 tablespoon + 2 teaspoons) water. Mix well so you can't see any dry flour, level it as best you can and cover loosely with a lid, adjust the elastic band so it's level with the top of the mixture and put the jar back in it's spot.
Step 8
Days 5 to 7 - Keep feeding it 25 grams (3 tablespoons + 2¾ teaspoons) of rye flour and 25 grams (1 tablespoon + 2 teaspoons) on days 5, 6 and It should be pretty active and smell pleasantly sour and fruity by now. If by day 7 it has been rising to twice its volume then falling again after each feeding for a few days in a row then it is ready to use for baking bread. If it hasn't been rising to twice its volume consistently after feeding, just keep feeding it 25 grams (3 tablespoons + 2¾ teaspoons) of rye flour and 25 grams (1 tablespoon + 2 teaspoons) daily until it does. Ensure the area it is kept is between 20°C (72°F) to 26 °C (80°F) and no less to give it a boost. See the recipe notes for what to do if your jar starts to become more than half way full after feeding.
Step 9
Once your starter has been rising and falling consistently after feeding for a few days it is ready to bake with. Now you must name it and make it part of your family ;O)
Step 10
You can use the starter to bake bread when it is at its peak (doubled in size) after feeding. Use what is in the jar for baking with and just leave behind a tiny bit of starter. A few teaspoons is sufficient, or what amounts to the scrapings in the jar. Pop the jar of scrapings in the fridge where it can stay until the day before you bake again. It does not need to be fed in between. The next time you want to bake, remove it from the fridge the evening before and feed it so it's ready and at its peak for you the next day.