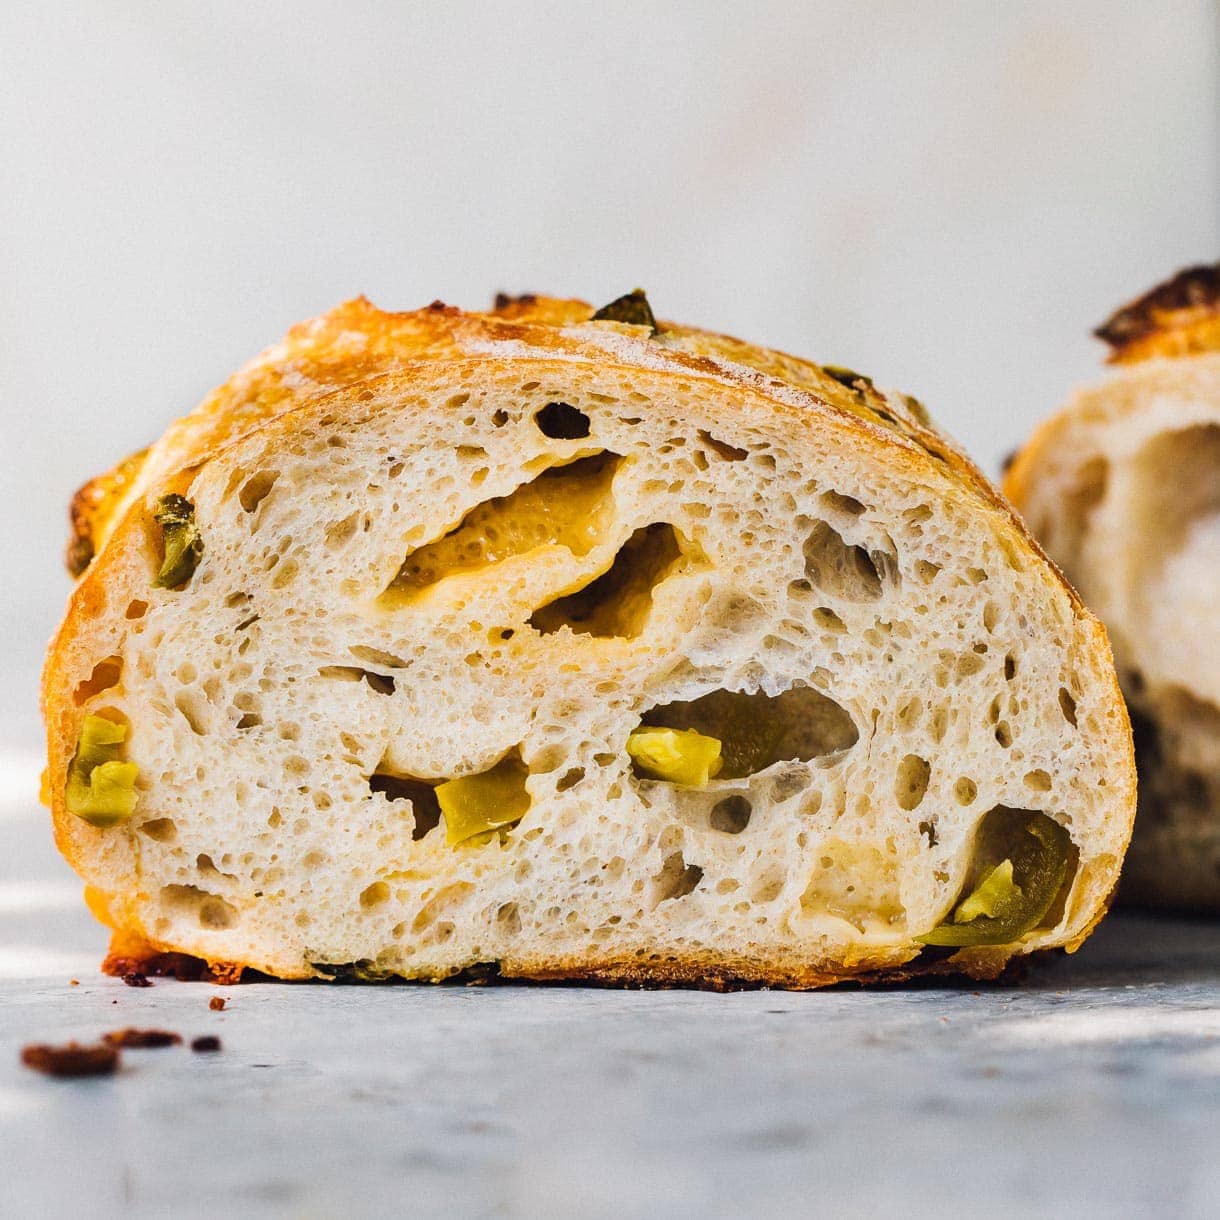
Top-Rated Jalapeño Cheddar Sourdough Bread
4.9
(59)
Your folders
Your folders
Prep Time: 15 minutes
Cook Time: 45 minutes
Total: 660 minutes
Servings: 1

Ingredients
Export 5 ingredients for grocery delivery
Instructions
Step 1
In a large bowl, mix starter and water with a fork, until starter is dispersed. Add flours, mixing with a spatula first. Then with your hand until a shaggy dough is formed, just enough so that flour is not visible.
Step 2
Sprinkle salt on top of dough. Cover bowl with a damp cloth and let sit for 40 minutes to an hour.
Step 3
Now work the salt into the dough, as you perform your 1st set of stretch and folds. Then let rest for a half hour. Perform 2 more sets of stretch and folds, waiting the 30 minutes in between for each, for a total of 3 stretch and fold sequences. After the 3rd set, wait the regular 30 minutes.
Step 4
When those 30 minutes have passed, you will now add the mix-ins. To do this, use a dough scraper to gently remove your dough from the bowl onto a lightly floured surface. Use your hands to gently stretch the dough out into a rectangle about 12 inches X 14 inches. Distribute the cubes of cheese and jalapeños over the inside of the dough, leaving about a 2 inch border. Gently pat the ingredients with your hands so that they stick to the dough.
Step 5
Using lightly floured hands, gently pull the sides of the dough and into the middle to enclose the fillings. Then gently roll the dough onto itself and use your hands to give it a little tension to get it into a ball. This step doesn’t have to be perfect, it isn’t the final shaping.
Step 6
Let the dough bulk ferment on your counter, covered with a damp cloth for about 5-6 hours if your house is around 72 degrees. It will take more time if it is cooler, or less time if it warmer.
Step 7
When your dough is a little short of doubling in size, has a glossy top and has a few bubbles peaking through the top, it is ready for shaping.
Step 8
Gently move the dough out of the bowl onto a floured work surface. Let the dough rest there for 10-15 minutes. Then, shape the dough. Once shaped, use a bench scraper to put the dough into a flour dusted, linen lined banneton (proofing basket), seam side of the dough facing up.
Step 9
Cover with a damp cloth, and let rise for a final time, on the counter. This will take about 1 1/2 hours, if your house is around 70 degrees. OR you can slide the banneton into a plastic bag and refrigerate overnight for the final rise. The dough can be in the refrigerator for up to 10 hours at this stage. (If you do the final rise in the fridge, score and bake straight from the fridge. This makes it easier to score and hold its shape.)
Step 10
Once your dough has gone through its final rise and has risen slightly and is puffy on top, you’re ready to bake. You can test to see if your dough is ready by doing gently pressing a floured thumb into the dough. If it indents and gradually releases, but still holds a finger shape, you're ready. If it indents and the dough springs right back to the surface, it still needs time to rise. Let it ferment in half hour more increments, until ready.
Step 11
Preheat oven with dutch oven inside of it, to 450 degrees F. Wait until oven is preheated, then place parchment over the top of your dough and flip over, so that the seam side is now on the parchment paper and you are able to score the top of the dough. Score the dough with a bread lame, making sure to go at least 1/2 inch deep in a few spots so that dough can release gases. Otherwise your bread will not rise.
Step 12
Place dough on parchment paper into dutch oven, and put cover on it. Bake for 25 minutes, covered at 450 degrees F. Then remove cover, turn oven down to 435 degrees F and bake for 20 more minutes, until bread is golden brown and crackly.
Step 13
Remove from oven and place load on a cooling rack. Let cool for AT LEAST ONE HOUR before slicing. Otherwise the crumb will be squished and the texture will be gummy.