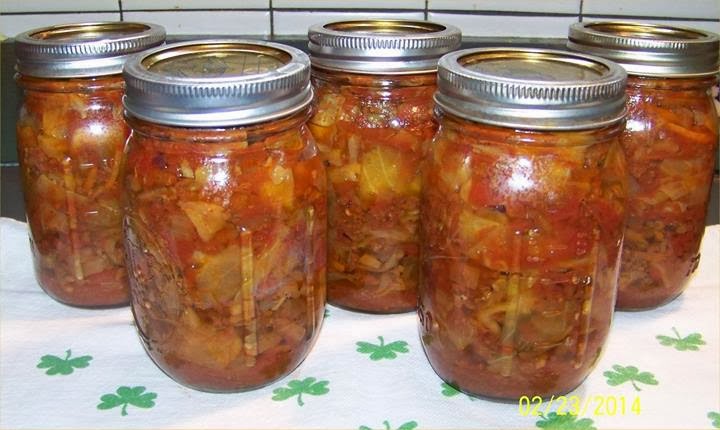
Un-Stuffed Cabbage Rolls
5.0
(4)
Your folders
Your folders
Prep Time: 10 minutes
Cook Time: 1560 minutes
Total: 1570 minutes
Servings: 40
Cost: $0.65 /serving
Author : Canning Homemade
Ingredients
Export 8 ingredients for grocery delivery
Instructions
Step 1
Prepare pint jars, lids and rings by sterilizing. Chop and dice vegetables.
Step 2
In a large skillet over medium heat add the ground beef and cook, stirring, until ground beef is no longer pink. Drain the ground meat and as an option rinse the meat with hot water to remove more fat using a colander.
Step 3
Clean the same pan and add onion till just tender. Add the garlic and continue cooking for 1 minute.
Step 4
Add the chopped cabbage, tomatoes, and the rest of the ingredients. Bring to a boil. Cover and simmer for 15 minutes, or until cabbage is wilted.
Step 5
On a dishtowel place your hot jars and using your funnel in each jar fill the jars to 1” headspace. Remove air bubbles and refill to the proper headspace if necessary.
Step 6
Taking a clean papertowel wet it with vinegar and wipe the rims of the jars removing any food particles that would interfere with a good seal.
Step 7
Using your magic wand extract the lids from the hot water and place them on the now cleaned rims. Add your rings to the tops of each of the jars and turn to seal just "finger tight".
Step 8
Make sure your rack is on the bottom of the canner and place the jars in the pressure canner. Lock the lid and turn up the heat bring the canner to a boil.
Step 9
Vent steam for 10 minutes, then close the vent by adding the weighted gauge or pressure regulator (for dial gauge canner). Process for 75 minutes at 10 lbs of pressure (11 lbs for dial gauge canner). (Adjust pressure for altitude) When complete turn off the heat and let pressure return to zero naturally.
Step 10
Wait two minutes longer and open vent. Remove canner lid. Wait 10 minutes then remove jars and place on dishtowel in a place that they will sit overnight to cool. Do not touch or move them till the next morning. Your food may still be boiling inside the jars. That is normal!
Step 11
Sometime in the next hour your jars will be making a "pinging" or "popping" noise. That is the glass cooling and the reaction of the lids being sucked into the jar for proper sealing. Some recipes may take overnight to seal. Check your lids and reprocess any jars that did not seal. Remove rings for storage.
Step 12
Make sure to label your jars after they have cooled with the name of the recipe and the date canned. If you want to use the shrink labels in the picture you can order them Here!