USING CRICUT PATTERNED IRON ON – MAKING A MOM BAGUSING CRICUT PATTERNED IRON ON – MAKING A MOM BAG
Your folders
Your folders
Ingredients
Export 2 ingredients for grocery delivery
Instructions
Step 1
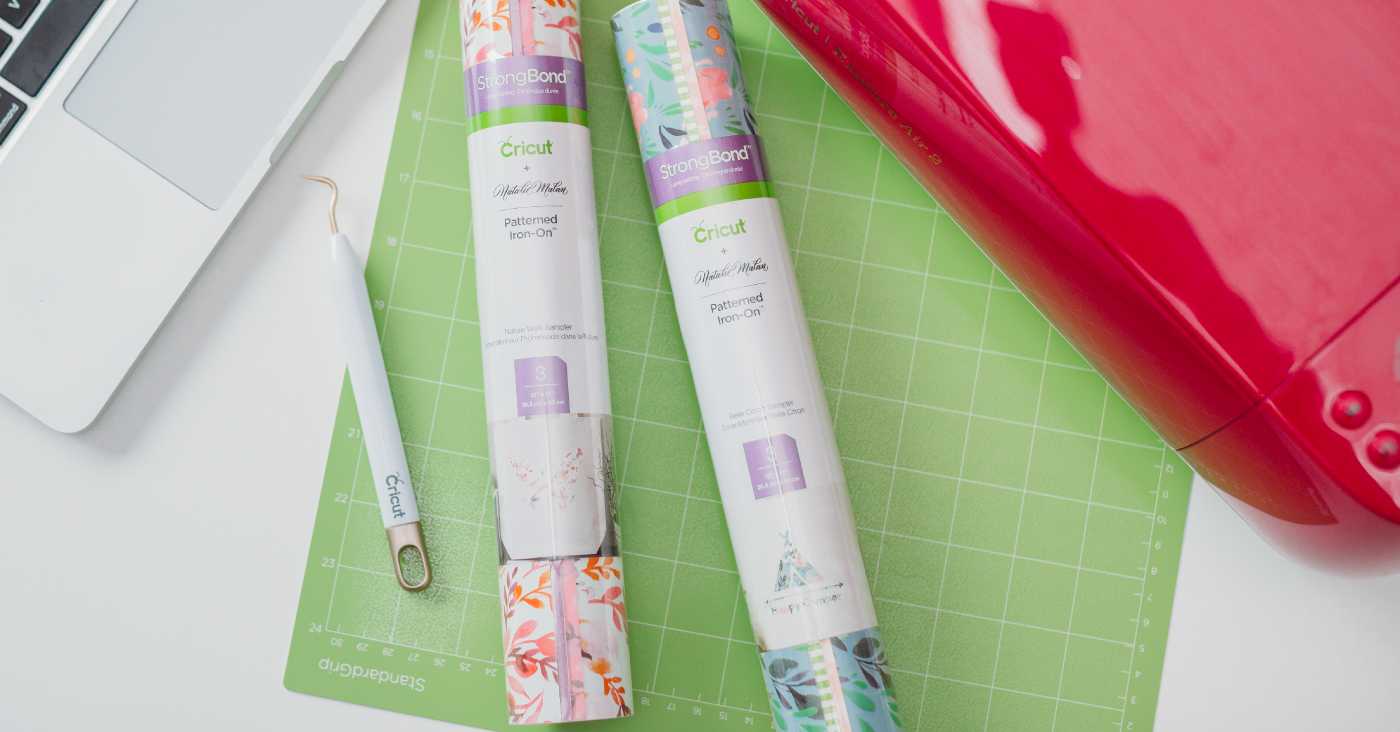
Instructions to make a new tote bag using Natalie Malan's patterned iron on along with a simple modified file from Design Space that you can access here. Two gorgeous pink patterns from Natalie's Nature Walk and Belle Citron sampler packs were chosen for this project.
Step 2
Cutting and Weeding Patterned Iron OnThe project was resized in Cricut Design Space to be as large as a standard mat will cut: 11.5" wide.
Step 3
Cutting patterned iron on using your Cricut is similar to cutting other iron on vinyl projects. In the "Prepare" screen you'll want to make sure to mirror both mats so they cut properly.
Step 4
Select "Patterned Iron On" as your material. Then place your vinyl pattern-side down on the mat. and insert into your Cricut. Press the blinking "C" to cut your project.
Step 5
Once your layers are cut, weed out the excess vinyl using a weeding hook.
Step 6
Temperature and Time Settings for Patterned Iron OnNow it's time to adhere the iron on to the bag! Place your tote bag on your mat. Do a 5-second pre-press of the tote bag—this will help "prime" the material for your iron on.Place your two decals on your mat. For this project, both layers of iron were done at the same time—just made sure the plastic carrier sheets don't overlap the actual letters. You do not need to use a pressing sheet, but you can if you prefer.
Step 7
The temperature setting for patterned iron on is 340° for 30 seconds. Press firmly with the EasyPress—patterned iron on does require a little more pressure than other iron on materials.
Step 8
This is important: Make sure to let your patterned iron on cool completely before removing the plastic transfer sheet. Patterned iron on is COLD PEEL, meaning you will mess up your project if you try and peel it when it's hot! Learn more about cool/warm peel.Flip your tote bag over to the back side and press again for 15 seconds to really make sure your patterned iron on is adhered.Fill with all of your mom stuff (all of the things!) and you're ready to hit the road! Probably in your minivan, let's be real.
Step 9
Instructions to make a new tote bag using Natalie Malan's patterned iron on along with a simple modified file from Design Space that you can access here. Two gorgeous pink patterns from Natalie's Nature Walk and Belle Citron sampler packs were chosen for this project.
Step 10
Cutting and Weeding Patterned Iron OnThe project was resized in Cricut Design Space to be as large as a standard mat will cut: 11.5" wide.
Step 11
Cutting patterned iron on using your Cricut is similar to cutting other iron on vinyl projects. In the "Prepare" screen you'll want to make sure to mirror both mats so they cut properly.
Step 12
Select "Patterned Iron On" as your material. Then place your vinyl pattern-side down on the mat. and insert into your Cricut. Press the blinking "C" to cut your project.
Step 13
Once your layers are cut, weed out the excess vinyl using a weeding hook.
Step 14
Temperature and Time Settings for Patterned Iron OnNow it's time to adhere the iron on to the bag! Place your tote bag on your mat. Do a 5-second pre-press of the tote bag—this will help "prime" the material for your iron on.Place your two decals on your mat. For this project, both layers of iron were done at the same time—just made sure the plastic carrier sheets don't overlap the actual letters. You do not need to use a pressing sheet, but you can if you prefer.
Step 15
The temperature setting for patterned iron on is 340° for 30 seconds. Press firmly with the EasyPress—patterned iron on does require a little more pressure than other iron on materials.
Step 16
This is important: Make sure to let your patterned iron on cool completely before removing the plastic transfer sheet. Patterned iron on is COLD PEEL, meaning you will mess up your project if you try and peel it when it's hot! Learn more about cool/warm peel.Flip your tote bag over to the back side and press again for 15 seconds to really make sure your patterned iron on is adhered.Fill with all of your mom stuff (all of the things!) and you're ready to hit the road! Probably in your minivan, let's be real.