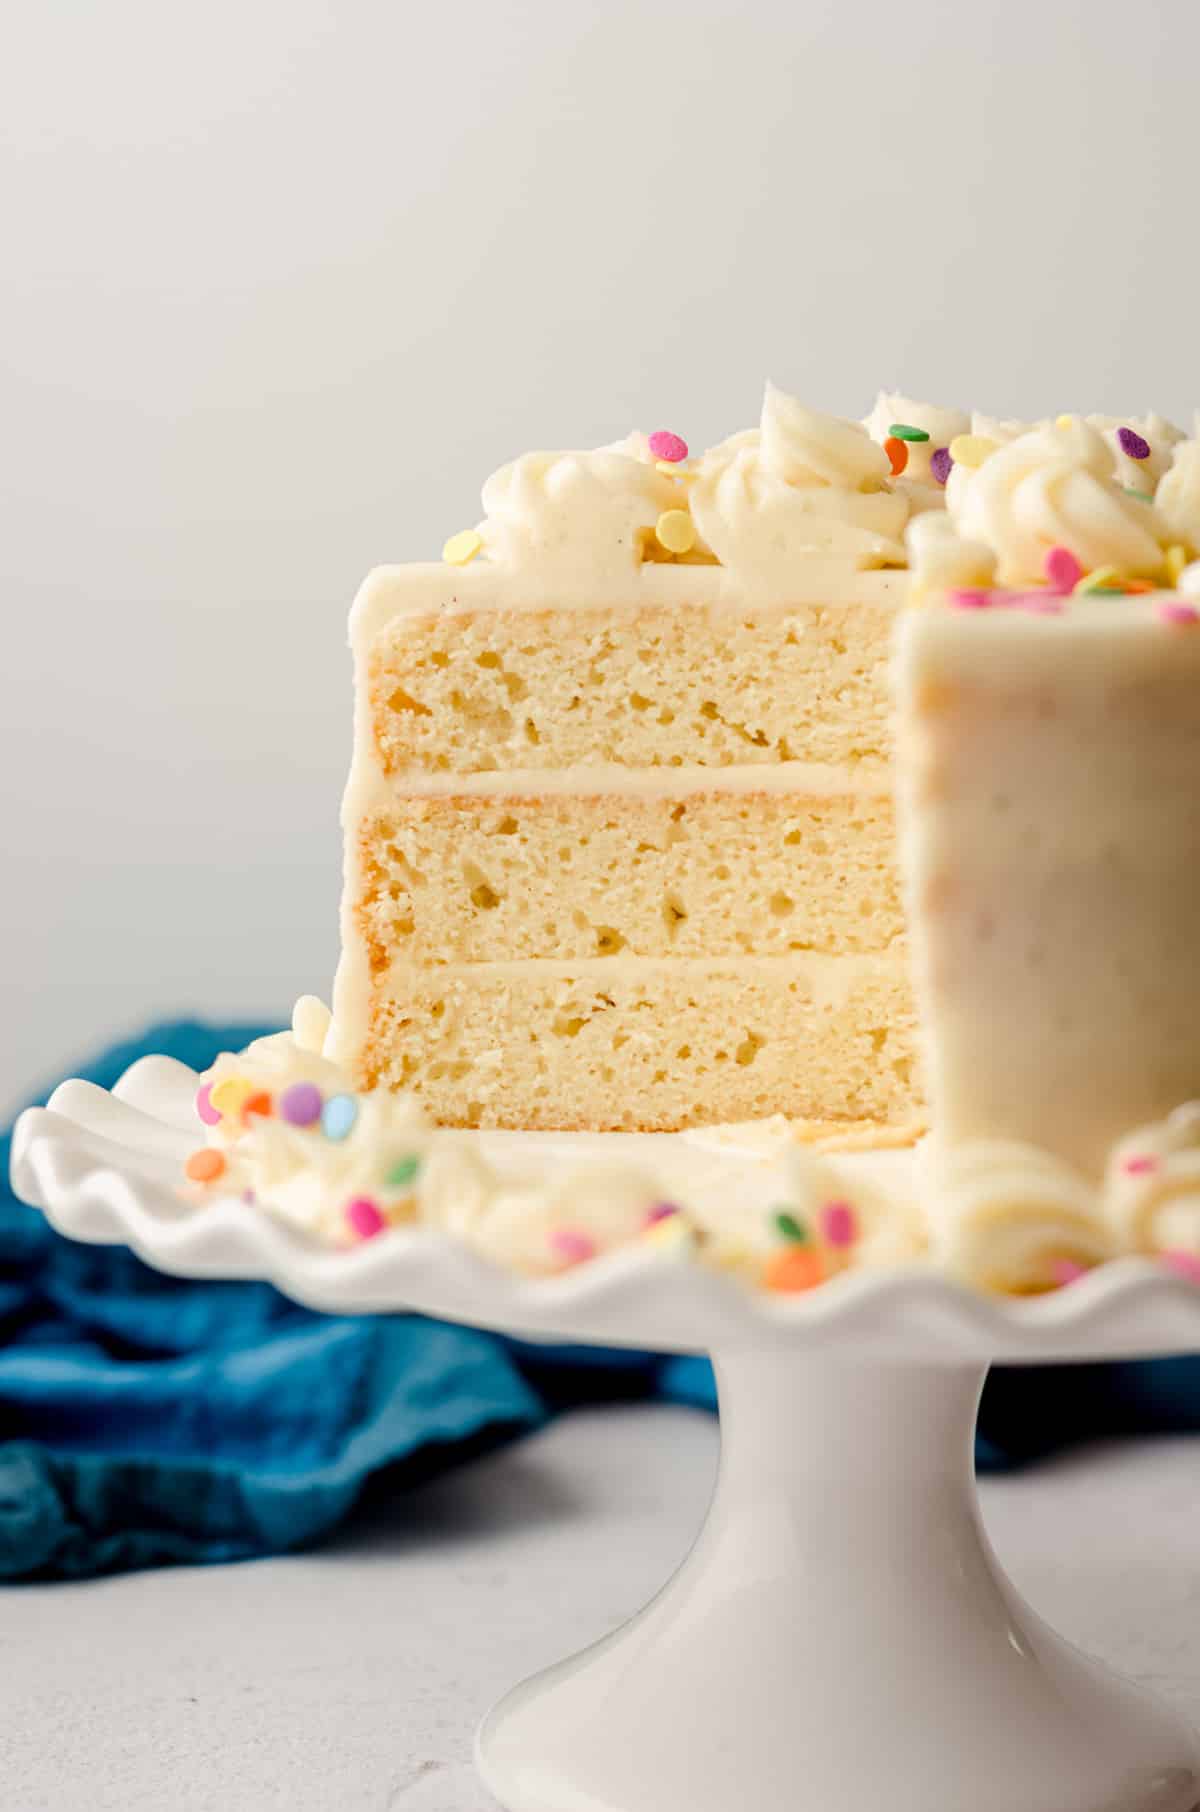
Vanilla Bean 6" Cake Recipe
5.0
(11)
Your folders
Your folders
Prep Time: 20 minutes
Cook Time: 22 minutes
Total: 180 minutes
Servings: 8
Ingredients
Export 9 ingredients for grocery delivery
Instructions
Step 1
Pour the cream into a small saucepan. If using a vanilla bean: using a sharp knife, split the vanilla bean in half, scrape out the seeds, and put everything into the saucepan with your cream. If using vanilla paste, simply pour into the cream and stir to combine.
Step 2
Heat the cream over low heat until it just starts to steam. Remove from heat and allow to steep for 30 minutes. After the 30 minutes, remove the pods with a fork or tongs. Cream is now ready to use. If you used vanilla paste, it is ready to use after the 30 minutes.
Step 3
Preheat oven to 350ºF (177ºC). Grease two or three 6 inch cake pans (here are single 6 inch pans or a bundle of four pans), line with parchment paper3, then grease and flour the parchment paper (or use homemade cake release). Set aside.
Step 4
In a large bowl, whisk together the flour, baking powder, baking soda, and salt. Set aside.
Step 5
In a large bowl with a handheld mixer or the bowl of a stand mixer fitted with the paddle attachment, beat together the melted butter, sugar, egg, yogurt, infused cream, and vanilla extract on medium to high speed until completely smooth.
Step 6
Reduce the mixer speed to low, then slowly add the dry ingredients to the wet ingredients until just combined. Then, fold gently by hand with a large spatula and press out any large lumps of flour that remain by scraping them against the side of the bowl. Small lumps are ok.
Step 7
Divide the batter evenly between the two or three pans, then bake 18-20 minutes for three layers or 20-22 minutes for two layers until a toothpick inserted in the center comes out clean. Allow to cool completely in the pans before removing and assembling.
Step 8
In a large bowl with a handheld mixer, or a stand mixer fitted with the paddle attachment, beat the butter on medium speed until creamy, about 2 minutes.
Step 9
With the mixer on low, add in the powdered sugar, vanilla, and milk or cream. Increase mixer speed to medium and beat until completely smooth, about 3 minutes. If frosting is too stiff, add more milk. If it is too thin, add more powdered sugar. Add salt to taste.
Step 10
For more buttercream troubleshooting tips, see my book, The Home Baker's Guide to Basic Buttercream.
Step 11
Using a large serrated knife or a cake leveler, level the cake layers4 to create flat surfaces.
Step 12
Place one cake layer cut side up on your cake turntable, serving platter, or cake stand. Using a small offset spatula, spread frosting over the cut surface, spreading it out evenly.
Step 13
Place the second layer cut side down, and repeat step 2 with more frosting. If you have a third layer, place that one on top of the frosted second layer, again, cut side down.
Step 14
To make a crumb coat: this is not a required step, but I always like to include one. After your cake is stacked, smooth out the frosting on the sides of the cake peeking out from the layers, then refrigerate the cake for about 20 minutes. When your cake is chilled, spread a thin layer of frosting all over the top and sides of the cake to lock in the crumbs. Refrigerate for 20-30 minutes before adding the final coat of frosting.
Step 15
Spread the remaining frosting all over the top and sides of the cake, then use a bench scraper, if desired, to smooth out the top and sides. Decorate as desired.
Step 16
To add filling to any of the layers: use a piping bag to create a well of frosting around the edges of your cake layer, then spread your filling evenly into the space you created with your well, being careful not to fill higher than the line you created. See photos in the text above for a visual.
Step 17
Refrigerate cake for at least 30 minutes before slicing to help the cake hold its shape. Store leftover cake covered tightly at room temperature up to 3 days, or in the refrigerator up to 5 days.