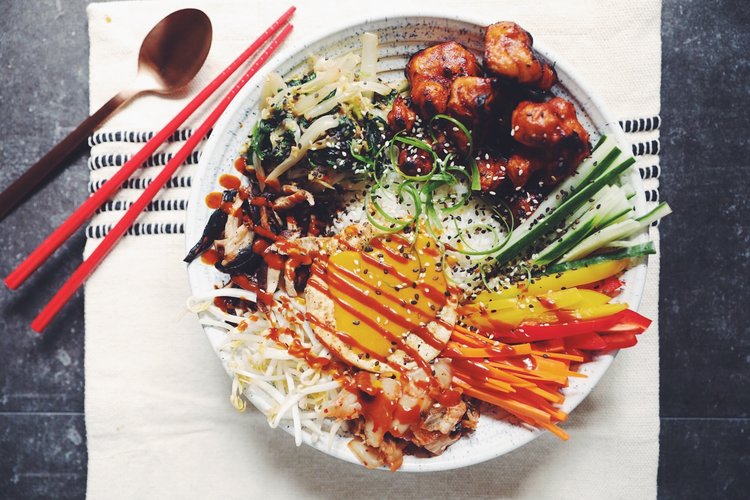
vegan bibimbap with crispy gochujang cauliflower
5.0
(5)
Your folders
Your folders
Prep Time: 90 minutes
Cook Time: 90 minutes
Total: 180 minutes
Servings: 4
Author : Lauren Toyota

Ingredients
Export 33 ingredients for grocery delivery
Instructions
Step 1
Preheat the oven to 450°F.
Step 2
For the battered cauliflower, whisk nondairy milk, brown rice flour, granulated garlic, sea salt and ground black pepper into a bowl. Dip each cauliflower floret into the batter and let the excess drip off or tap the floret on the side of the bowl. Repeat with remaining cauliflower florets.
Step 3
Place each floret onto a parchment lined baking sheet spaced slightly apart. Bake for 30 minutes, flipping halfway through the bake time. When flipping, the florets should easily come away from the parchment paper. If not, they need to bake longer on that side.
Step 4
While the cauliflower is baking, prepare the gochujang sauce by blending all the ingredients together in a high powered blender until smooth. If you don’t have one, you can whisk this sauce together and just replace the fresh ginger with 3 teaspoons of ground ginger.
Step 5
Reserve 1/2 a cup of the gochujang sauce for serving with the bibimbap. You’ll use the remaining amount to coat the baked cauliflower.
Step 6
Once cauliflower is baked, lower the oven to 425°F as it needs to bake at a lower heat the second time to prevent burning the sauce.
Step 7
Brush the baked cauliflower all over with the gochujang sauce. Brushing on the sauce rather than dipping the battered florets will ensure a lighter coating, which is more suitable for the consistency of this sauce.
Step 8
Bake for 18 to 20 minutes, flipping halfway through until cauliflower is browned and the edges are crisp.
Step 9
Meanwhile in a cast iron skillet over medium heat, add 1 tablespoon of vegetable oil. Once hot, place shitake mushroom slices in an even layer in the pan and brown for 3 to 4 minutes. Don’t crowd the mushrooms or they will steam instead of brown. Add sea salt and ground black pepper to taste, and then flip mushrooms to brown the other side for about 3 minutes. Remove from the pan into a dish and set aside.
Step 10
Keep the pan on the heat, but lower if it’s become too hot. Add sesame oil and minced garlic and ginger to the pan. Sauté for 1 to 2 minutes until fragrant and soft. Add napa cabbage and sauté for 3 minutes. Once it’s cooked down and and wilted, reduced to half the amount, push it to one side of the pan. Add all the spinach, lower heat, and place a lid on the pan for 2 to 3 minutes. Remove the lid and spinach should be wilted and bright green. Stir to combine all the greens and remove from the pan and set aside.
Step 11
Your rice can be made in advance according to package directions. Before serving, I like to heat the rice in portions in the hot cast iron to get one side of it crisped up. Traditionally a bibimbap is served in a granite or clay bowl so the rice would get crisp while eating it at the table. It’s also hot AF. I don’t have the means to do this, and I’m sure you don’t either, but if you do go ahead! But heating the rice in the cast iron will get it crispy enough so that you get that texture and experience while you eat.
Step 12
It’s also easy enough to have the egg yolk sauce and tofu egg patties made in advance. You can heat the sauce up and place the tofu patties on top of the rice while you crisp it in the pan. You can also place any of the other cooked veg components in there as well to re-heat.
Step 13
Place rice in your serving bowls, then top with all the veggies, shitake mushrooms, bean sprouts, kimchi, gochujang cauliflower, the vegan egg patties and yolk sauce and garnish with green onions, sesame seeds, and more gochujang sauce for serving.