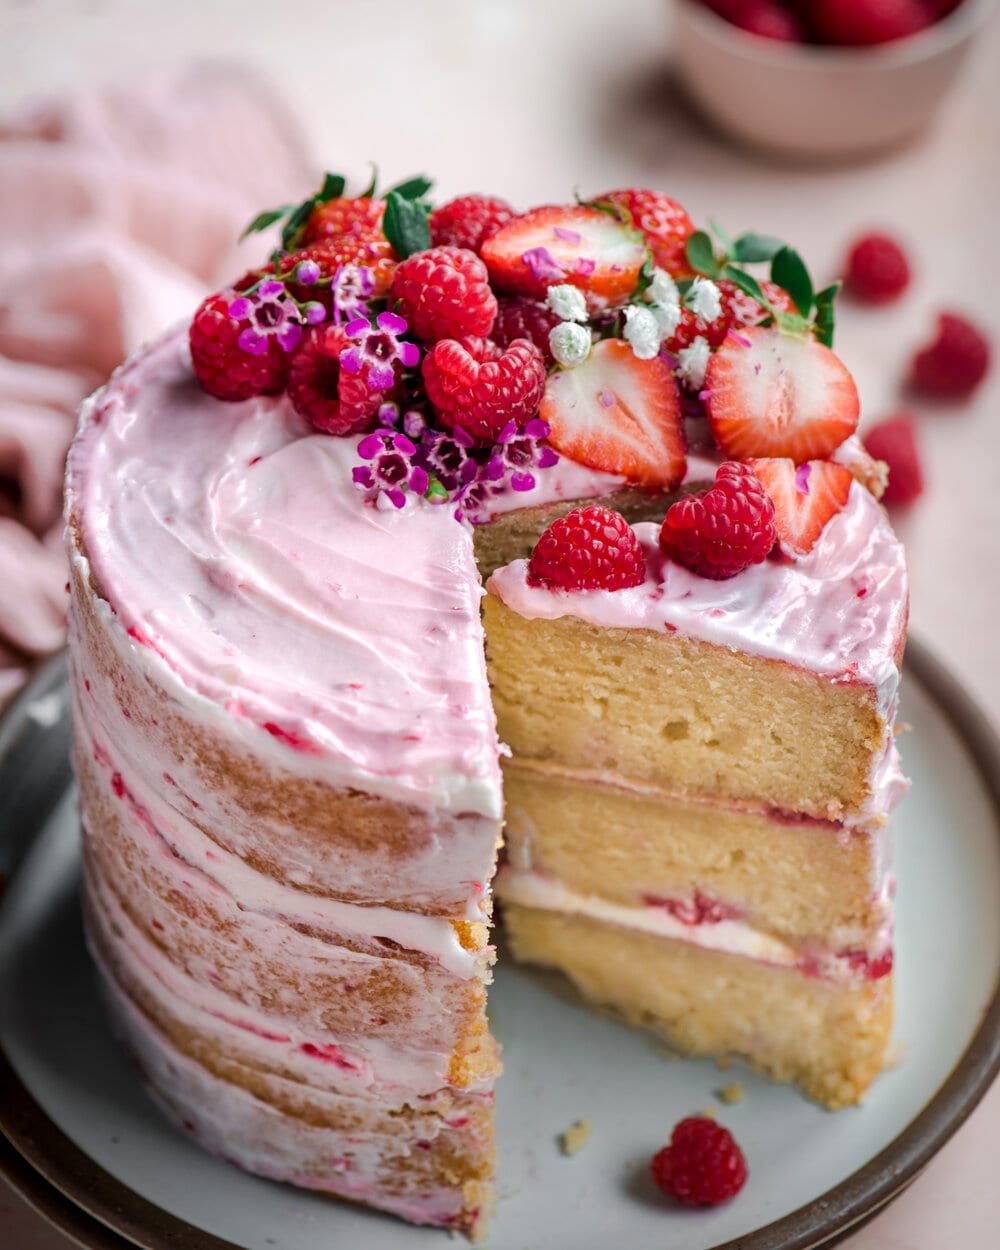
Vegan Dessert Recipes: Vegan Vanilla Layer Cake
5.0
(6)
Your folders
Your folders
Prep Time: 40 minutes
Cook Time: 30 minutes
Total: 120 minutes
Servings: 16

Ingredients
Export 14 ingredients for grocery delivery
Instructions
Step 1
Take the vegan butter out of the fridge to soften.
Step 2
Make the vegan buttermilk. Combine the plant based milk and lemon juice and stir. Set aside to curdle.
Step 3
Preheat the oven to 350°F/175°C. Make three parchment paper rounds for three 6x2-inch (15 x 5 cm) round cake pans and line each pan. Alternatively, you can use two 8-inch (20 x 5 cxm) round pans. Ensure your oven is calibrated or that you’re using an oven thermometer (see notes above in the “equipment needed for baking a vegan layer cake” section).
Step 4
Prepare the aquafaba. Pour 1/2 cup of the liquid from a can of chickpeas into a small bowl. With a handheld electric mixer (or stand mixer), beat the aquafaba on medium speed until it‘s foamy throughout, about 60 seconds.
Step 5
Whisk together the dry ingredients. Add the flour, salt, baking soda, and baking powder to a medium bowl and whisk well to ensure the leaveners will be evenly distributed throughout the cake.
Step 6
Cream the wet ingredients. Add the softened butter, oil, and cane sugar to a large bowl. Using the mixer, beat until the ingredients are well incorporated and starting to get fluffy, 60 seconds or so. Add in the whipped aquafaba, vanilla extract, orange juice (if using), and orange zest (if using). Mix until just combined, 15-20 seconds.
Step 7
Add half of the flour mixture into the butter-sugar mixture, beating on low speed until just combined, taking care to not over beat. Then add the vegan buttermilk and beat until just combined. Finally, add in the remaining flour mixture until you have a mostly smooth batter, but do not overmix. It’s okay if there are a few flour pockets remaining. Overbeating can cause the cake to become dense or dry. The batter should be fairly light and fluffy at this point.
Step 8
Divide the batter equally in the prepared pans, using a digital scale to measure each pan so each cake is equal in size. The batter in each of my three 6-inch pans ended up weighing 440 grams each. Scatter the raspberries evenly over the top of each cake, but do not press them down.
Step 9
Bake 6 x 2 inch (15 x 5 cm) cakes for 30 minutes, or until the center is set and the cake has puffed up a bit and just started to pull away from the pan, and a toothpick inserted comes out with only a few moist crumbs. If you are using two 8 x 2 inch (20 x 5 cm) cakes, bake for 30-35 minutes.Note: I recommend checking 5 minutes before the time is up, as every oven is different and it might be done sooner.
Step 10
Cool the cakes in their pans for at least 30 minutes, then carefully invert them onto a cooling rack. Cool completely before adding assembling the cakes.
Step 11
Assemble the cakes: If you have the time, I recommend refrigerating the cakes and frosting (see the section above called “Assembly”).a. Place one layer cake on a cake platter or plate. Spread a thin layer of the Raspberry Jam on top. Then add 1/4 of the Tangy Buttercream Frosting and smooth with an offset spatula. Top with the next layer cake. And repeat the process, adding more jam and frosting. Finish with the final layer cake, adding jam and frosting on top.b. Using the offset spatula, apply the remaining buttercream to the sides of each cake layer, starting at the bottom, working your way up to the top. For a naked cake look, you just want a thin layer.c. When the sides are covered, use a bench scraper to smooth the sides and to achieve the naked cake look.d. Using the offset spatula, smooth out the top layer of frosting until it’s level. You can serve now, or refrigerate for 1-2 hours to set the cake.
Step 12
Store leftovers in an airtight container in the fridge for a few days.