Viral Tortilla Hack (12+ Filling Ideas and low-carb options!)
5.0
(12)
Your folders
Your folders
Author : Samira

Ingredients
Export 2 ingredients for grocery delivery
Instructions
Step 1
Decide how many folds you want: Whether you want 3 or 4 sections will change how you fill the tortilla wrap, you need to know this in advance.
Step 2
Make the cut: In the center of the tortilla (or nori/damp rice paper sheet), make a cut outwards to the edge of the tortilla.
Step 3
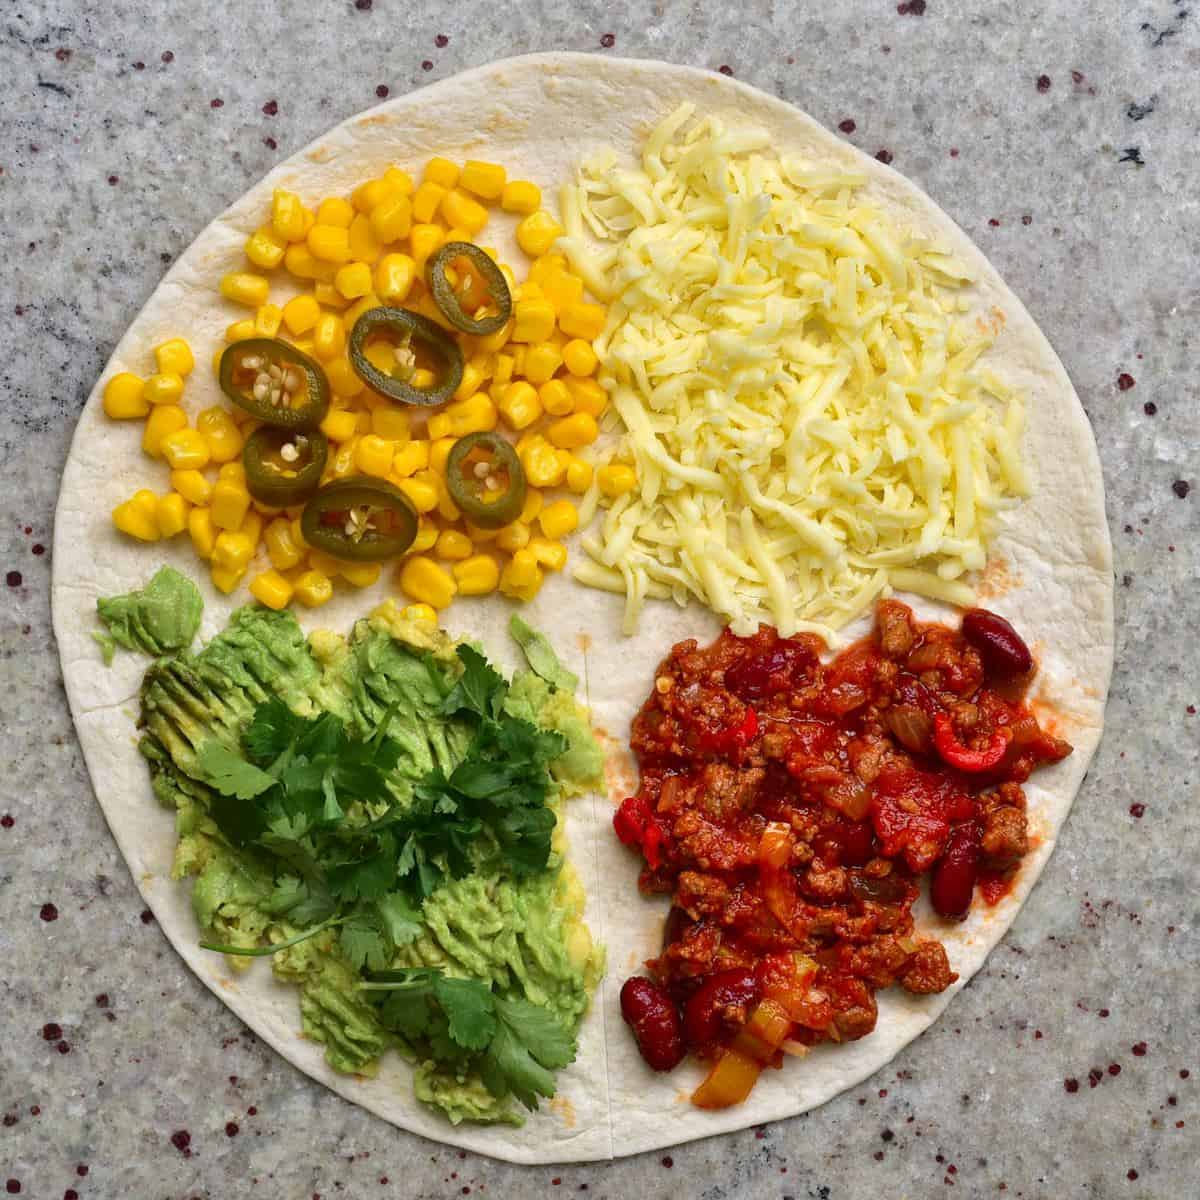
Add the fillings: Visually divide the surface area into 3 or 4 parts based on the layers you want and place your toppings.If you imagine the wrap to be like a clock-face and have the cut facing down towards 6 pm, then for 4 layers 1-3,3-6,6-9, and 9-12 will be the separate sections (with 1-6, i.e., the half on the right of the cut as your two outer layers). For three parts, then, 6-10, 10-2, and 2-6 will be where the layers are (with 10-6 as the outer layers). Use the images/video as a reference.
Step 4
Fold it: Start by folding the wrap from the left side of your cut and flip and flip again until you have a completely folded tortilla.
Step 5
Heat It (OPTIONAL): For a homemade quesadilla style dish, you can not heat your tortilla wrap. Use a sandwich press, grill, or hot skillet and lightly heat for 1-2 minutes on each side, or until lightly browned. You can do this step with or without oil/butter.
Step 6
To make ahead: Prepare your tortilla wrap, skipping step five, and store it in the fridge or freezer (like you would any wrap- in plastic wrap/beeswax wrap) for later. The shelf life will depend on your fillings. This method is similar for crepe wraps too.Nori wraps: Just like sushi, nori wraps are best eaten within 1-2 days- as refrigeration will cause the nori to become softer and lose the crisp texture.Rice paper: These are best enjoyed immediately. Rice paper dries out and becomes rubbery when refrigerated. However, if you tightly wrap it in clingfilm, it may last 1-2 days