Yaki Onigiri
4.6
(20)
Your folders
Your folders
Prep Time: 15 minutes
Cook Time: 15 minutes
Total: 30 minutes
Servings: 6
Author : Namiko Chen
Ingredients
Export 4 ingredients for grocery delivery
Instructions
Step 1
Gather all the ingredients. Cook the rice in the rice cooker, pot over the stove top or pressure cooker.
Step 2
Let the cooked rice cool a little bit until you can hold rice without burning your hands. Do not let the rice completely cool down.
Step 3
Make Onigiri into triangle shapes. First wet both of your hands with water so rice won't stick.
Step 4
Then put some salt in your hands and rub to spread all around.
Step 5
Scoop about a half cup of rice onto your palm.
Step 6
Cover the rice with the other hand and gently form the rice into a triangle.
Step 7
Make sure covering hand (my right hand) should be forming a triangle shape. When forming the onigiri shape, your hands should be just firm enough so the onigiri doesn't fall apart. You don't want to squeeze the rice too tight.
Step 8
I use three fingers (thumb, index finger, middle finger) to cover the area to make a nice triangle shape. Then rotate onigiri to make a perfect triangle.
Step 9
While you squeeze onigiri firmly with both hands, one of your hand (my left hand) has to press onigiri to keep a nice form. Left photo is before squeezing and right photo is after.
Step 10
Gently squeeze the center of triangle on both sides so there is a slight indentation (for grilling onigiri). Now onigiri is ready! You can tell I’m not a good onigiri maker – no matter how many years I have been practicing.
Step 11
Lightly oil a cast iron skillet and put it on medium heat.
Step 12
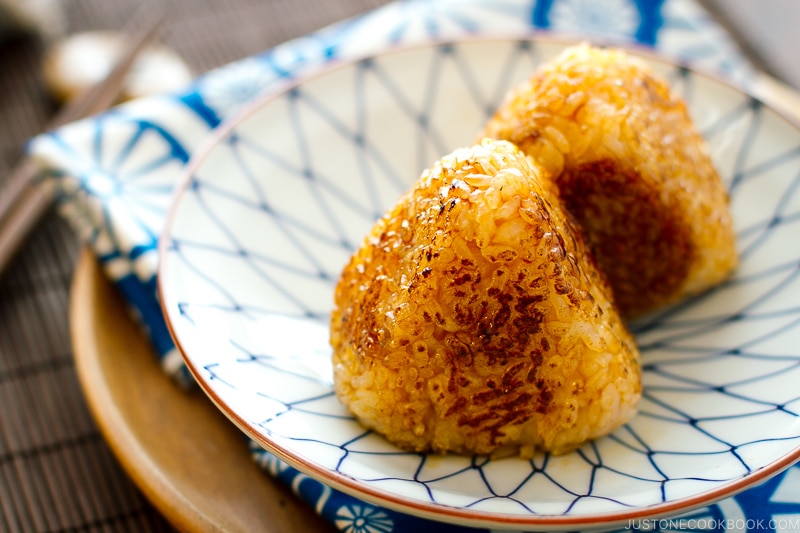
Grill onigiri until all sides are crispy and lightly browned. Don't turn it around. Just work on one side at a time and avoid turning over frequently.
Step 13
Lower heat to medium low and brush all sides with soy sauce (unagi sauce). Rotate to make sure all sides become crispy. Be careful not to burn onigiri after you brush it with the sauce.
Step 14
Rice gets hard when you refrigerate. You can individually wrap the Yaki Onigiri in plastic wrap and cover them with kitchen towel and store in the refrigerator for up to 2 days. The towel will prevent the rice from getting too cold and keep the food stay cool but not cold. When you're ready to eat, bring it back to room temperature and reheat in microwave or frying pan.