Basic Country Sourdough Bread Recipe
5.0
(2)
Your folders
Your folders
Author : Martin

Ingredients
Export 4 ingredients for grocery delivery
Instructions
Step 1
Combine the levain and the 740 grams of water. Use a Thermapen ONE to make sure the water is between 80° and 85°F (27° and 29°C).
Step 2
Add half of each of the flours to the levain-water mixture and combine to form a smooth batter.
Step 3
Add the rest of the flour to the batter and mix it until it is a shaggy mass with no dry lumps visible.
Step 4
Allow the dough to rest, covered, on the counter top for 30 minutes. This will allow the natural enzymes in the flour to create a more easily workable and shapeable dough that will have a better texture.
Step 5
Uncover the dough and sprinkle the salt evenly over the surface.
Step 6
Add the remaining 50 grams of water, also around 85°F (29°C), wetting all the salt.
Step 7
Mix the dough by squeezing and pinching it between your thumbs and fingers. Continue until you feel no lumps in the dough.
Step 8
Cover the dough and let it rest in a warm place (80–90°F [27–32°C]) for 1 hour, until it has risen by about 30%.
Step 9
Flour a work surface.
Step 10
Tip your dough out onto the surface and scrape as many bits free from the bowl as possible.
Step 11
With a bench scraper or sharp knife cut the dough into two equal halves.
Step 12
Working with one lump, created the shape and some surface tension on the bread by basically doing another fold: pull the part that is farthest from you out away from you and then fold it in onto the top of the lump.
Step 13
Do the same for the sides and the part nearest you.
Step 14
Turn the dough over and pull and tuck the edges in under the loaf, creating tension on the surface of the loaf.
Step 15
Repeat with the other loaf.
Step 16
If you have proofing baskets, sprinkle them with rice flour. If not, line two bowls with cloths (such as a cotton or linen napkin) and sprinkle the cloths with rice flour.
Step 17
Place the loaves seam-side up in the bowls/baskets.
Step 18
Place the loaves in a warm place to proof for as little as one hour in an oven with a proof setting or a cooler with a few inches of hot water in the bottom of it. Your proof-box should be between 75° and 85°F (24° and 29°C). They should rise and feel airier, but not be completely inflated. They can also proof in the refrigerator overnight. (See section on proofing times above.)
Step 19
While the bread is proofing, preheat your oven to 500°F (260°C) with a lidded cast-iron pan inside.
Step 20
(Note: your bread will bake better if you have a baking stone on the oven rack below your bread. It will act as a buffer against the heating elements in the bottom of your oven.)
Step 21
Once the bread is proofed, turn it out onto a piece of parchment paper.
Step 22
Score the top of the loaf with a sharp knife or a razor blade, cutting a square around the crown of the bread.Remove the cast-iron pot from the oven.
Step 23
Lift the parchment paper with the bread on it and lower it carefully into the cast iron pot.
Step 24
Place the lid on the pot, put it in the oven, and lower the oven temperature to 475°F (246°C).
Step 25
Set a timer for 20 minutes and bake.
Step 26
Once 20 minutes has elapsed, set your ChefAlarm to 200°F (93°C), remove the lid from the pot and insert a probe into the center of your bread.
Step 27
When the alarm sounds on your ChefAlarm, verify the temperature with your Thermapen ONE.
Step 28
Remove the bread from the oven and place the new, uncooked loaf in the pot, following the same method for cooking it.
Step 29
Allow the bread to cool on the countertop for at least an hour.
Step 30
Slice, or just tear the bread into chunks, eating it with plenty of good, salted butter and jam.
Top similar recipes
Curated for youYour folders

 91 views
Basic Country Sourdough Bread Recip...
blog.thermoworks.com
5.0
(2)
Your folders

 232 views
Recipe: Basic Sourdough Bread
culturesforhealth.com
4.0
(52)
30 minutes
Your folders
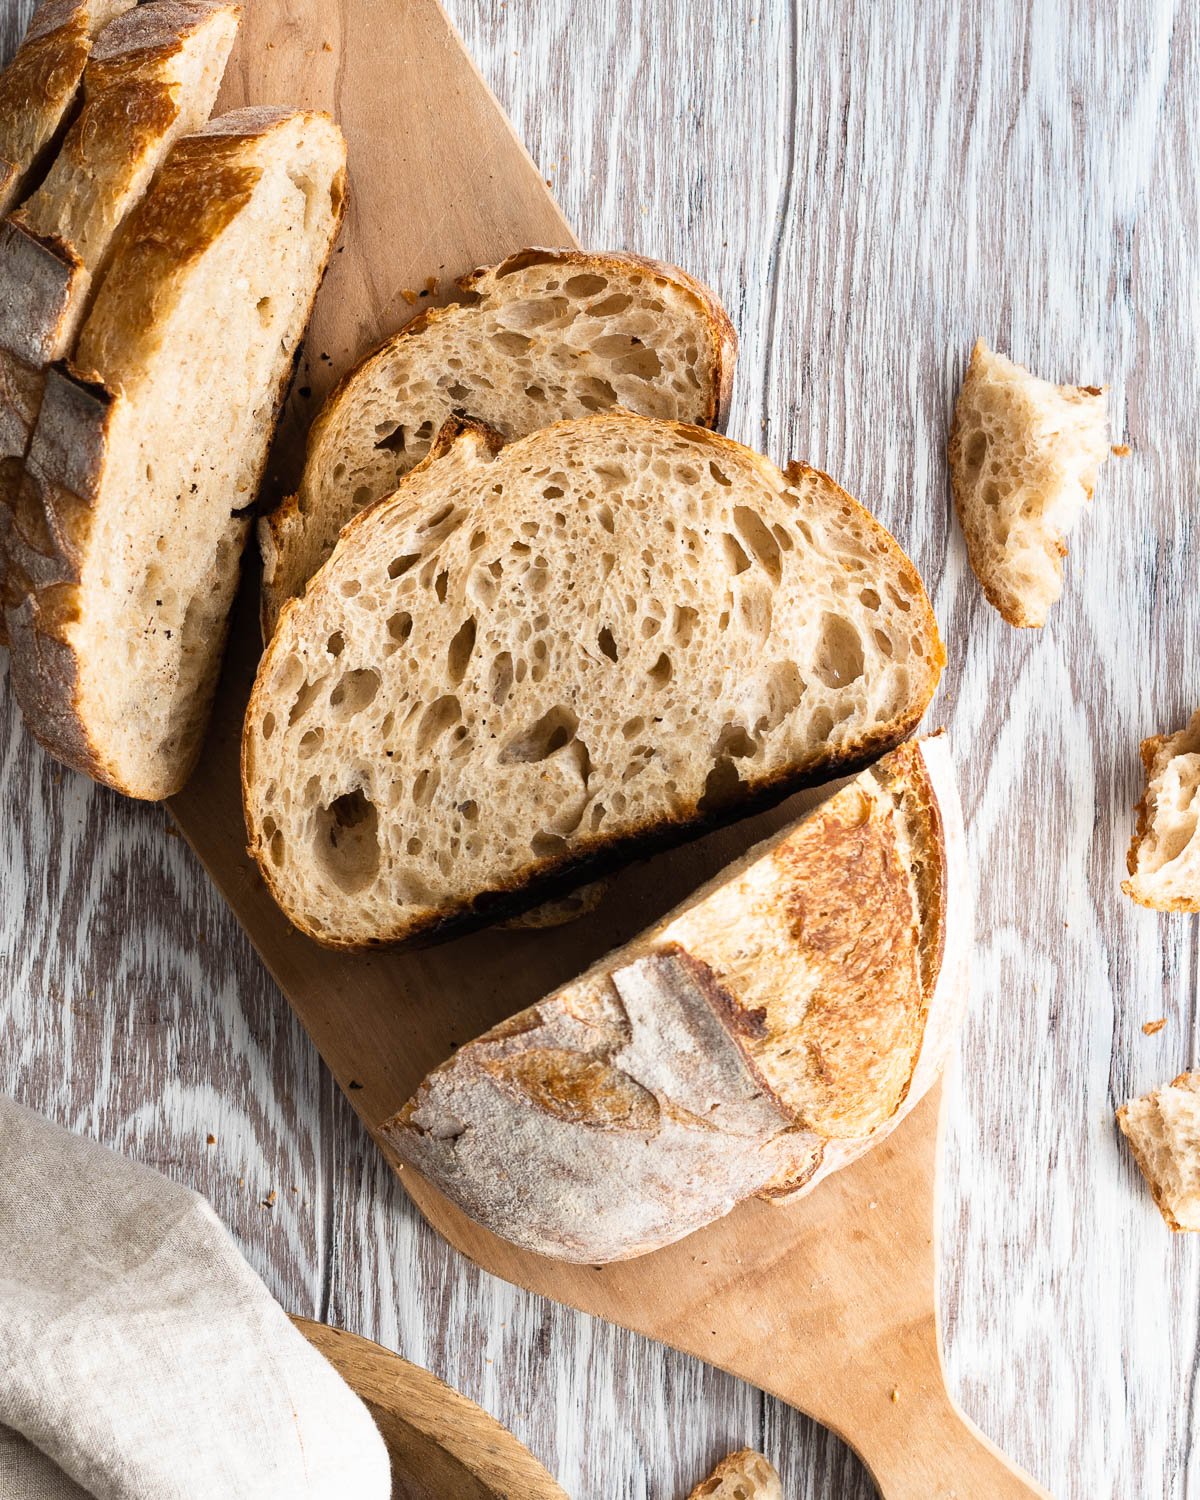
 121 views
Basic Sourdough Bread Recipe
makeitdough.com
4.5
(20)
40 minutes
Your folders
 85 views
Basic Sourdough Bread Recipe
print.grow.me
Your folders
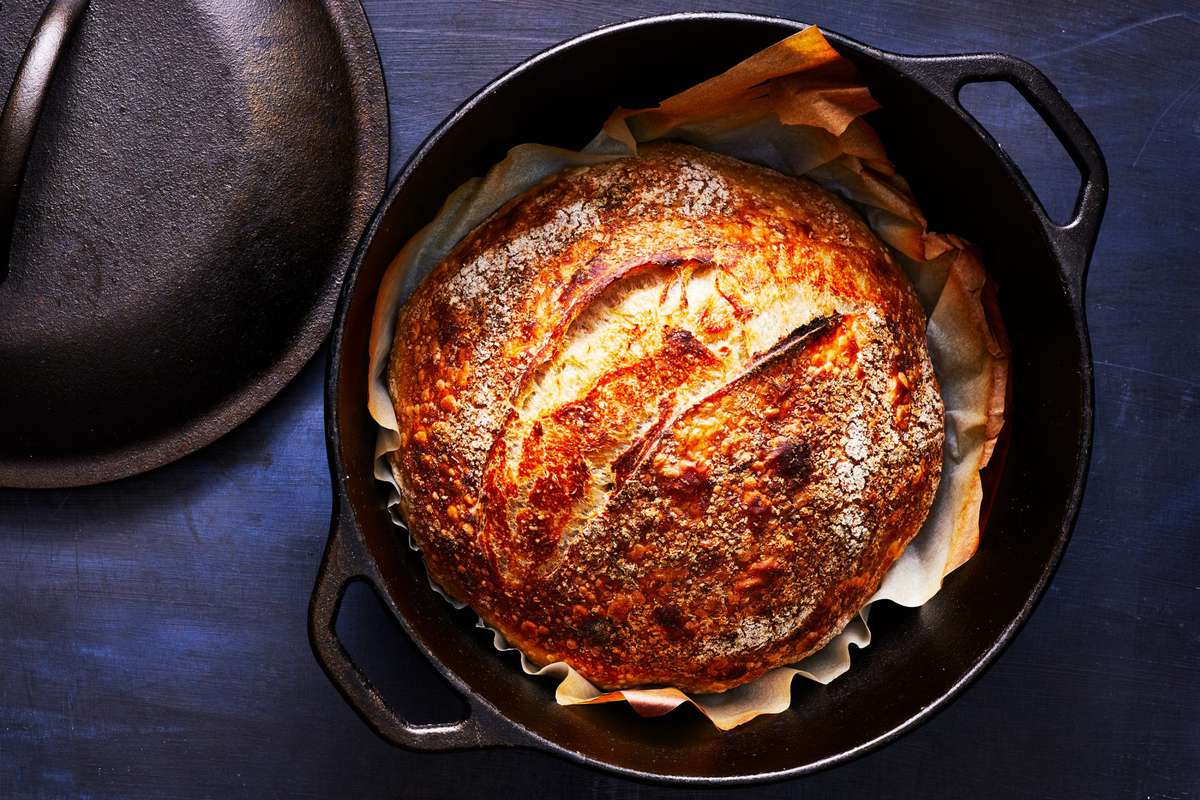
 194 views
Sourdough Country Bread
foodandwine.com
5.0
(1)
Your folders

 1037 views
Basic Sourdough Bread
foodnetwork.com
1 hours, 5 minutes
Your folders
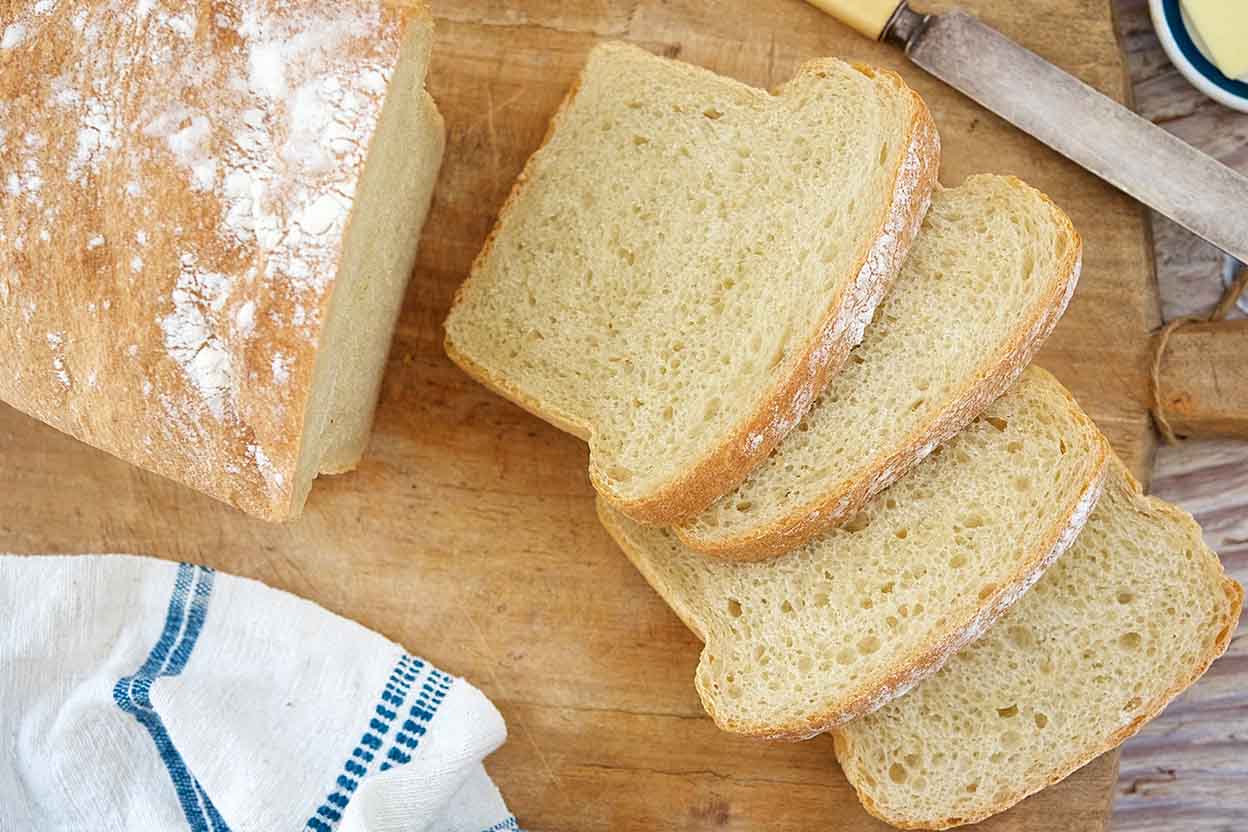
 573 views
Basic Sourdough Bread
kingarthurbaking.com
4.6
(241)
50 minutes
Your folders
 247 views
Basic Sourdough Bread
pinchmysalt.com
4.4
(64)
20 minutes
Your folders

 455 views
Tartine Basic Country Bread
karenskitchenstories.com
Your folders
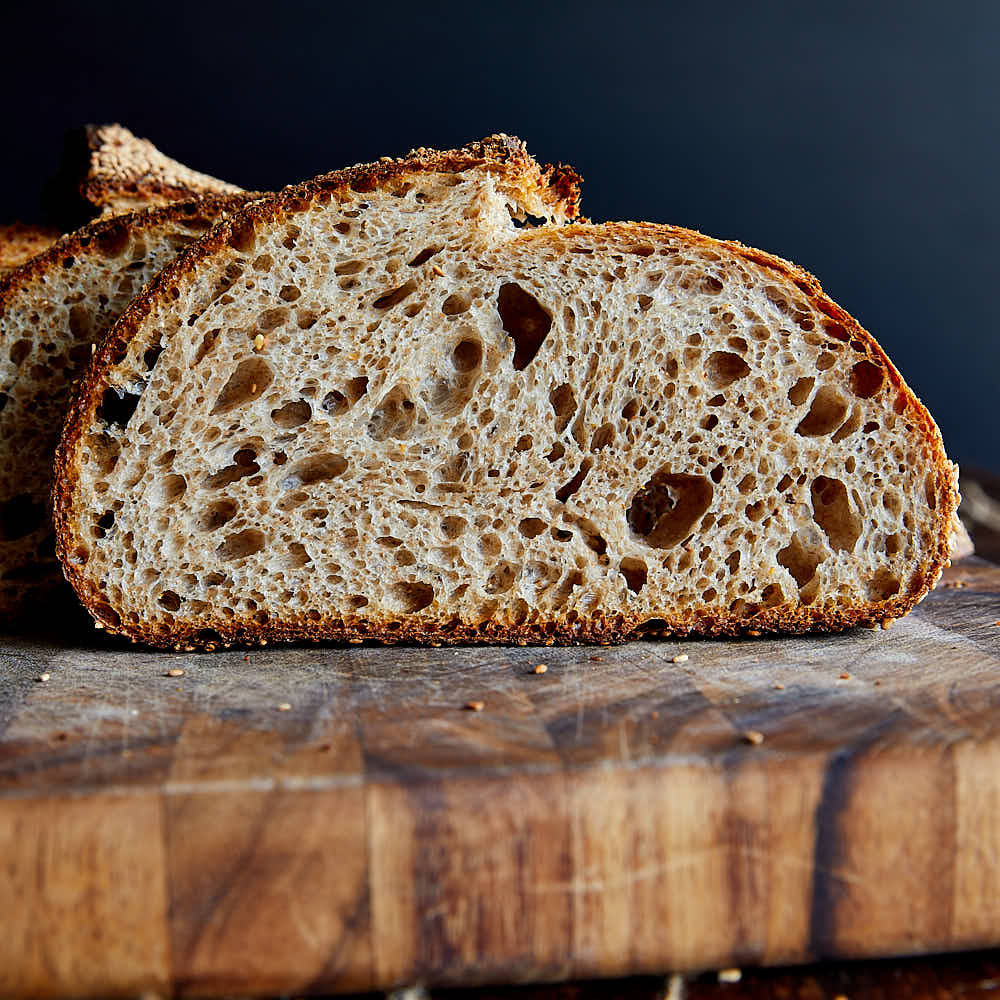
 299 views
Basic Artisan Sourdough Bread Recip...
tasteofartisan.com
4.9
(15)
Your folders
 89 views
Country-Style Sourdough Bread
epicurious.com
3.3
(18)
Your folders
 157 views
Sourdough Country Loaf Bread
littlespoonfarm.com
Your folders
 287 views
Bettie's Basic Sourdough Bread
bakerbettie.com
4.7
(30)
1 hours
Your folders
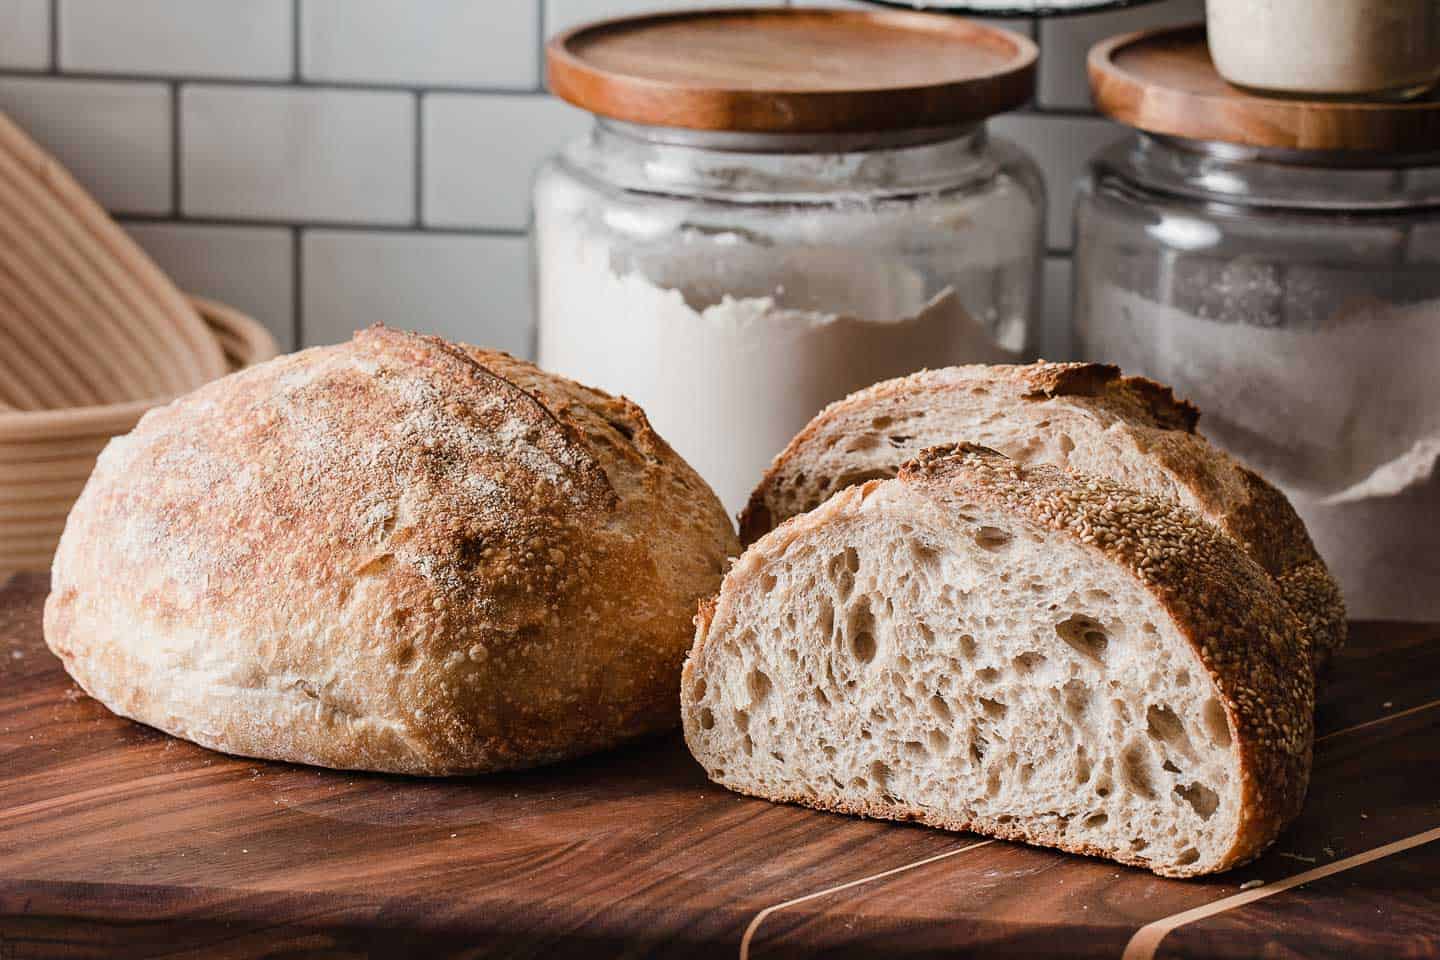
 699 views
Sourdough Country Loaf Recipe
littlespoonfarm.com
5.0
(55)
50 minutes
Your folders
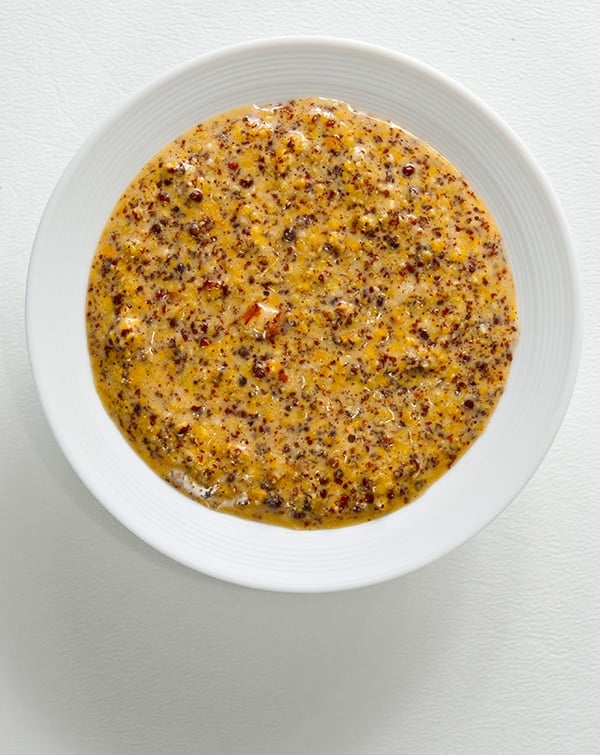
 905 views
Basic Country Mustard
honest-food.net
4.9
(27)
Your folders
 53 views
Basic Country Mustard
honest-food.net
Your folders

 316 views
Basic bread recipe
jamieoliver.com
Your folders

 196 views
Basic All Purpose Sourdough Sandwic...
breadtopia.com
55 minutes
Your folders

 518 views
Basic Sourdough Muffin
culturesforhealth.com
30 minutes