Bettie's Basic Sourdough Bread
4.7
(30)
Your folders
Your folders
Prep Time: 5 hours
Cook Time: 1 hours
Total: 6 hours, 2 minutes
Servings: 1
Author : Baker Bettie
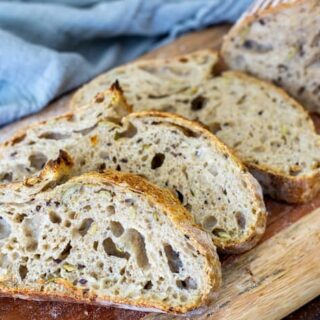
Ingredients
Export 3 ingredients for grocery delivery
Instructions
Step 1
8:00 am Feed Starter: About 30 hours before you want to bake your bread, feed your starter. For this recipe I use these ratios: Keep 20 gr of starter and feed 20 gr of whole wheat flour, 40 gr of unbleached ap flour or bread flour, and 60 gr of filtered water at 85 F (30 C). This gives me about 140 gr total starter which is enough to go into the dough and enough to feed for the next day.
Step 2
1:30 pm Autolyse: In a large mixing bowl, combine your water and flour together. Use your hands to thoroughly combine the ingredients until the flour is completely saturated. The dough will look very shaggy and not very cohesive at this point. Cover and let sit for at least 30 minutes and up to 2 hours.
Step 3
2:00 pm Float Test: About 6 hours after feeding your starter, gently drop a spoonful of starter in a glass of water. If it floats then it is ready to leaven your dough. If it doesn't float, give it a bit more time to get active. You will have a few hour window of when your starter will be active enough to go into your dough.
Step 4
2:10 pm Mix Final Dough: Spread 100 gr of ripe starter of the dough and dimple it in and then fold the dough over to encase it inside. Next, sprinkle the 10 grams of salt over the top of the dough. Begin mixing the salt into the dough by squeezing and massaging it, then folding it over itself to evenly distribute. Continue squeezing the dough and folding until it is well combined- about 2 minutes.
Step 5
2:15 pm - 8:15 ish pm Bulk Ferment: Cover the dough with plastic wrap, a shower cap, or a damp kitchen towel in the mixing bowl and let sit at room temperature (68-74 F, 20-23 C) for 6 hours. Do 4 rounds of stretch and folds about every 20-30 minutes during the first few hours of bulk fermentation.
Step 6
8:15 pm Shape: Turn the dough out onto a very lightly floured work surface, being careful not to deflate. Pick up a piece of dough and pull it into the center. Continue working around the dough, pulling the edges in overlapping the previous piece until it is rounded into a tight ball. Flip the dough over and pull the dough towards you to build some tension and round it into a ball. Let the dough sit for about 2-3 minutes to seal the seam underneath.
Step 7
8:30 pm Proof: Dust a 9" round banneton basket or a bowl lined with a lint free towel with rice flour. If you do not have a banneton basket, you can line a bowl with a tea towel and dust that with rice flour. Turn the shaped loaf into the prepared banneton (or bowl) with the seam side up. Let sit at room temperature (68-74 F, 20-23 C) for about 1 hour.
Step 8
9:00 pm - 1:00 pm next day Retard: Place the proofed dough into the refrigerator to retard for 12-18 hours. This will improve the flavor of the final bread and also can help the loaf hold its shape a bit better.
Step 9
12:00 pm next day, Prep Oven: At least an 45 minutes before baking your bread, preheat the oven to 450 F (230 C) with your dutch oven inside.
Step 10
1:00 pm Score: Turn the loaf out onto a piece of parchment paper and use a bread lame or a sharp knife to score it however you like. I typically just make one big slash down the middle.
Step 11
1:00 pm Bake: Transfer the dough on the parchment paper carefully into your hot dutch oven or oven safe pot that is at least 4 qts in size. Place the lid on top and place it on the center rack of the oven. Turn the temperature down to 425 F (220 C). And bake with the lid on for 35 minutes. Take the lid off and bake the loaf for 15-20 more minutes until you reach your desired color.
Step 12
Cool: Allow the bread to cool on a cooling rack for at the very least 1 hour before slicing it. Preferably let it cool for 4-12 hours for the best flavor, texture, and to prevent it from staling too quickly.
Step 13
Store: Keep the bread at room temperature completely uncovered for the first 24 hours. If you have sliced into the bread, place the bread cut side down on your cutting board. For day 2 & 3 I generally transfer it into a ziplock bag and refresh it by toasting it because the crust will get soft. After that, I slice it and store it in the freezer. Toast to refresh from frozen.
Top similar recipes
Curated for youYour folders

 1043 views
Basic Sourdough Bread
foodnetwork.com
1 hours, 5 minutes
Your folders
 580 views
Basic Sourdough Bread
kingarthurbaking.com
4.6
(241)
50 minutes
Your folders
 258 views
Basic Sourdough Bread
pinchmysalt.com
4.4
(64)
20 minutes
Your folders

 236 views
Recipe: Basic Sourdough Bread
culturesforhealth.com
4.0
(52)
30 minutes
Your folders
 128 views
Basic Sourdough Bread Recipe
makeitdough.com
4.5
(20)
40 minutes
Your folders
 92 views
Basic Sourdough Bread Recipe
print.grow.me
Your folders

 205 views
Basic Country Sourdough Bread Recip...
blog.thermoworks.com
5.0
(2)
Your folders
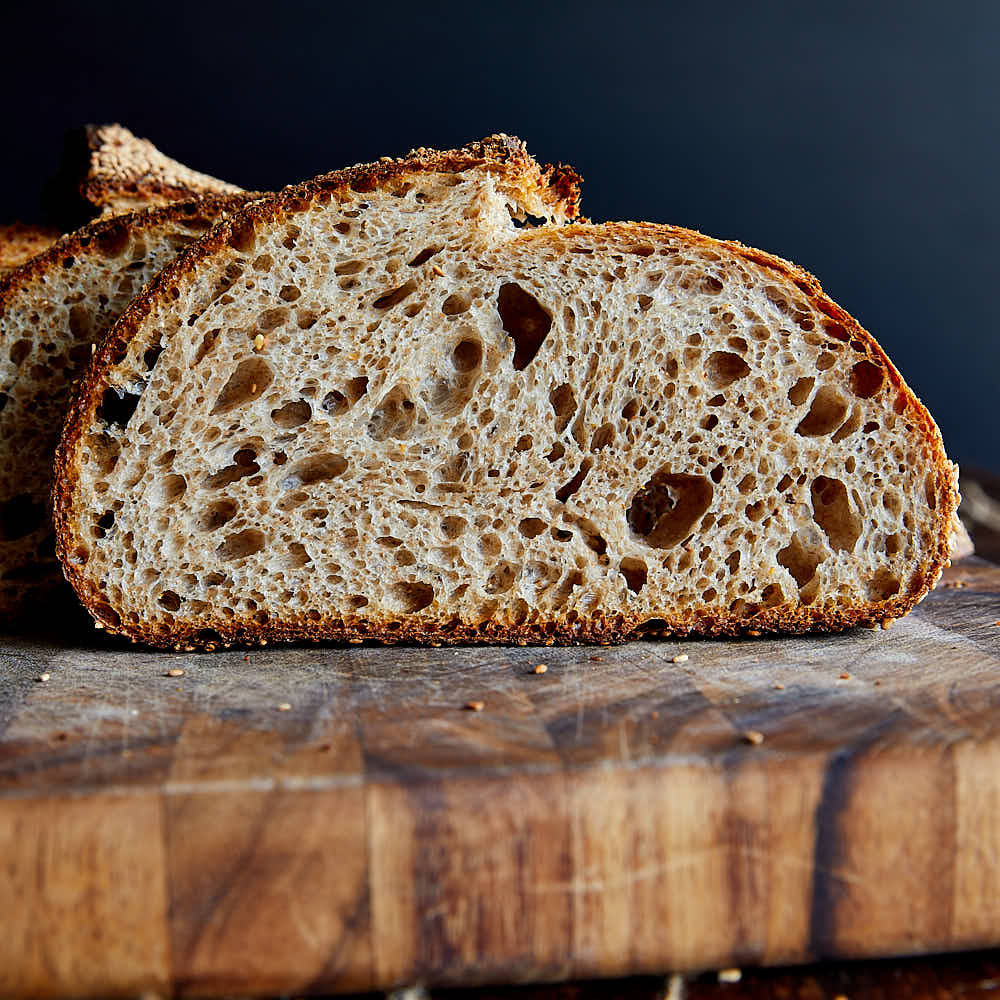
 301 views
Basic Artisan Sourdough Bread Recip...
tasteofartisan.com
4.9
(15)
Your folders

 93 views
Basic Country Sourdough Bread Recip...
blog.thermoworks.com
5.0
(2)
Your folders

 201 views
Basic All Purpose Sourdough Sandwic...
breadtopia.com
55 minutes
Your folders
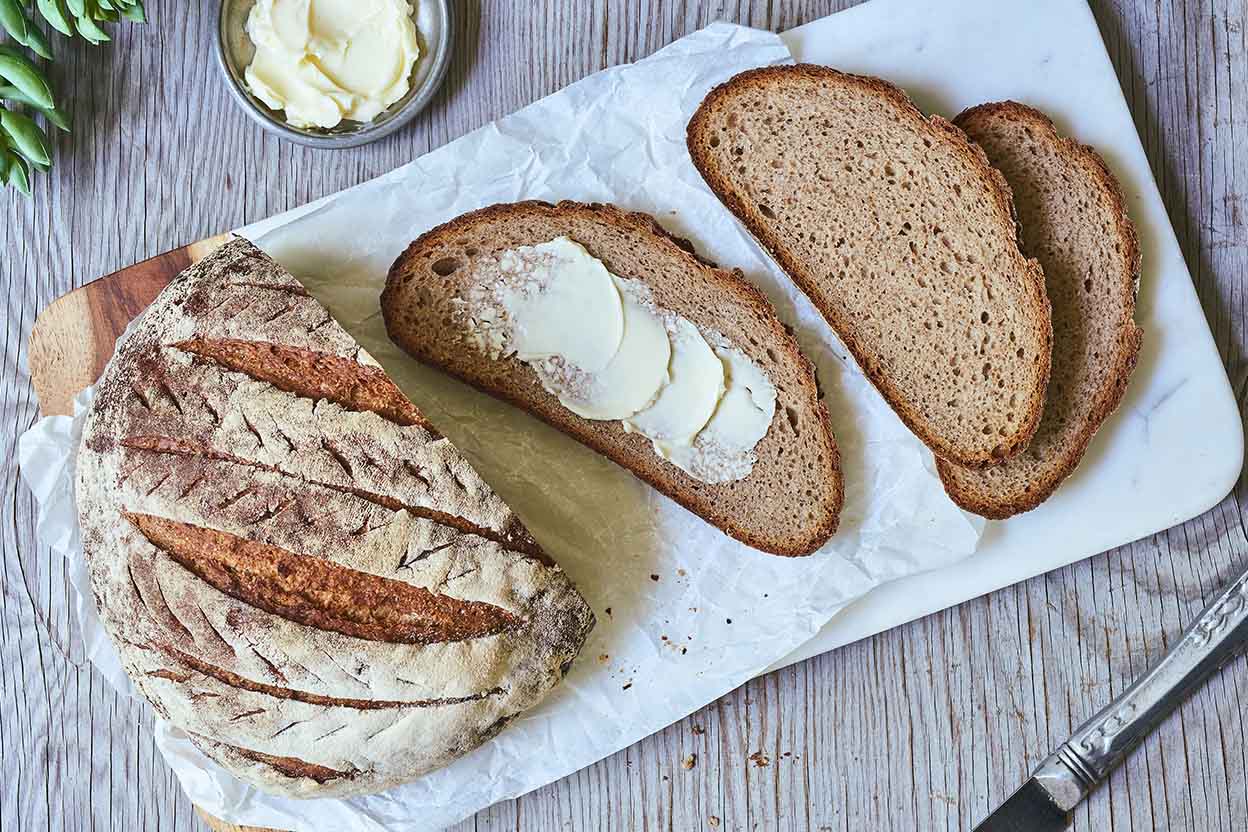
 352 views
Jeffrey's Sourdough Rye Bread
kingarthurbaking.com
3.6
(54)
45 minutes
Your folders
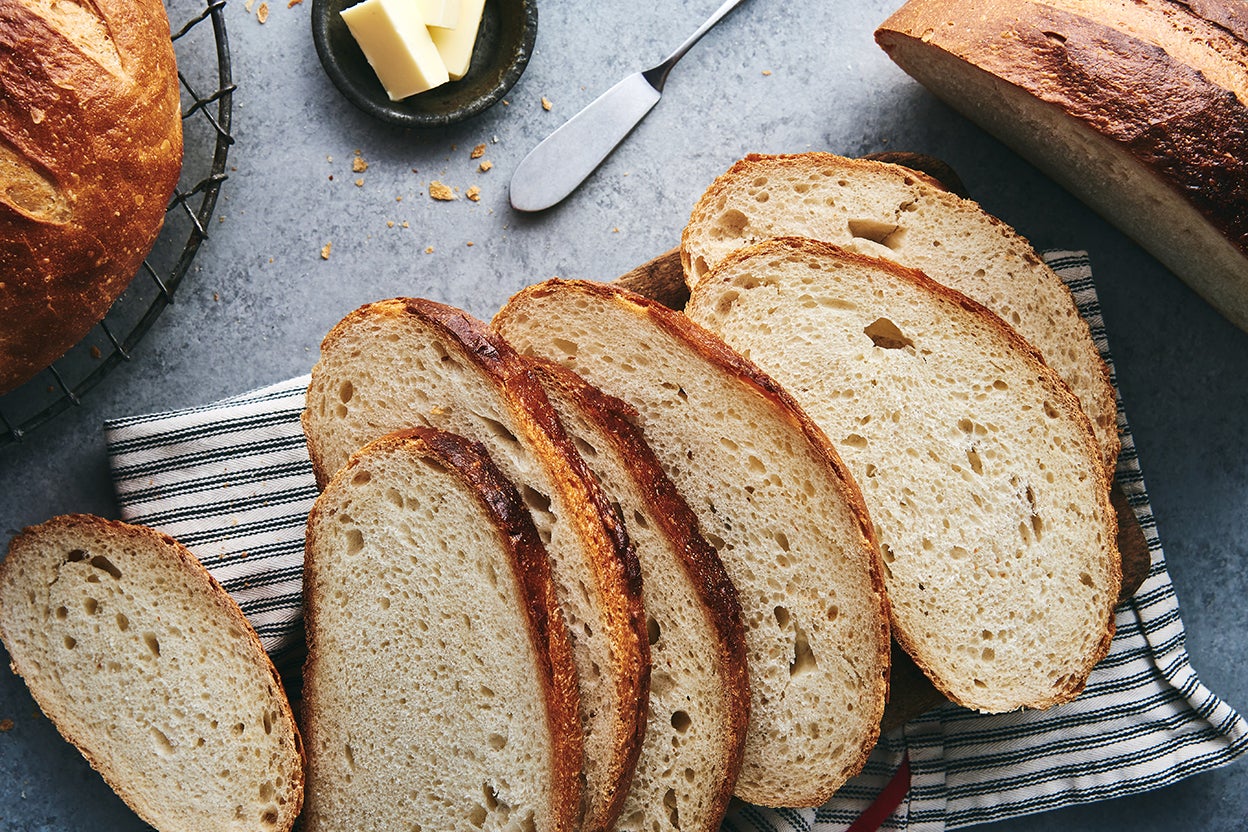
 319 views
Merlin's Magic Sourdough Bread
kingarthurbaking.com
4.3
(112)
35 minutes
Your folders
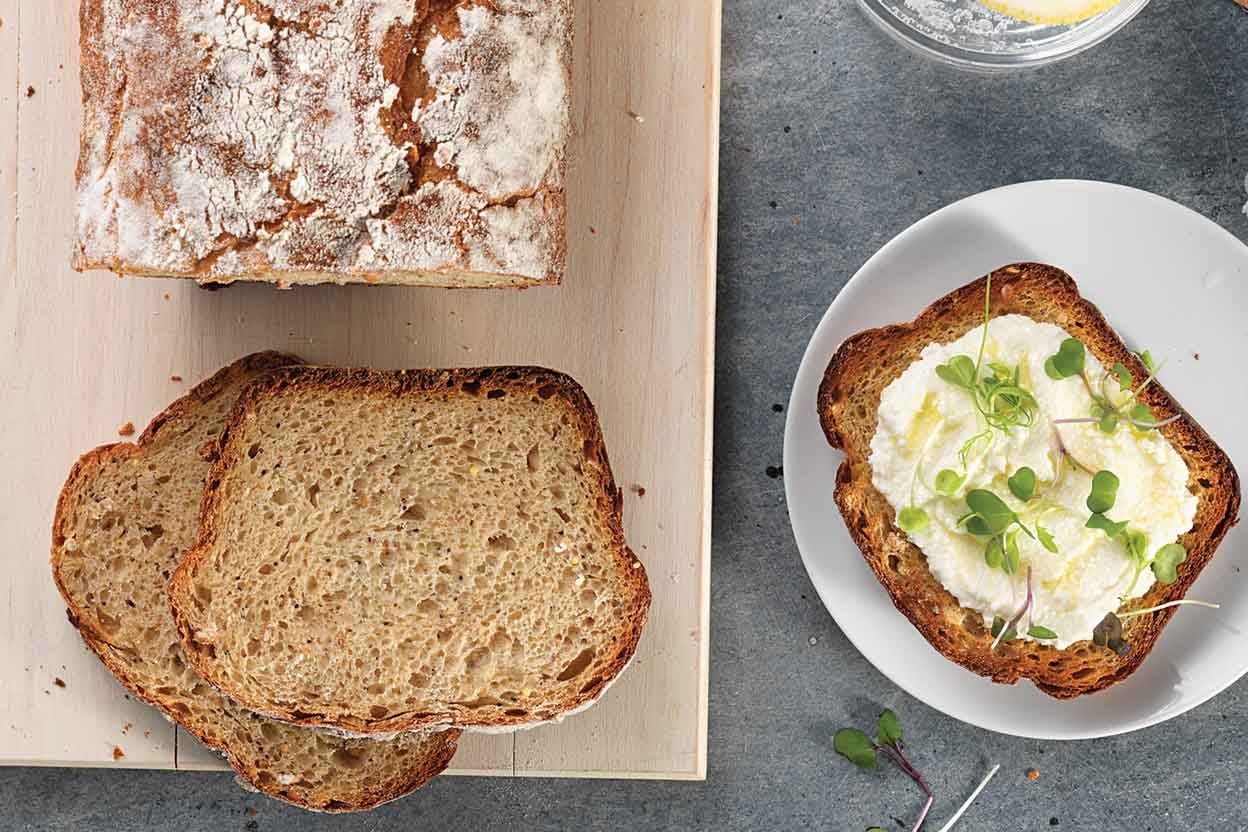
 470 views
Baker's Grain Sourdough Bread
kingarthurbaking.com
4.3
(30)
40 minutes
Your folders

 525 views
Basic Sourdough Muffin
culturesforhealth.com
30 minutes
Your folders

 611 views
A Study in Sourdough: Part 2- Basic...
kitchenjoyblog.com
30 minutes
Your folders
 313 views
Basic Sourdough Bread - 1, 2, 3 Met...
food.com
35 minutes
Your folders
 446 views
Basic Bread
instantveg.com
5.0
(1)
15 minutes
Your folders
 313 views
Basic All-Purpose Flour Sourdough B...
heartbeetkitchen.com
4.7
(79)
45 minutes
Your folders

 2337 views
Sourdough Bread
feastingathome.com
4.9
(468)
13 hours