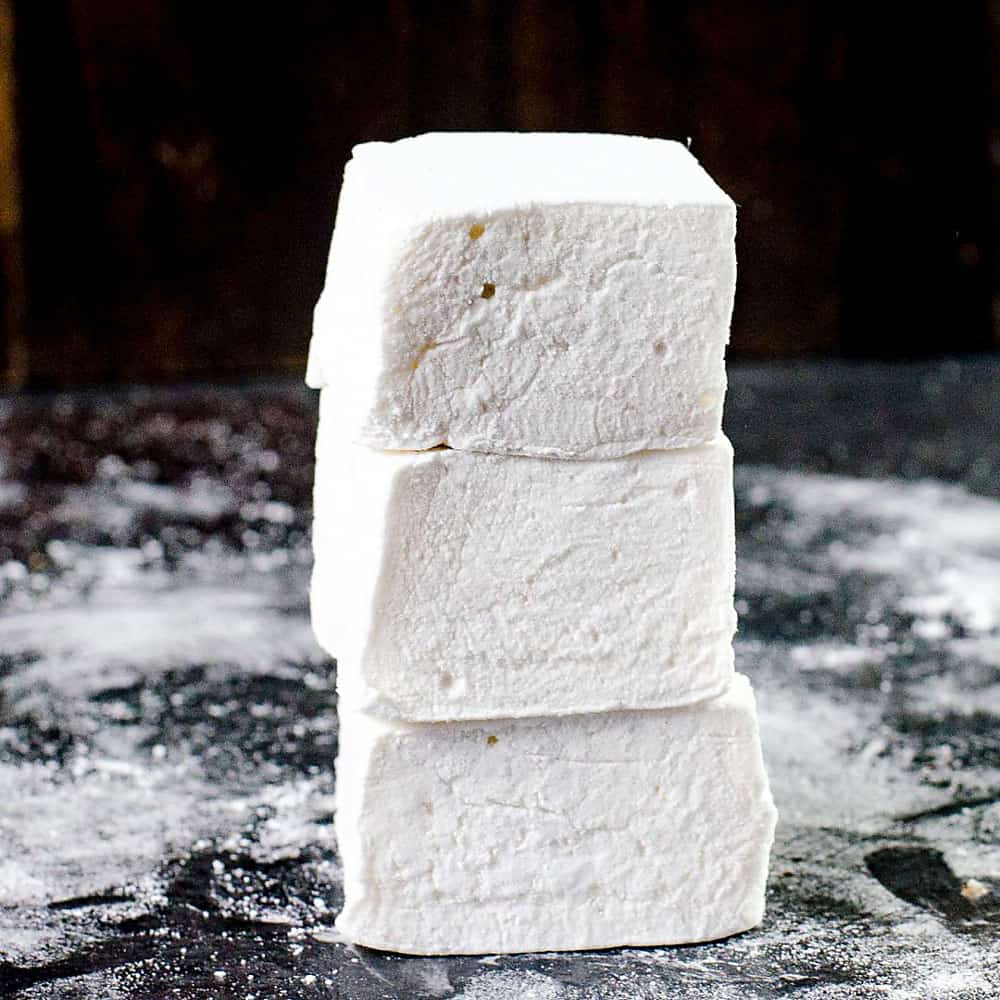
Basic Homemade Marshmallows
5.0
(111)
Your folders
Your folders
Prep Time: 10 minutes
Cook Time: 20 minutes
Total: 390 minutes
Servings: 64
Author : Dini

Ingredients
Export 4 ingredients for grocery delivery
Instructions
Step 1
Place the sugar, agave syrup (or corn syrup), and water in a pot. Stir until the sugar is moistened and mixed with the water.
Step 2
If you’re not using agave or corn syrup, place the sugar in the saucepan and pour the water along the edge of the saucepan. Make an “X” in the sugar using your finger - wall to wall, to let the water spread and moisten the sugar.
Step 3
Heat over medium-high heat until the sugar syrup comes to a boil. Gently swirl the pan to evenly distribute the heat.
Step 4
Cover the saucepan with a lid and lower the heat to medium. Let the syrup cook for 2 minutes. Do not lift the lid at this point.
Step 5
After 2 minutes, remove the lid and check to make sure there are no sugar crystals on the side of the saucepan. If there are crystals, then cover the saucepan for a further minute to allow the condensation to wash down the sugar crystals into the syrup.
Step 6
Clip the sugar thermometer to the side of the saucepan, and set the temperature between 242 - 245°F. Let the sugar syrup cook until it reaches this temperature. If you don't have a sugar thermometer, please check the sugar stage every 5 minutes until it reaches the firm-ball stage (please read the recipe notes in the post to learn how to do this).
Step 7
While the sugar syrup is cooking, prepare the gelatin. Place ½ cup of water in the mixer bowl. Add the gelatin to the water and mix to moisten the gelatin. Set aside to allow the gelatin to bloom while the sugar syrup is cooking (at least 10 minutes). Place the bowl in your mixer, with the whisk attachment.
Step 8
When the sugar syrup reaches the right stage, remove it from the heat and let the bubbles subside. While the mixer is running on medium - low speed, pour the sugar syrup into the gelatin, along the wall of the bowl (this is to prevent the gelatin from being scorched by the hot sugar syrup). Add the salt and increase the speed to medium - high.
Step 9
Whisk on medium - high for 3 - 5 minutes until the marshmallow base is doubling in size and is white, fluffy and smooth. Mix for a further 3 -5 minutes on high speed, allowing the marshmallow to volumize more (upto 3 times). Do not mix if the marshmallow base is already cooled down, as this will create tough marshmallows. (You can whisk the marshmallow on high for about 5 - 6 minutes to shorten the time as well, just make sure the base is fluffy, white and upto 3 times more than the initial volume)
Step 10
While the marshmallow base is whisking, prepare the pan and utensils you will be using. Rub an 8 x 8 inch pan with shortening or butter (you can line this pan with parchment paper if you prefer). Brush all the utensils - spoon, spatulas with the same fat as well.
Step 11
Optional - whisk the 2 egg whites in a clean metal bowl until you have stiff peaks. Set aside until needed.
Step 12
Add the vanilla, (and egg whites - if using) to the marshmallow base and whisk for a further minute on high speed to combine the vanilla (and egg whites).
Step 13
Scrape the marshmallow base into the prepared pan using an oiled cake spatula or flexible scraper. Spread the marshmallow evenly in the pan using the oiled spatula.
Step 14
Sieve confectioner’s sugar over the top of the marshmallow and allow the marshmallow to set for at least 6 hours.
Step 15
Turn the set marshmallow out onto a work surface dusted with dusting powder. Cut the marshmallows with an oiled knife or a pair of scissors. Toss the marshmallow in the dusting powder and store in an air-tight container.
Step 16
Mix the confectioner's sugar and cornstarch together until well combined. Set aside until needed. There is more than enough for multiple batches. I like making extra so I can store my marshmallows with some of the dusting powder and store the rest for another batch.