Cannabis milk
5.0
(3)
Your folders
Your folders
Prep Time: 40 minutes
Cook Time: 10 minutes
Total: 70 minutes
Servings: 4

Ingredients
Export 1 ingredients for grocery delivery
Instructions
Step 1
The first step that you’ll need to take before starting to make the milk is cleaning and preparing your weed in order to get rid of as much chlorophyll as possible. This way, it won’t taste as sour, making it much easier to drink. Besides, you’ll also be getting rid of insects, dirt, dust and any fertilizer residues that may be on the flowers.
Step 2
To clean your materials, you’ll need a pot, a sieve, a liter (4 cups) of bottled water and your cannabis.
Step 3
Step 1: Pour the water and cannabis into the pot.
Step 4
Step 2: Put the pot on the stove and wait for it to boil.
Step 5
Step 3: Once it starts boiling, turn the heat down and let it sit for 10 minutes.
Step 6
Step 4: Remove the pot and pour the water into your sieve. Clean it with some cold water. It is advisable to avoid touching the weed in excess.
Step 7
To make your cannabis milk, grab your clean cannabis, a pot, a wooden spoon and a glass bottle or jar for storing the milk. Once you have everything laid out, it’s time to get working.
Step 8
Step 1: Pour the full liter (or four cups) of milk and all of your cannabis into the pot.
Step 9
Step 2: Put it on medium heat until it starts boiling.
Step 10
Step 3: Once it starts to boil, lower the heat. Mix every now and then to keep it from boiling and cook the milk for about 40 minutes.
Step 11
Step 4: Remove the pot from the stove and pour the mixture through the sieve into your glass bottle.
Step 12
Step 5: Let it cool down at room temperature before putting it in the fridge.
Top similar recipes
Curated for youYour folders

 468 views
Cannabis Milk
cannadish.net
4.5
(15)
Your folders

 440 views
Cannabis-Infused Golden Milk
emilykylenutrition.com
4.6
(31)
15 minutes
Your folders

 352 views
Cannabis Infused Milk Chocolate
infusedeats.com
3.0
(3)
1 hours
Your folders

 338 views
Quick & Easy Cannabis Infused Milk ...
dankyum.com
5.0
(29)
60 minutes
Your folders

 324 views
Cannabis Vodka
herb.co
Your folders

 1073 views
Cannabis Granola
cannacook.com
5.0
(1)
20 minutes
Your folders

 5105 views
Cannabis salve
cannigma.com
4.5
(569)
5 minutes
Your folders

 604 views
Cannabis salve
cannigma.com
4.5
(569)
5 minutes
Your folders
 420 views
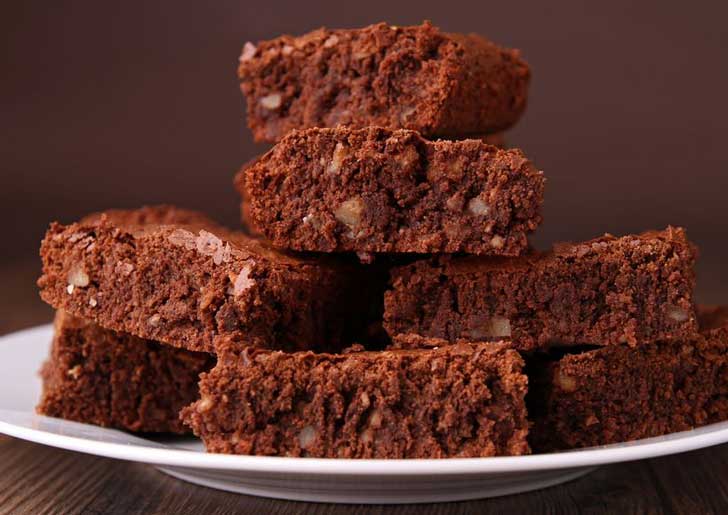
Cannabis Brownies
cannigma.com
4.5
(569)
25 minutes
Your folders

 518 views
Cannabis Tincture
cannigma.com
4.5
(569)
24 hours
Your folders

 466 views
Cannabis Brownies
cannigma.com
4.5
(569)
25 minutes
Your folders

 487 views
Cannabis Tincture
cannigma.com
4.5
(978)
24 hours
Your folders

 3376 views
Cannabis firecrackers
cannigma.com
4.6
(1.1k)
45 minutes
Your folders

 496 views
Cannabis Lollipops
cannacook.com
5.0
(1)
10 minutes
Your folders
 161 views
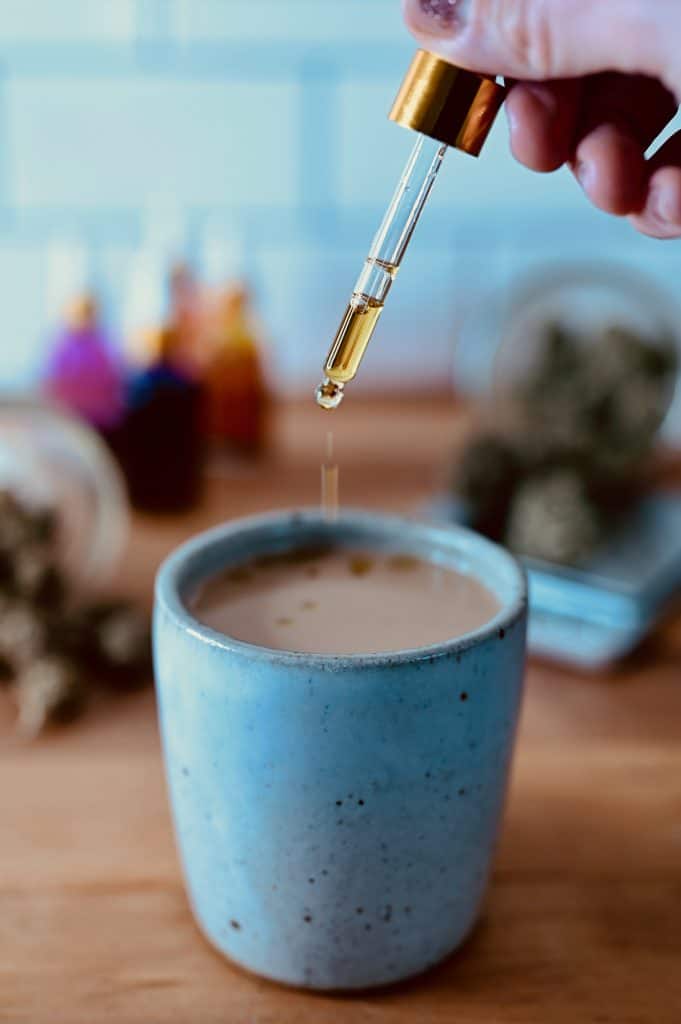
Cannabis Tinctures
wakeandbake.co
Your folders

 580 views
Cannabis Cooking Oil
leafly.com
3 hours
Your folders

 4154 views
Cannabis Infused Gummies
stonerscookbook.ca
4.7
(55)
10 minutes
Your folders

 179 views
Cannabis Cookie Butters
cannabisspatula.com
5.0
(1)
Your folders
 189 views
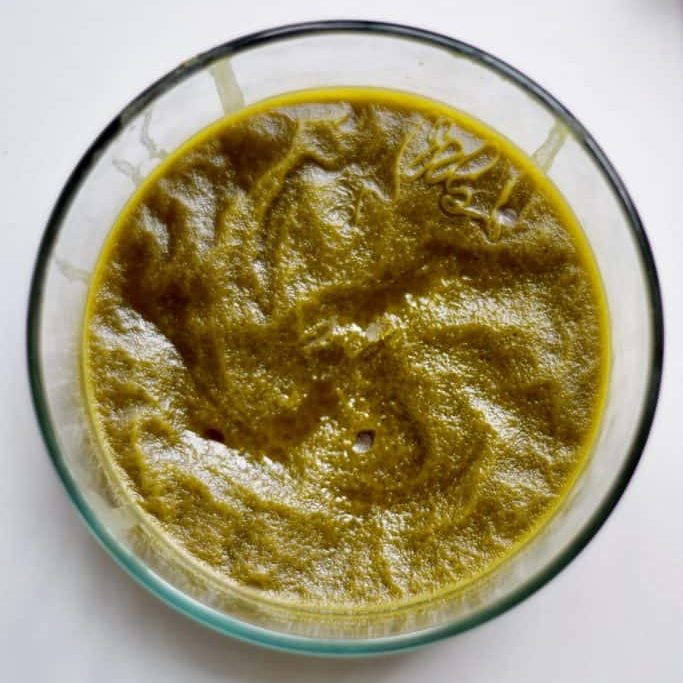
Cannabis Coconut Oil
wakeandbake.co
5.0
(3)
240 minutes