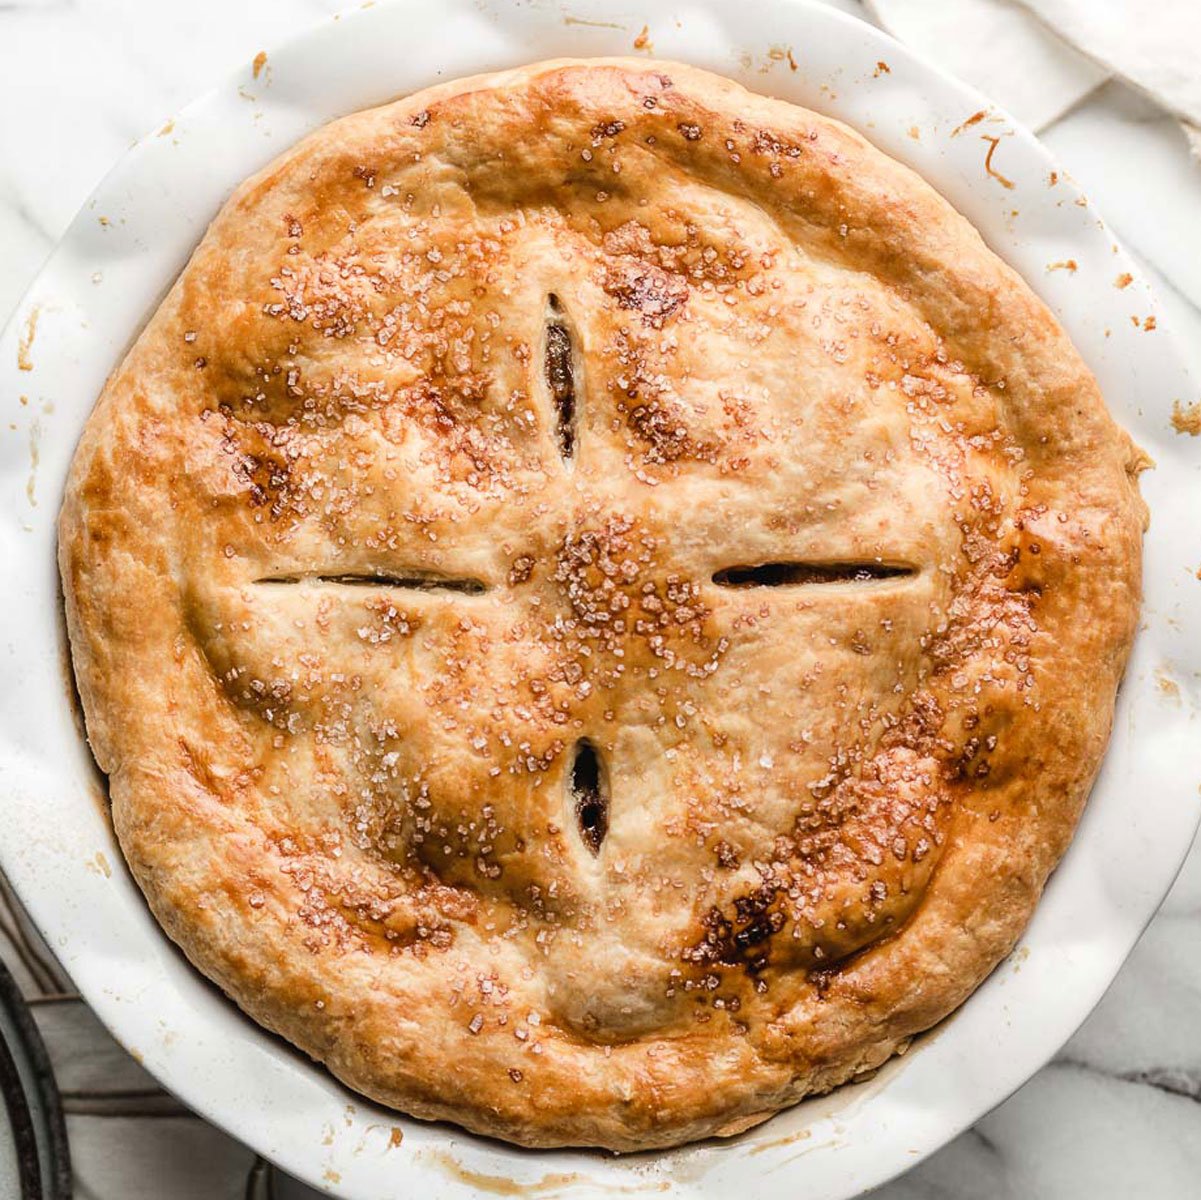
Caramel Apple Pie With an All-Butter Crust and Painted Cutout Topping
2.0
(2)
Your folders
Your folders
Servings: 8
Cost: $8.00 /serving
Author : Filling and topping from food writer Erin Jeanne McDowell; pie crust adapted from her <a href='https://wwwamazoncom/gp/product/0358229286?ie=UTF8&tag=thewaspos09-20&camp=1789&linkCode=xm2&creativeASIN=0358229286'>“The Book on Pie”</a> (Rux Martin/Houghton Mifflin Harcourt, 2020)

Ingredients
Export 9 ingredients for grocery delivery
Instructions
Step 1
1 Make the crust and cutouts: In a large bowl, whisk together the flour and salt
Step 2
2 Add the butter, tossing the cubes through the flour until each individual piece is well coated
Step 3
3 “Cut” the butter into the flour by pressing the pieces between your fingers, flattening the cubes into big shards
Step 4
4 As you work, continue to toss the butter through the flour, recoating the shingled pieces
Step 5
5 Continue to cut the butter into the flour just until the pieces of butter are about the size of walnut halves
Step 6
6 Make a well in the center of the flour mixture
Step 7
7 Add the ice water to the well and, using a tossing motion with your hands, start to mix the two together (this begins to combine the ingredients without creating too much gluten)
Step 8
8 As the flour begins to become hydrated, you can start to use more of a kneading motion — but don’t overdo it, as this will make the dough tough
Step 9
9 Add more water as needed, about 1 tablespoon at a time, until the dough is properly hydrated
Step 10
10 The dough should be uniformly combined and hold together easily, but it won’t look totally smooth
Step 11
11 (Pie dough that is too dry may have sort of a “dusty” appearance, or pockets of un-hydrated flour
Step 12
12 It will not hold together and will appear crumbly
Step 13
13 Pie dough that is too wet will feel sticky or tacky to the touch, and is often smoother and/or lighter in color
Step 14
14 )
Step 15
15 Divide the dough in half and form both halves into even disks
Step 16
16 Wrap each disk tightly in plastic wrap and refrigerate for at least 30 minutes and up to 2 days
Step 17
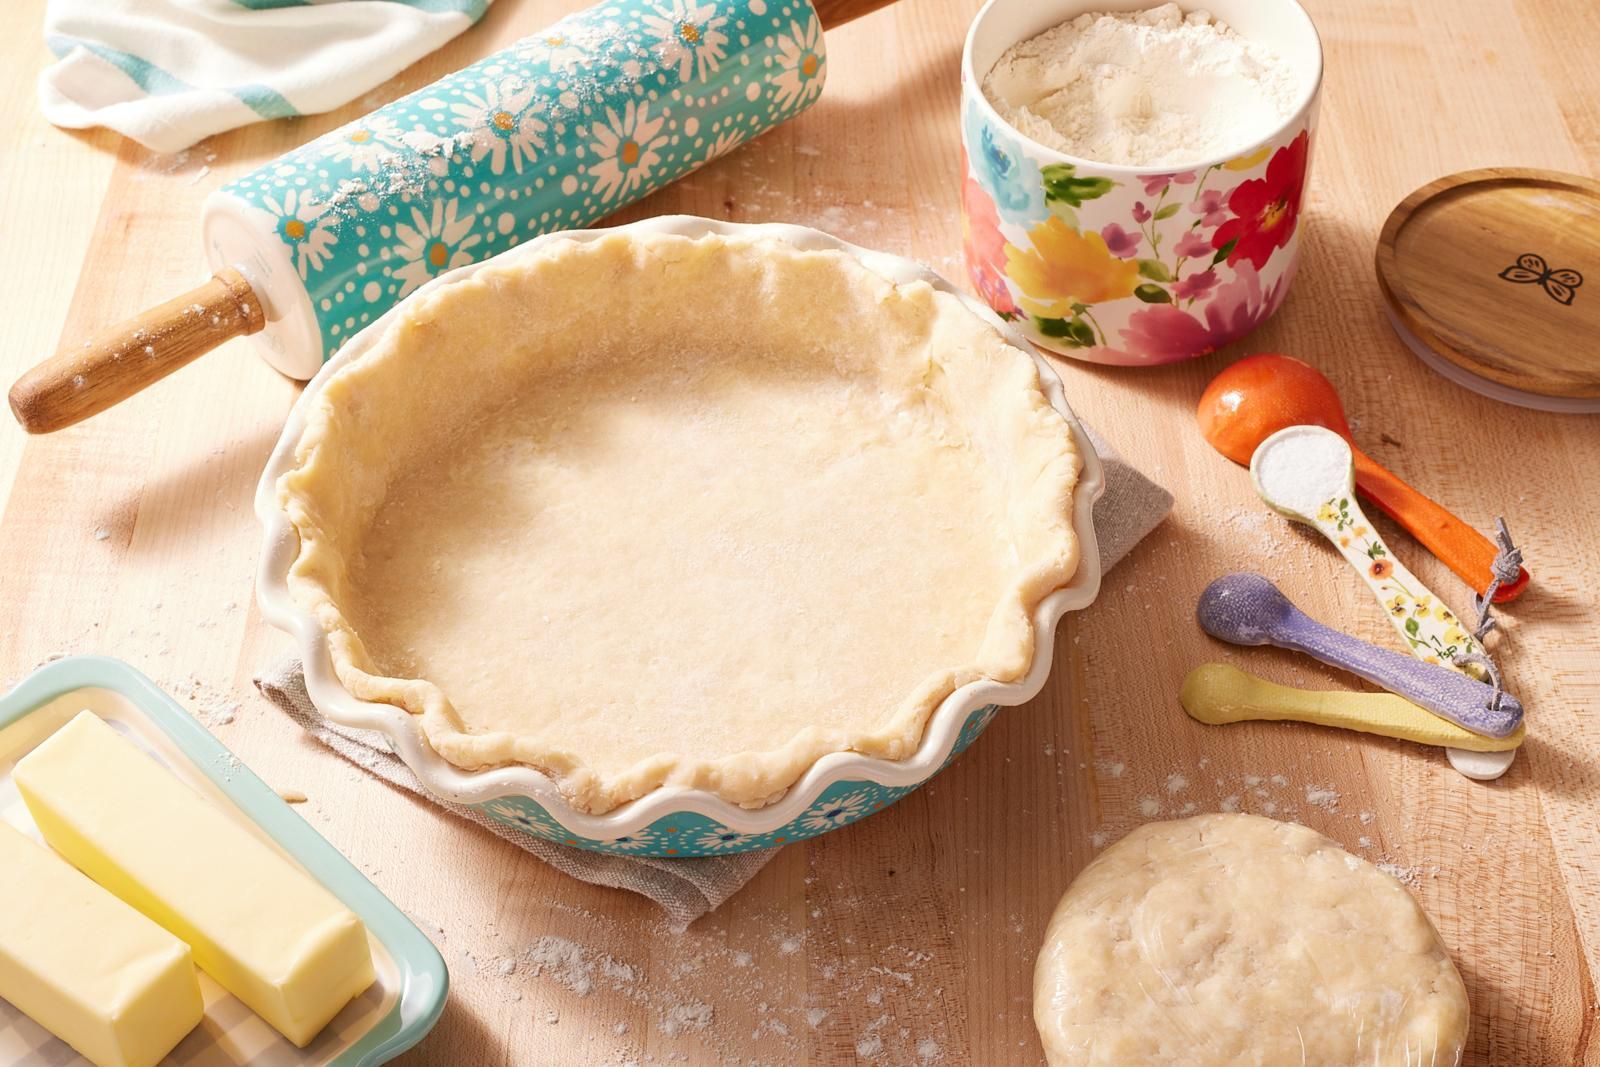
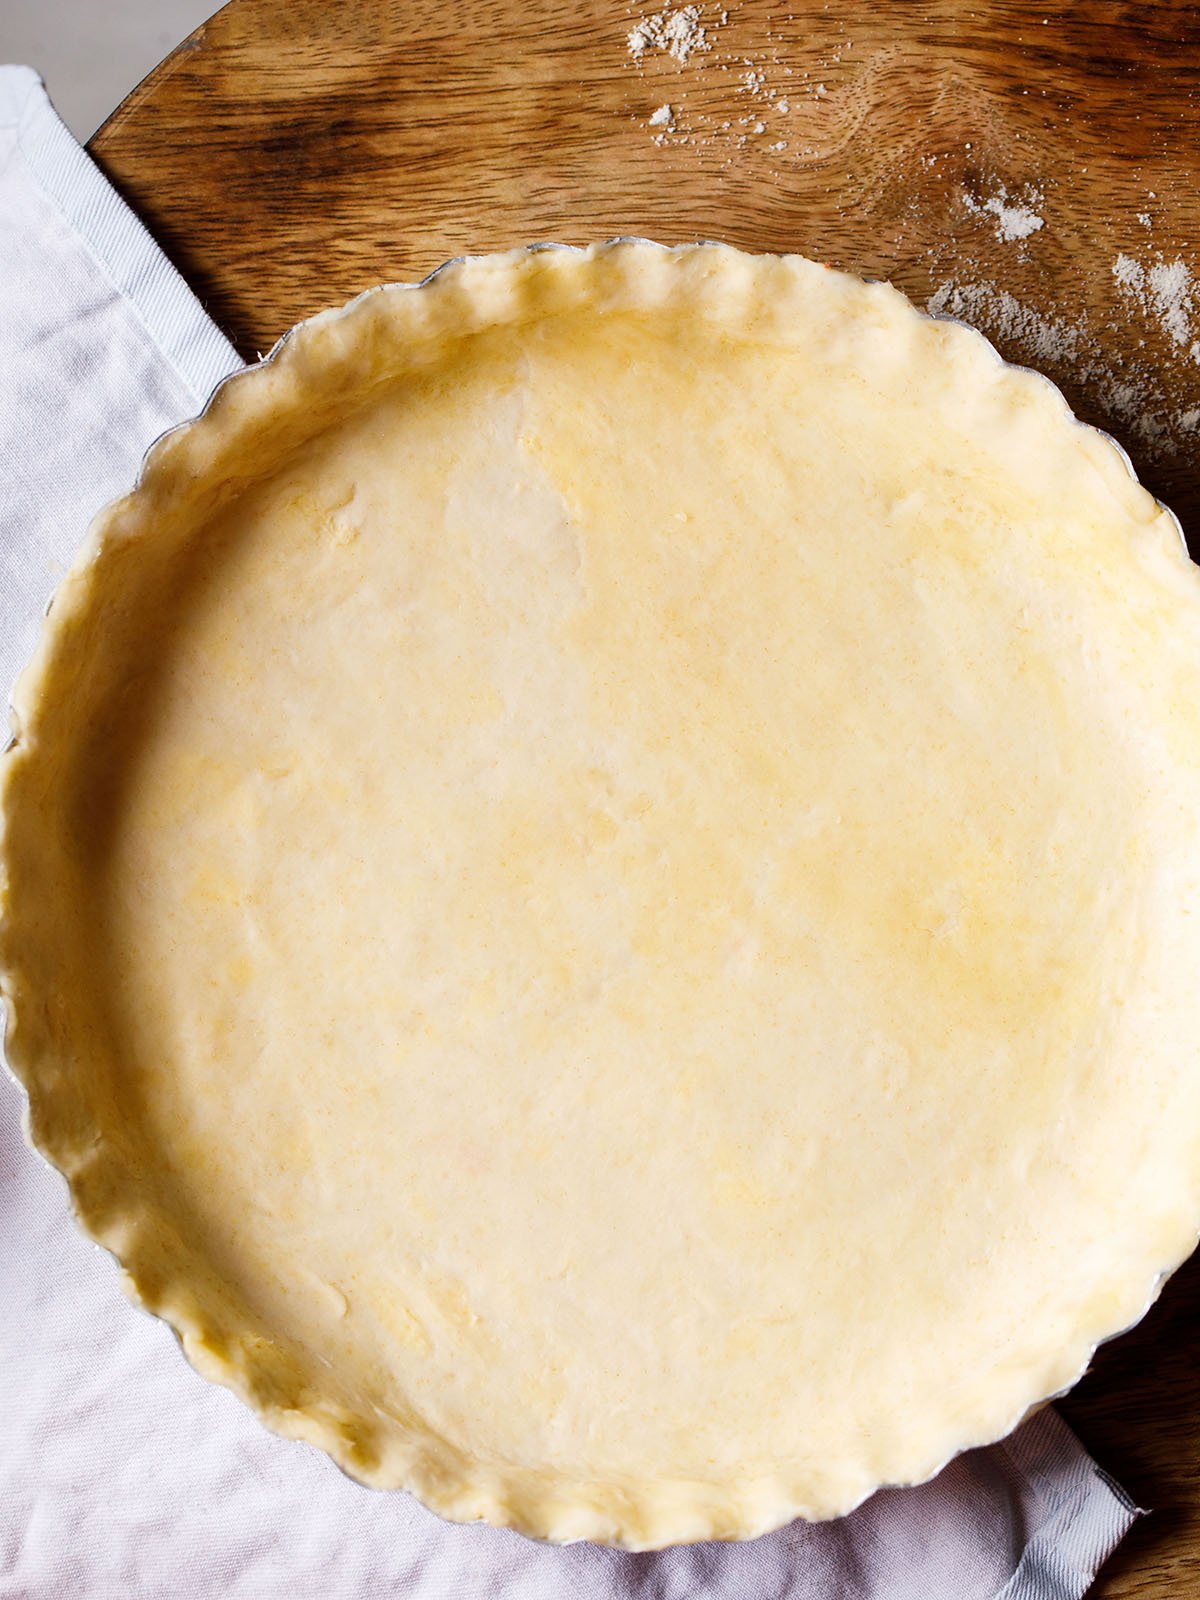
17 Roll out the crust: Lightly dust a work surface with flour, and lightly dust a rolling pin, if desired
Step 18
18 Roll out the dough to about 1/4-inch thickness, about 12 inches in diameter, rotating it as you work to prevent it from sticking
Step 19
19 To transfer the dough to the pan, gently roll it up around the pin, then unfurl it into a 9-inch pie plate
Step 20
20 Using scissors, trim away the excess dough, leaving about 1/2-inch overhang around the outside edge of the pie plate
Step 21
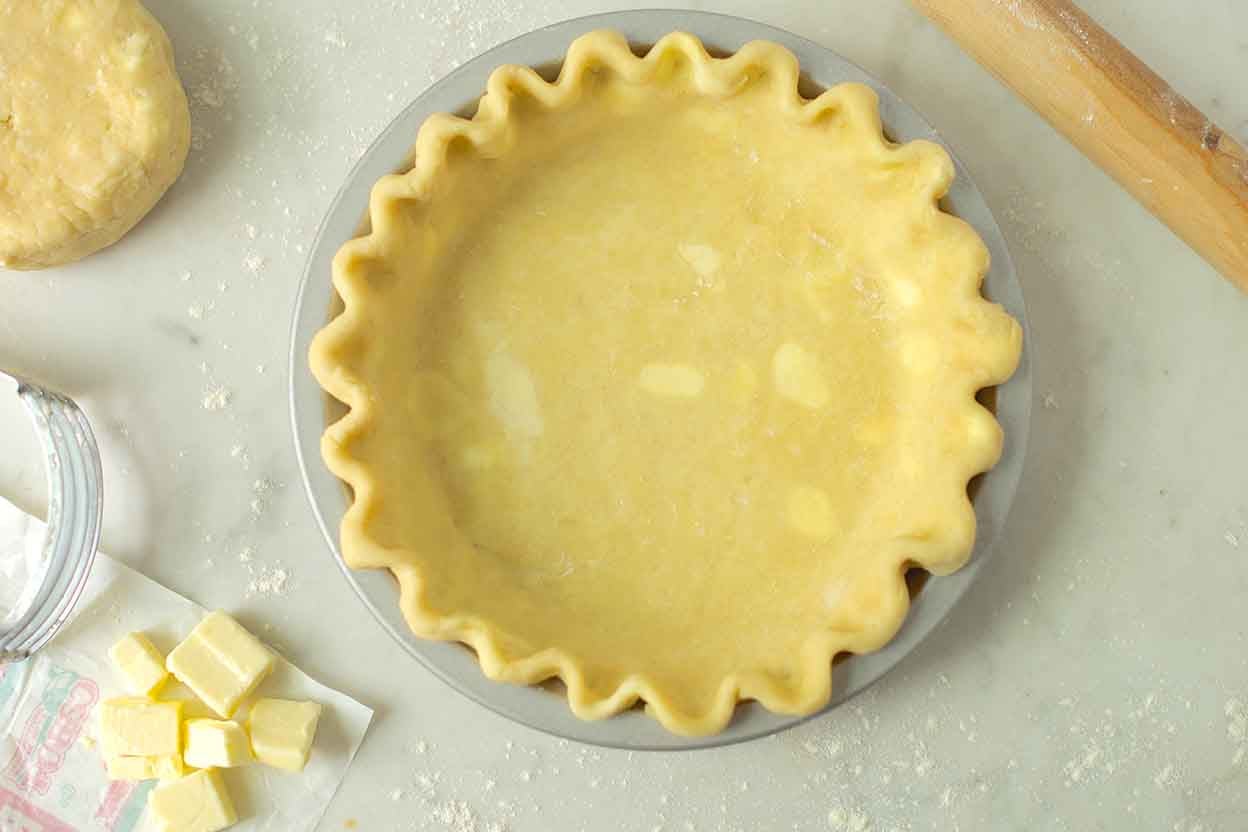
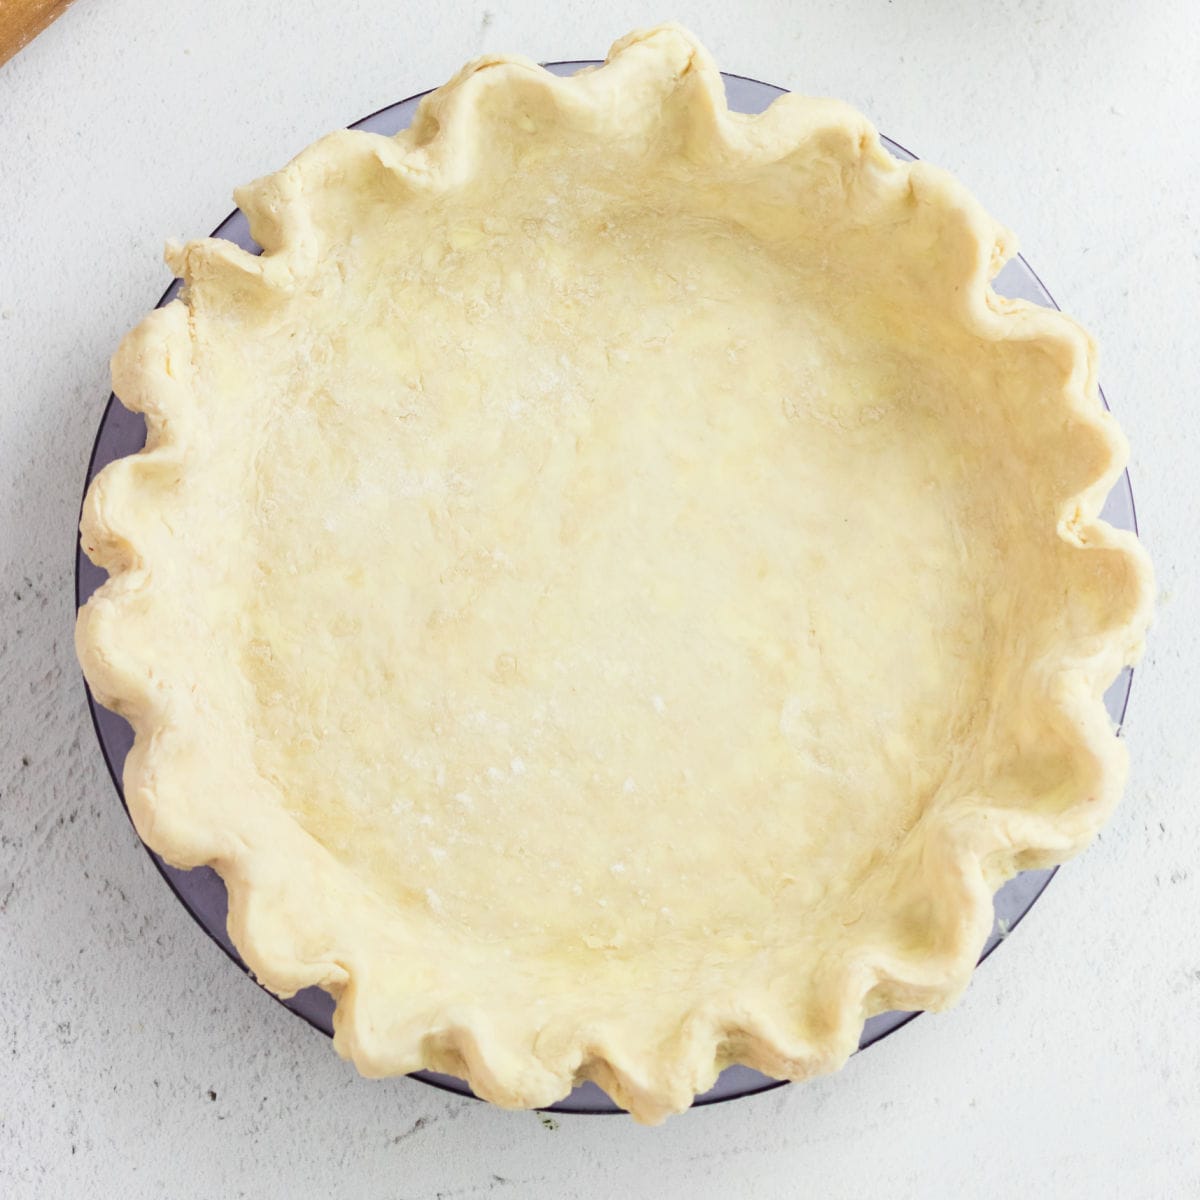
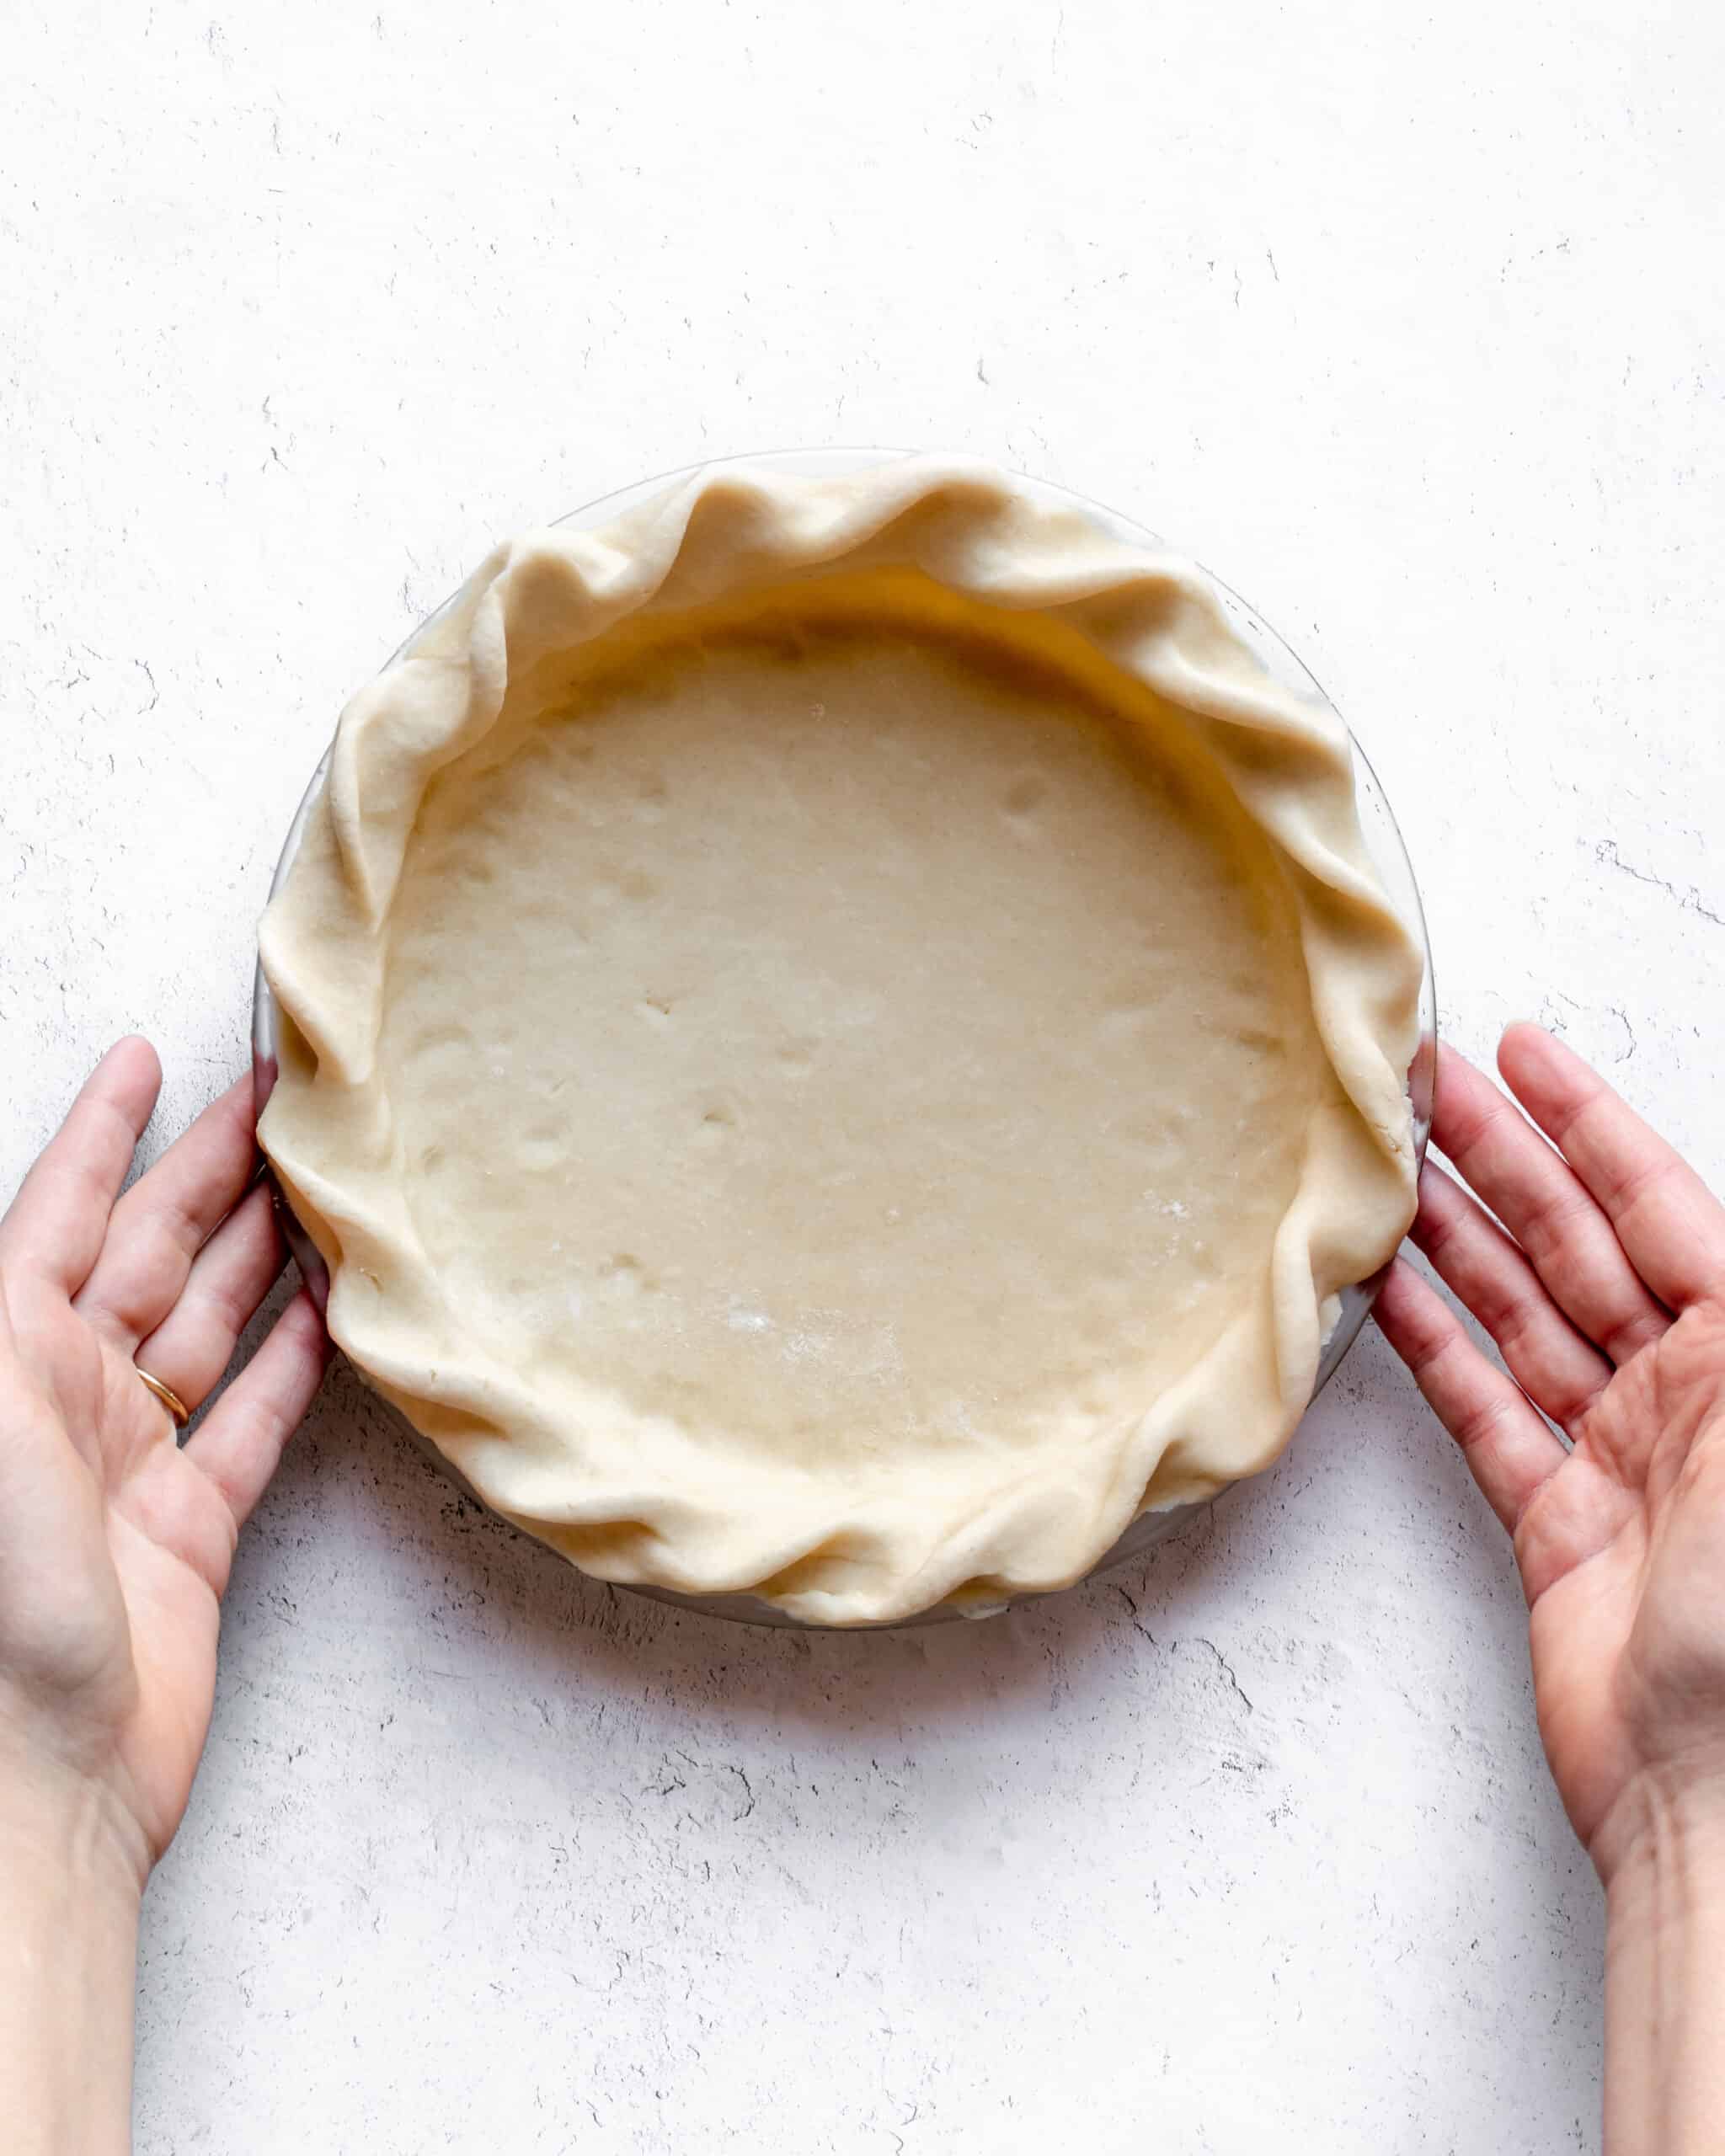
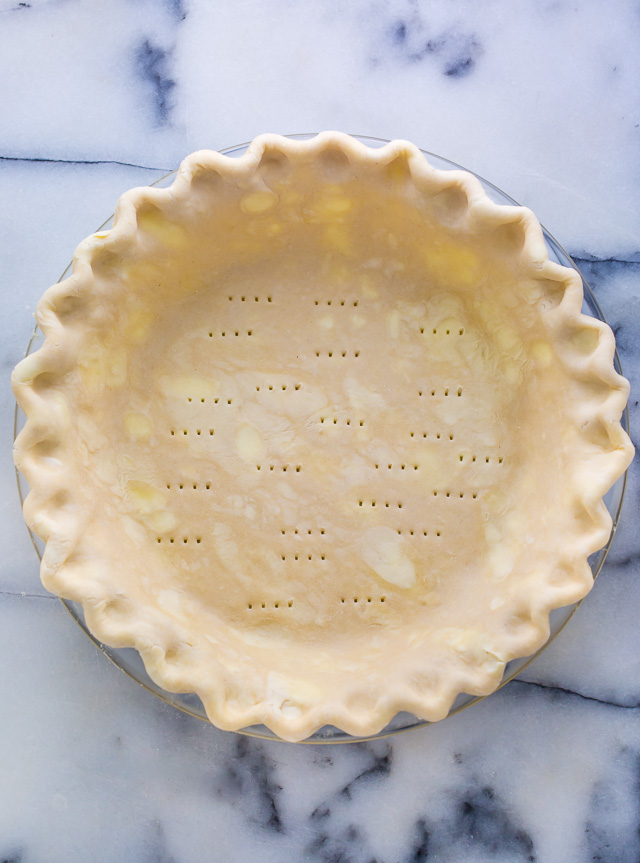
21 Tuck the overhang under, pressing gently to make it flush with the edge of the pie plate and crimp as you like
Step 22
22 Position a rack in the center of the oven and preheat to 425 degrees
Step 23
23 Using a fork, dock the crimped crust and chill well, at least 30 minutes
Step 24
24 Cut a square of parchment paper slightly larger than the diameter of the pie plate and press it into the base of the crust
Step 25
25 Fill with pie weights to the top inner rim of the pie plate
Step 26
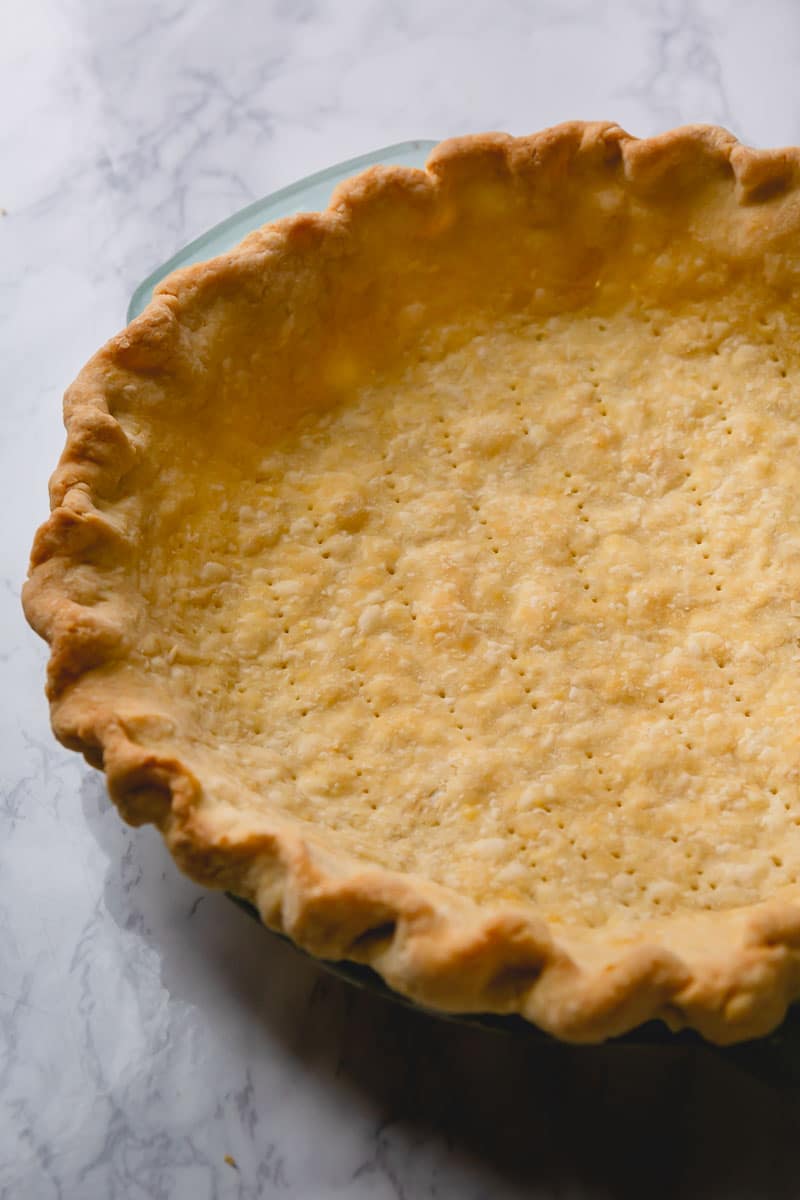
26 Bake for 15 to 17 minutes, or until the edges begin to lightly brown
Step 27
27 Remove the parchment paper and pie weights and bake for 2 to 3 minutes more, or until the bottom of the crust appears dry and set
Step 28
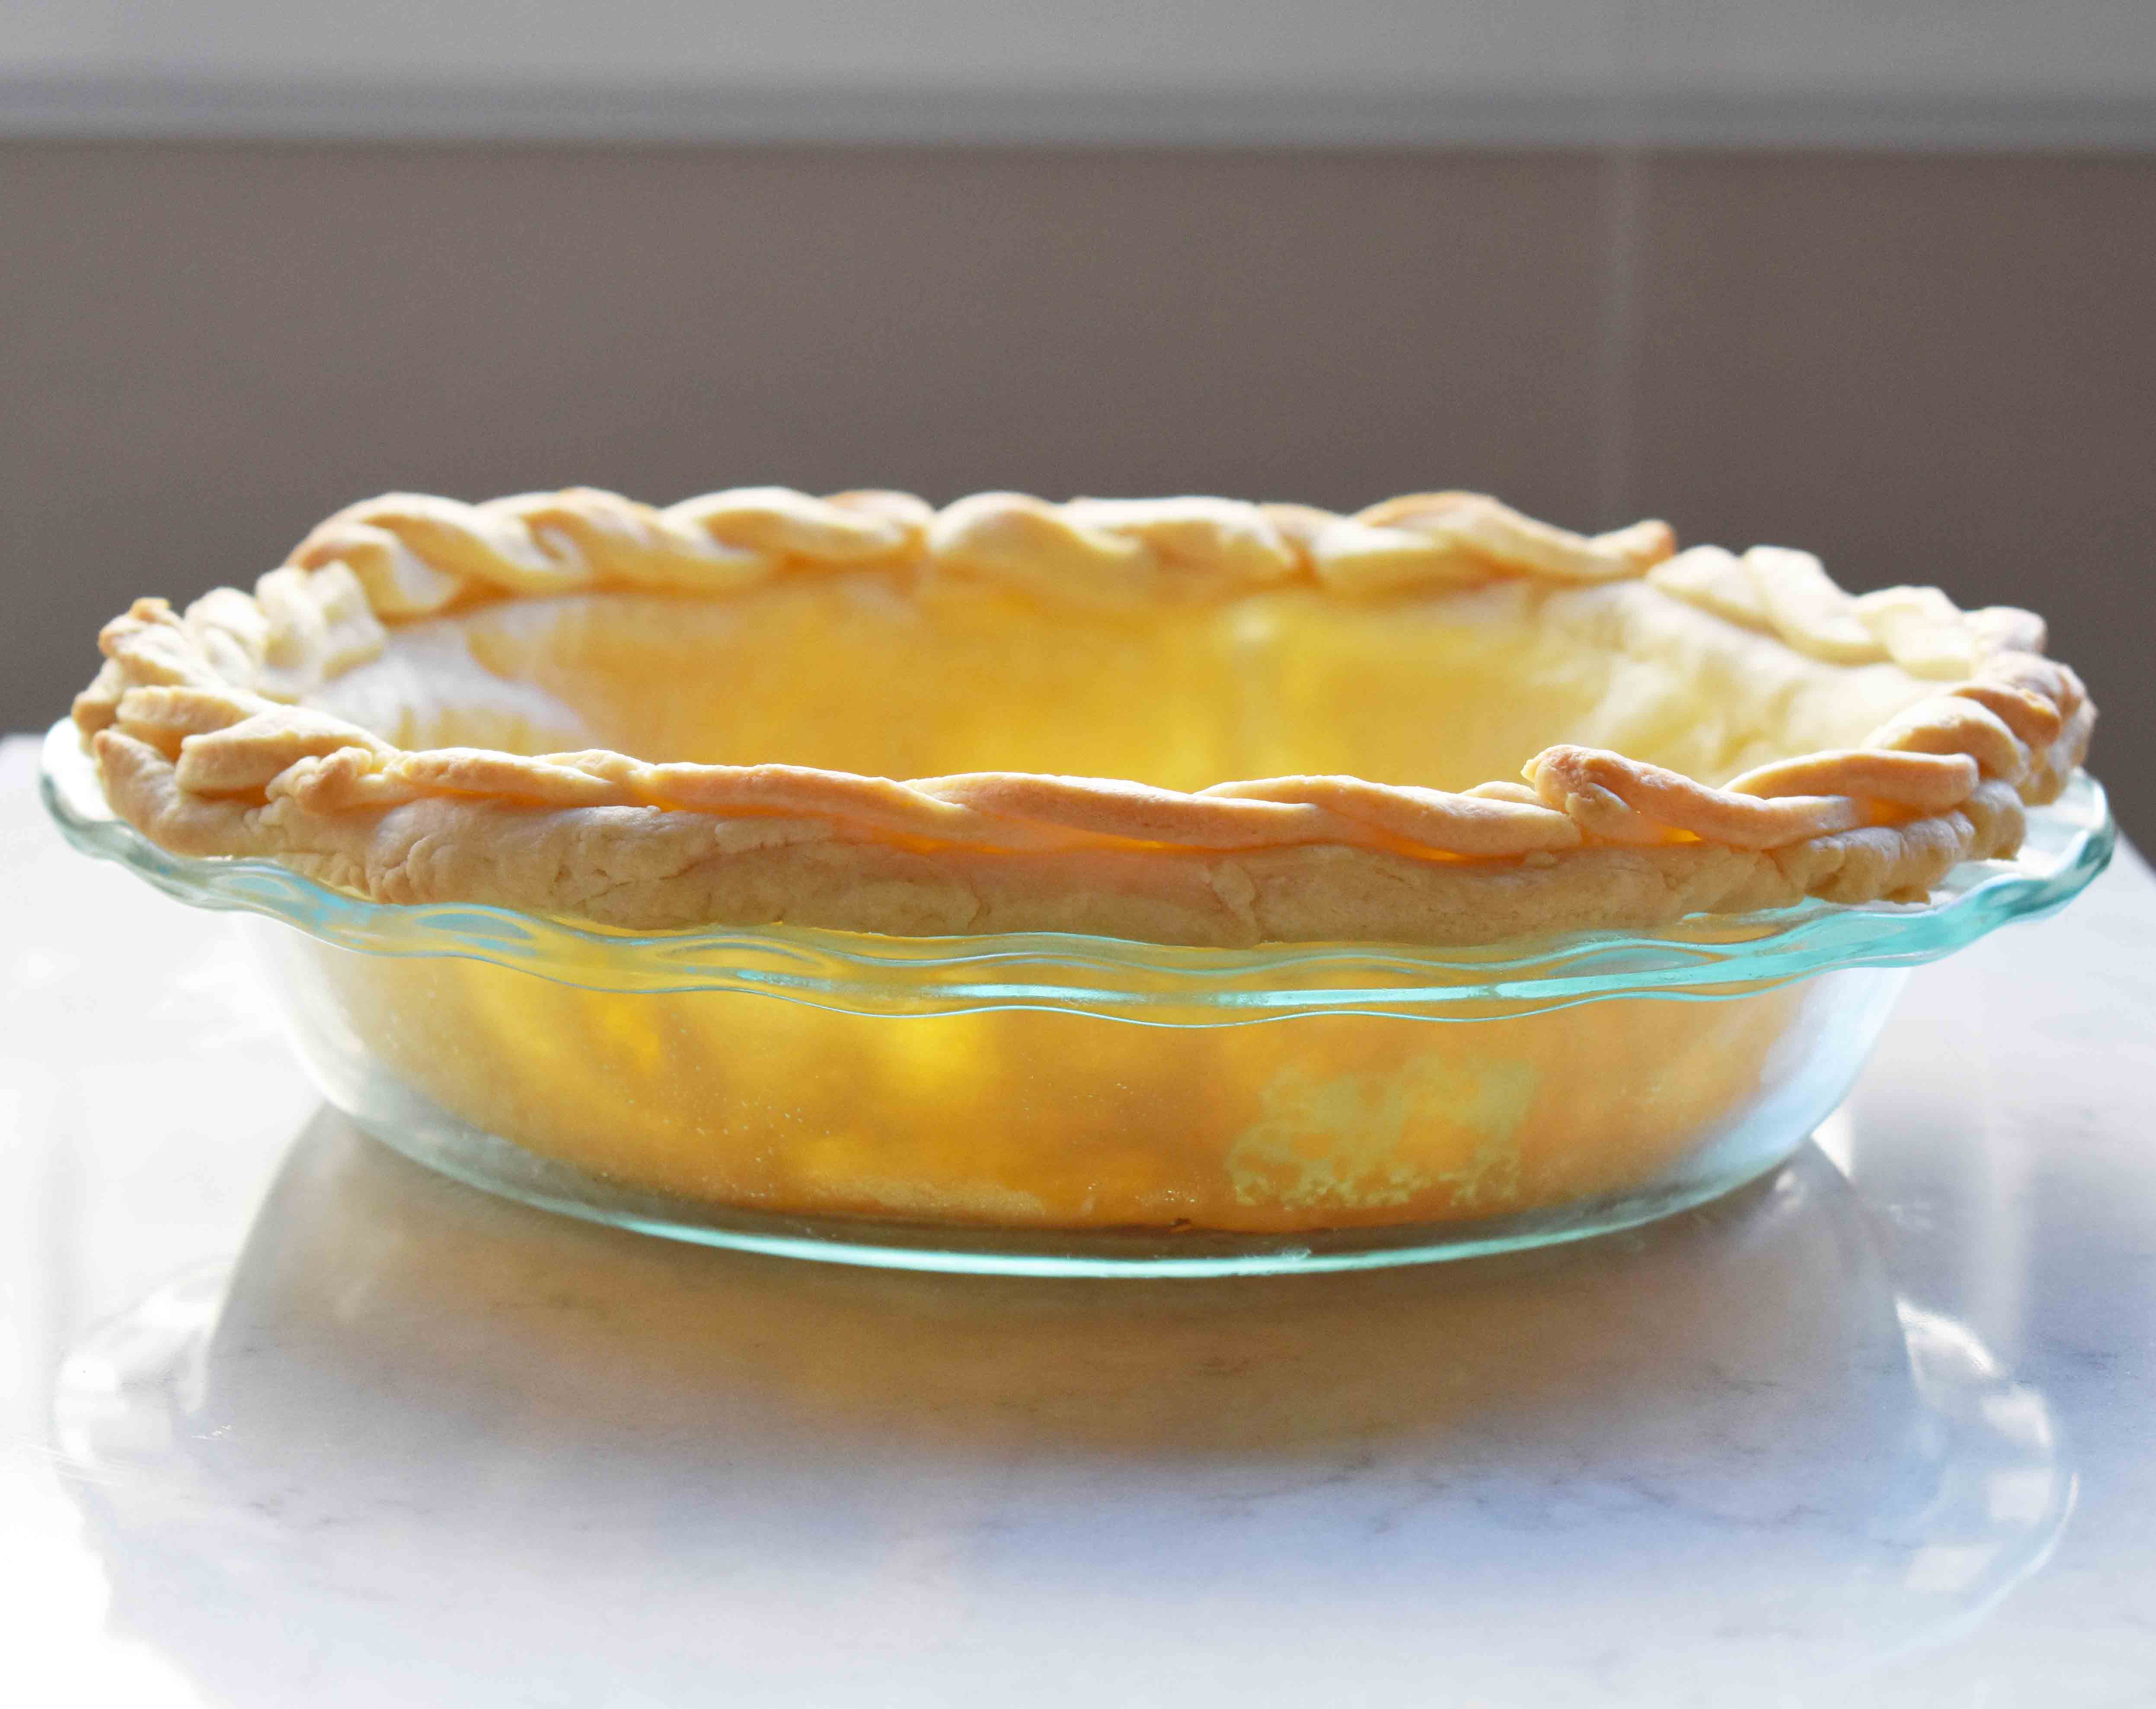
28 Transfer to a wire rack and let cool completely before filling
Step 29
29 Lower the oven temperature to 400 degrees
Step 30
30 Make the cutouts: Line a large, rimmed baking sheet with parchment paper
Step 31
31 Lightly flour a work surface and roll out the remaining dough disk to about 1/4-inch thick
Step 32
32 Using a small cookie cutter or pie stamp, cut as many cutouts out of the dough as you can
Step 33
33 Transfer the cutouts to the prepared baking sheet, cover loosely with plastic wrap and refrigerate for 15 to 30 minutes
Step 34
34 (You can use the scraps to reroll up to 2 additional times to get more cutouts
Step 35
35 )
Step 36
36 In a small bowl, combine a few drops of the food coloring (if you’re using gel, you only need about 1/8 teaspoon) and 1 to 2 teaspoons of vodka and, using a small craft paintbrush, mix to combine
Step 37
37 Repeat as desired if you’re making multiple colors
Step 38
38 Remove the dough from the refrigerator and uncover
Step 39
39 Using the brush, apply the “paint” to the surface of the pie dough
Step 40
40 Bake for 10 to 20 minutes, or until the dough appears golden brown on the base (use a small offset spatula to gently lift the dough to check the bottom); the timing will depend on the size of your cutouts
Step 41
41 Cool completely on a wire rack
Step 42
42 Make the filling: In a Dutch oven or large, heavy-bottomed pot over medium heat, melt the butter
Step 43
43 Continue to cook the butter, stirring occasionally, until its solids begin to brown and the mixture smells nutty, 4 to 5 minutes
Step 44
44 Add the apples, brown sugar, lemon juice, cinnamon, vanilla, salt and nutmeg and toss until combined
Step 45
45 Cook, stirring frequently, until a smooth, glossy sauce forms and thickly coats the apples, 4 to 5 minutes
Step 46
46 In a medium bowl, whisk the granulated sugar and flour until combined
Step 47
47 Sprinkle this mixture over the apples in the pot and stir well to combine
Step 48
48 Continue to cook over medium heat, stirring constantly, until the mixture comes to a boil and thickens, resembling a caramel sauce
Step 49
49 Transfer to a large bowl, cover and cool completely
Step 50
50 Transfer the cooled pie filling to the par-baked crust and place in the oven
Step 51
51 Bake for about 35 minutes, or until the filling appears a bit matte on the surface
Step 52
52 If needed, cover the crust edges with foil to prevent over-browning
Step 53
53 Transfer the pie pan to a wire rack and let cool slightly, about 10 minutes
Step 54
54 Decorate the warm pie with the cooled cutouts — they tend to “stick” to the filling a bit better, which can allow for easier slicing
Top similar recipes
Curated for youYour folders
 301 views
All-Butter Pie Crust
thepioneerwoman.com
Your folders
 648 views
All-Butter Pie Crust
kingarthurbaking.com
4.6
(87)
Your folders
 620 views
All Butter Pie Crust
sallysbakingaddiction.com
4.9
(28)
Your folders
 240 views
All-Butter Pie Crust
washingtonpost.com
20 minutes
Your folders
 245 views
All Butter Pie Crust
restlesschipotle.com
4.8
(24)
Your folders
 298 views
All-Butter Pie Crust
thecozyplum.com
5.0
(2)
30 minutes
Your folders
 105 views
All Butter Pie Crust
restlesschipotle.com
Your folders
 232 views
All-Butter Pie Crust
washingtonpost.com
Your folders
 275 views
All-Butter Pie Crust
littlespoonfarm.com
5.0
(40)
Your folders
106 viewsAll-Butter Pie Crust
littlespoonfarm.com
Your folders
 81 views
All Butter Pie Crust
sallysbakingaddiction.com
4.7
(127)
Your folders
 274 views
Foolproof All Butter Pie Crust
bakerbynature.com
5.0
(34)
Your folders
 472 views
Flaky All-Butter Pie Crust
sweetandsavorybyshinee.com
4.4
(7)
30 minutes
Your folders
 321 views
All Butter Flaky Pie Crust
modernhoney.com
5.0
(24)
20 minutes
Your folders
 198 views
All Butter Pie Crust Recipe
vegrecipesofindia.com
5.0
(4)
Your folders
250 viewsEasy All-Butter Pie Crust
themodernproper.com
5.0
(1)
Your folders
 346 views
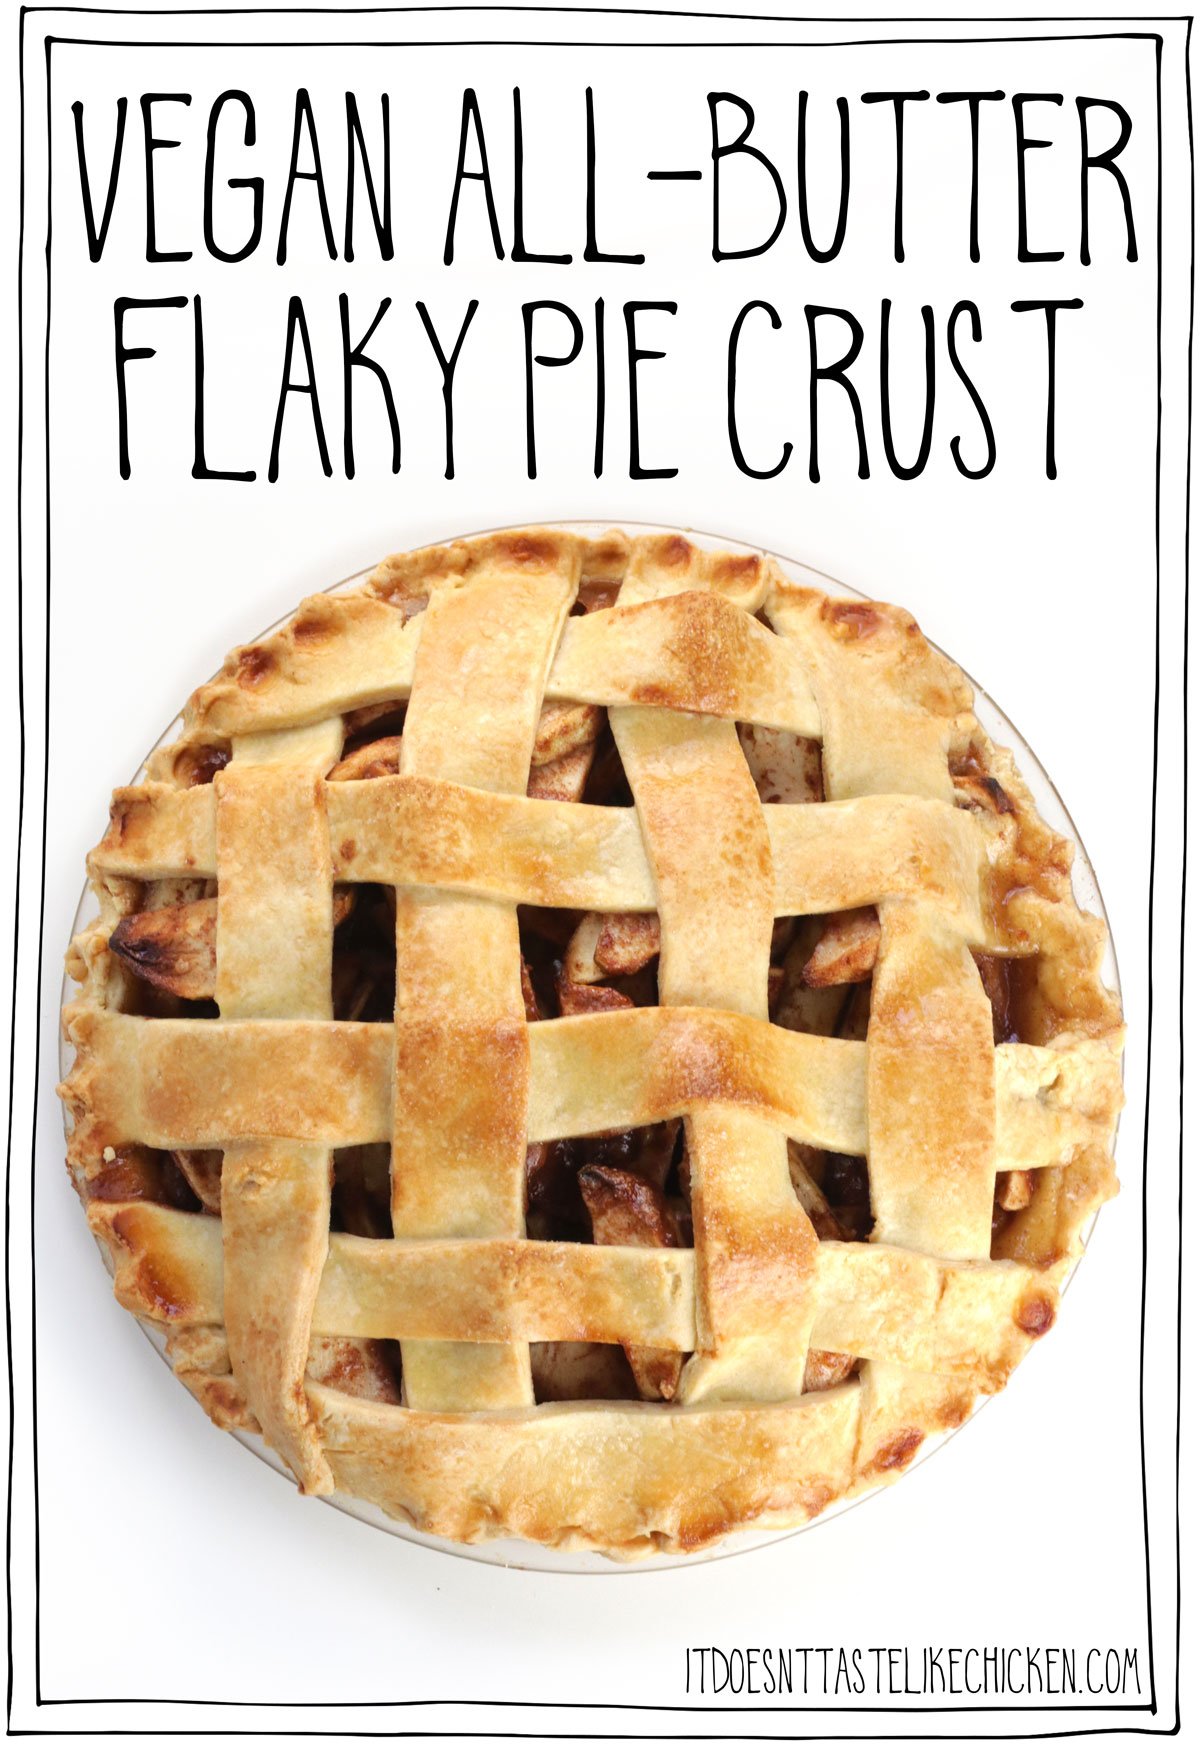
Vegan All-Butter Flaky Pie Crust
itdoesnttastelikechicken.com
Your folders
 376 views
Easy All-Butter Flaky Pie Crust
inspiredtaste.net
4.9
(188)
Your folders
940 viewsEasy All-Butter Flaky Pie Crust
inspiredtaste.net
4.9
(134)