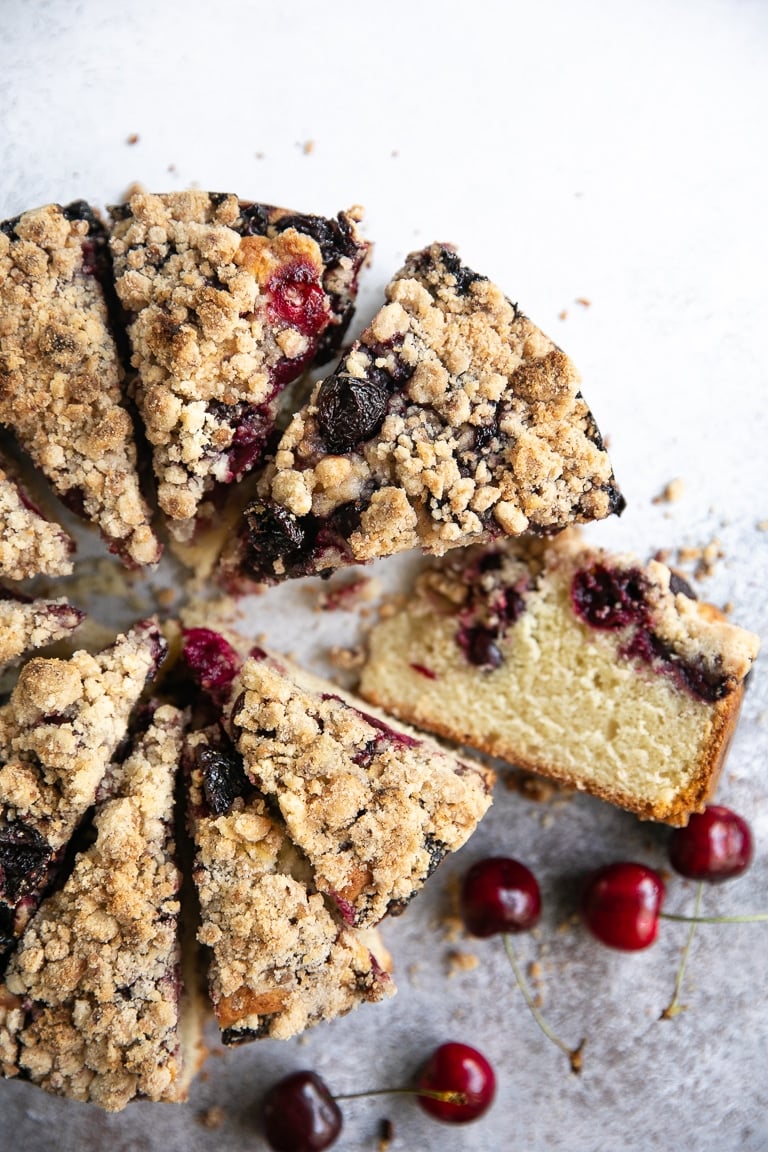
Cherry Coffee Cake
4.8
(127)
Your folders
Your folders
Prep Time: 25 minutes
Cook Time: 75 minutes
Total: 100 minutes
Servings: 8

Ingredients
Export 11 ingredients for grocery delivery
Instructions
Step 1
Prepare the cherries by removing stems and pits and slicing cherries in half or in quarters. Set aside.
Step 2
Preheat oven to 350 degrees F and Butter and flour a springform pan (even if it is nonstick, I still recommend this step).
Step 3
Prepare the crumb topping. In a medium bowl combine the flour, sugar, cinnamon, butter, and vanilla. Mix well to combine. Transfer bowl to the freezer until ready to use.
Step 4
Start preparing the cake. In a medium bowl whisk together the flour, baking powder, baking soda, and salt. Mix to combine. Set aside. In a separate, smaller bowl, mix together the buttermilk with the vanilla extract and set aside.
Step 5
In a large mixing bowl or the bowl of a stand mixer, beat together the butter with the sugar until light and fluffy (approximately 2-3 minutes). Reduce speed to low and add the eggs, one at a time, mixing between each. Begin adding the flour mixture in three separate additions, each separated by the addition of half the buttermilk mixture. Mix only until everything is just incorporated.
Step 6
Transfer the batter into the prepared pan. Use an offset spatula to smooth the surface. Top the cake in an even layer with the pitted and halved cherries, gently pressing the cherries down just slightly into the cake batter. Top the cake with the crumb topping and transfer to a preheated oven.
Step 7
Bake for 70-85 minutes. The crumble will start to turn golden and brown just slightly. Edges will be golden and a toothpick inserted into the middle will come out clean.
Step 8
Remove cake from the oven and allow to cook in the pan for approximately 15 minutes before removing sides from the pan and serving. Enjoy!