Crochet baby shoes
Your folders
Your folders

Ingredients
Export 13 ingredients for grocery delivery
Instructions
Step 1
Sole – Make 4Ch 131. Ch 3 (This ch 3 counts as your first dc here) Starting in fourth ch from hook, 2dc, 1 dc in 11 sts, 6 dc in last ch, now working on other side of ch, 1dc in 11 sts, 3dc in last st (34) sl st into the top of your first st. ch 12. 1 sc in same st as sl st, 1 sc, 2sc in next st, 1 sc in 4 sts, 1 hdc in 2sts, 1dc in 5 sts, 2dc in the next 6 sts, 1 dc in 5 sts, 1 hdc in 2 sts, 1 scin 4 sts, 2sc, 1 sc, 2sc in last st (43) sl st into the top of your first st.ch 23. 1 dc in same st as sl st, *1 dc, 2dc in nest st* x2, 1 dc in 11 sts, *2dcin next st, 1 dc* x6, 1 dc in 10 sts, *2dc in next st, 1 dc* x2, 2 dc in lastst (54) Finish your round by making a false st (55)Place your soles two and two wrong side together. Find your center back stitch and make sl sts through both soles all the way round, finish off with a false st and secure your ends.
Step 2
Shoe1. You will now work in the sl sts made through the soles, find your center back st fasten your yarn and ch 1, 1 sc in same st as your ch 1, then 1 sc in each st (55) sl st into your first st, ch 22. 1 dc in same st as sl st, 1 dc in 54 sts (55) sl st into your first st, ch13. 1 sc in same st as sl st, 1 sc in 54 sts (55) finish off with a false st (56)
Step 3
Top of shoeMark your false stitch, (needle) with your false st facing you, count 14 sts to the left, in the 15th st (hook).Fasten your yarn.1. Ch 2, in next st make 1 dc (this counts as your first decrese) *dc2tog* x13(14) turn2. Ch 2, in next st make 1 dc (this counts as your first decrease) *dc2tog*x6 (7) turn3. Ch 2, Mack dc6togCut your yarn and fasten it.
Step 4
ToungeCh 3 in the beginning of each row counts as your first dc.1. Fasten your yarn in the st shown in the picture below, ch 3, then make 16dc evenly placed over the edge of the top of the shoe, make 1 dc in the st shown in picture four. (18)2. Ch 3, 1 dc in 17 sts (18) turn3. Ch 3, 1 dc in 17 sts (18) turn4. Ch 3, 1 dc in 17 sts (18) turn5. Ch 3, 1 dc in 17 sts (18) turn6. Ch 2, 1 dc in the nest st (counts as decrease) 1 dc in 14 sts, dc2tog (16)Cut and fasten your yarn.
Step 5
Back of shoe1. Fasten your yarn around the post shown below, ch 3, 1 dc around the post next to your ch 3, 1 dc in 28 sts, 1 dc around the next 2 posts – see pictures, turn2. Ch 3, 1 sc in 31 sts (32) turn3. Ch 3, 1 sc in 31 sts (32) turn4. Ch 3, 1 sc in 31 sts (32) turn5. Ch 3, 1 sc in 31 sts (32) turn6. Ch 3, 1 sc in 31 sts (32) turnCut and fasten your yarn.To tie your shoes in place you can either use ribbon or you can make your own ties by making a chain.
Step 6
Sole – Make 4Ch 161. Ch 3 (This ch 3 counts as your first dc here) Starting in fourth ch from hook, 2dc, 1 dc in 14 sts, 6 dc in last ch, now working on other side of ch, 1dc in 14 sts, 3dc in last st (40) sl st into the top of your first st. ch 12. 1 sc in same st as sl st, 1 sc, 2sc in next st, 1 sc in 5 sts, 1 hdc in 2sts, 1 dc in 7 sts, 2dc in the next 6 sts, 1 dc in 7 sts, 1 hdc in 2 sts, 1 scin 5 sts, 2sc, 1 sc, 2sc in the last st (49) sl st into the top of your firstst. ch 23. 1 dc in same st as sl st, *1 dc, 2dc in nest st* x2, 1 dc in 14 sts, *2dcin nest st, 1 dc* x6, 1 dc in 13 sts, *2dc in nest st, 1 dc* x2, 2 dc in lastst (60) Finish your round by making a false st (61)Place your sole two and two wrong side together. Find your back stitch and make sl sts through both soles all the way round, finish off with a false st and secure your ends.
Step 7
Shoe1. You will now work in the sl sts made through the soles, find your center back st fasten your yarn and ch 1, 1 sc in same st as your ch 1, then 1 sc in each st (61) sl st into your first st, ch 22. 1 dc in same st as sl st, 1 dc in 60 sts (61) sl st into your first st, ch13. 1 sc in same st as sl st, 1 sc in 60 sts (61) finish off with a false st(62)
Step 8
Top of shoeMark your false stitch, with your false st facing you, count 15 sts to the left, in the 16th st, fasten your yarn.1. Ch 2, in next st make 1 dc (this counts as your first decrease) *dc2tog*x15 (16) turn2. Ch 2, in next st make 1 dc (this counts as your first decrease) *dc2tog*x7 (8) turn3. Ch 2, make dc7togCut your yarn and fasten it.
Step 9
ToungeCh 3 in the beginning of each row counts as your first dc.1. Fasten your yarn in the st shown in the picture below, ch 3, then make 16dc evenly placed over the edge of the top of the shoe, make 1 dc in the st shown in picture four, (18)2. Ch 3, 1 Ch 3, 1 dc in 17 sts (18) turn3. Dc in 17 sts (18) turn4. Ch 3, 1 dc in 17 sts (18) turn5. Ch 3, 1 dc in 17 sts (18) turn6. Ch 3, 1 dc in 17 sts (18) turn7. Ch 2, 1 dc in the next st (counts as decrease) 1 dc in 14 sts, dc2tog (16)Cut and fasten your yarn.
Step 10
Back of shoe1. Fasten your yarn around the post shown below, ch 3, 1 dc around the post next to your ch 3. 1 dc in 30 sts, 1 dc around the next 2 posts (34) turn2. Ch 3, 1 dc in 33 sts (34) turn3. Ch 3, 1 dc in 33 sts (34) turn4. Ch 3, 1 dc in 33 sts (34) turn5. Ch 3, 1 dc in 33 sts (34) turn6. Ch 3, 1 dc in 33 sts (34) turn7. Ch 3, 1 dc in 33 sts (34) turnCut and fasten your yarn.To tie your shoes in place you can either use ribbon or you can make your own ties by making a chain.
Top similar recipes
Curated for youYour folders

 205 views
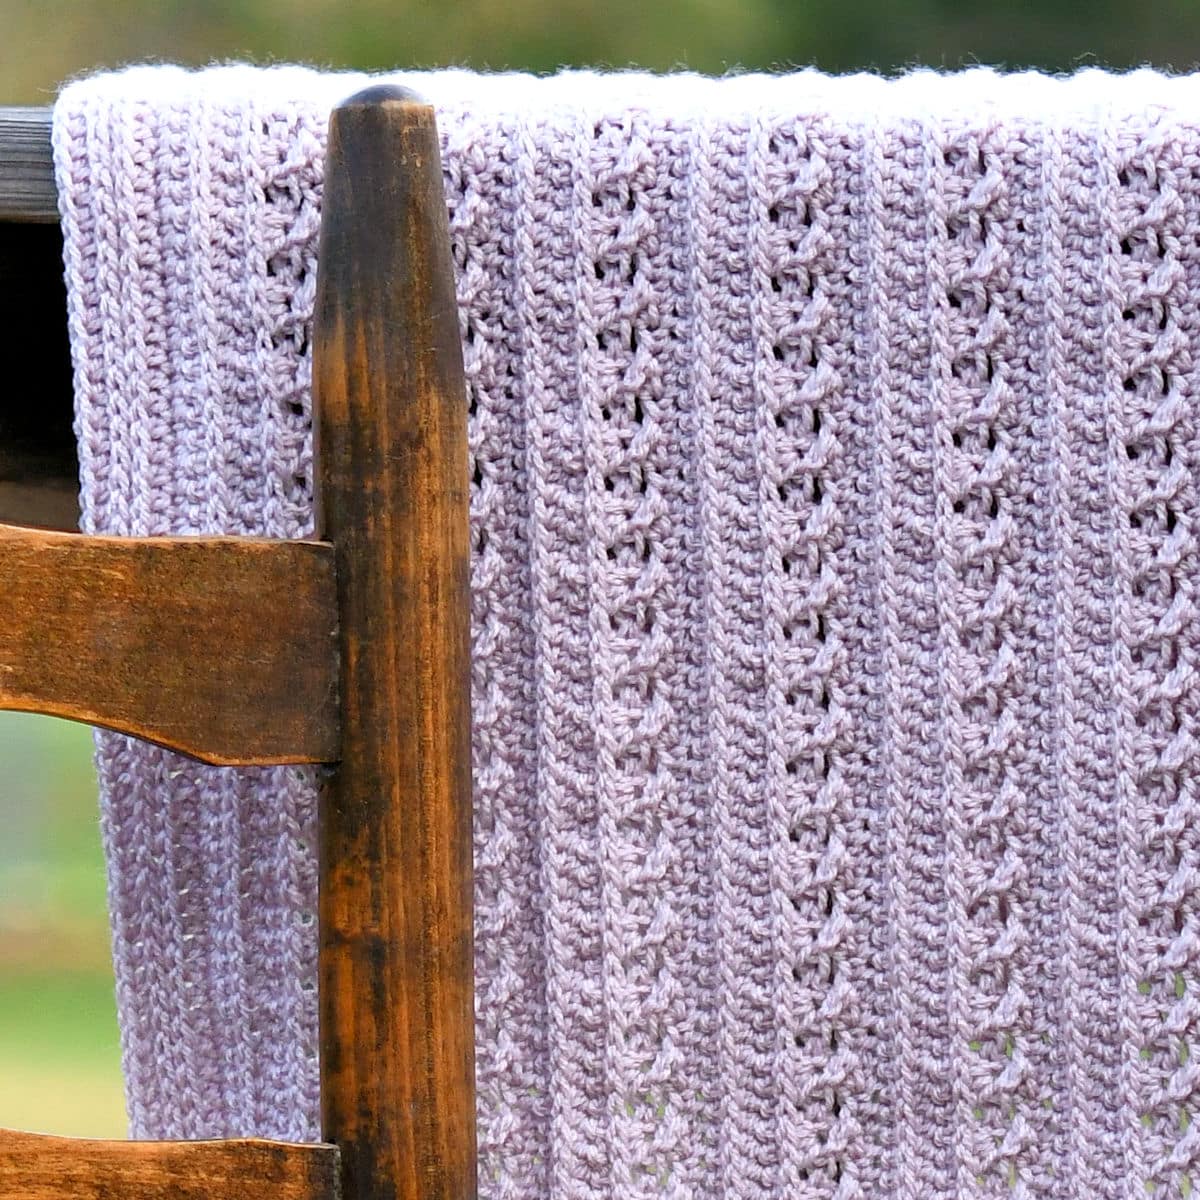
Lacy Crochet Round Baby Blanket
crochetncrafts.com
Your folders
 24 views
Wandering Cables Crochet Baby Blank...
makeitcrochet.com
Your folders
 194 views
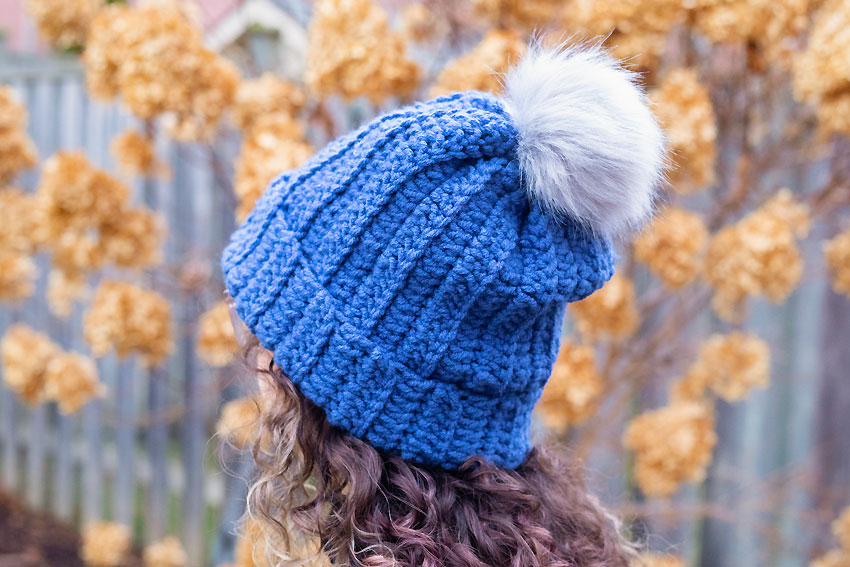
How to Crochet a Baby Hat
blog.treasurie.com
Your folders
 215 views
Moss Stitch Baby Blanket Crochet Pa...
crochetncrafts.com
Your folders
 85 views
Sweet Pea Baby Blanket Crochet Patt...
makeitcrochet.com
Your folders
 238 views
How to Clean Canvas Shoes
onegoodthingbyjillee.com
Your folders
 135 views
Crochet Hat
onelittleproject.com
Your folders
 171 views
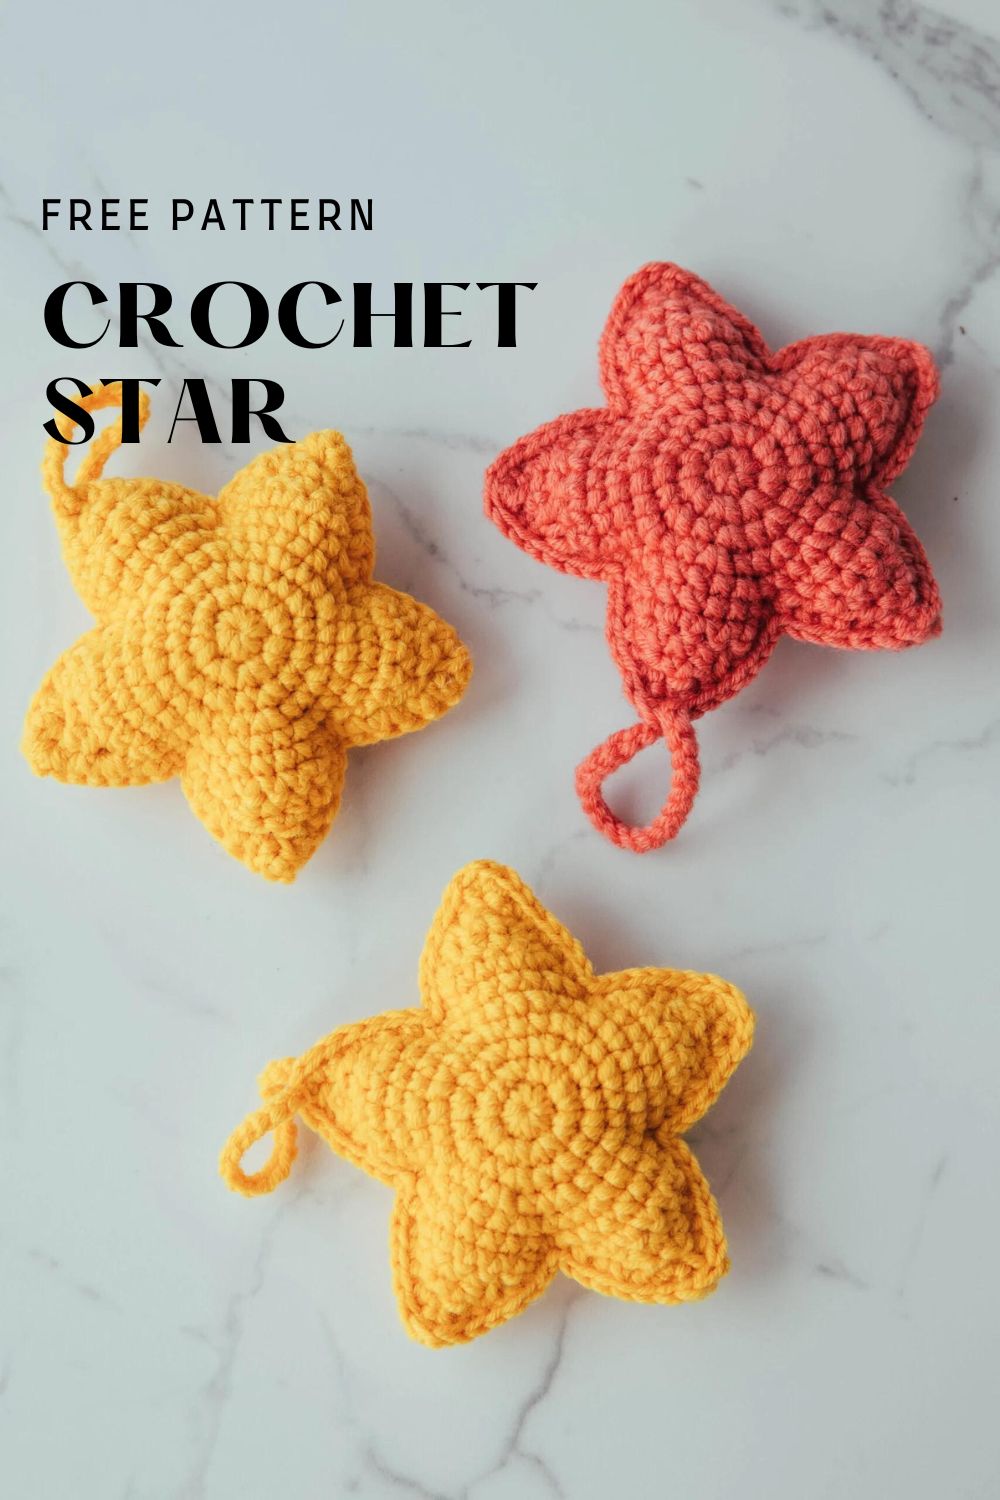
Crochet Star
hookok.com
Your folders
 132 views
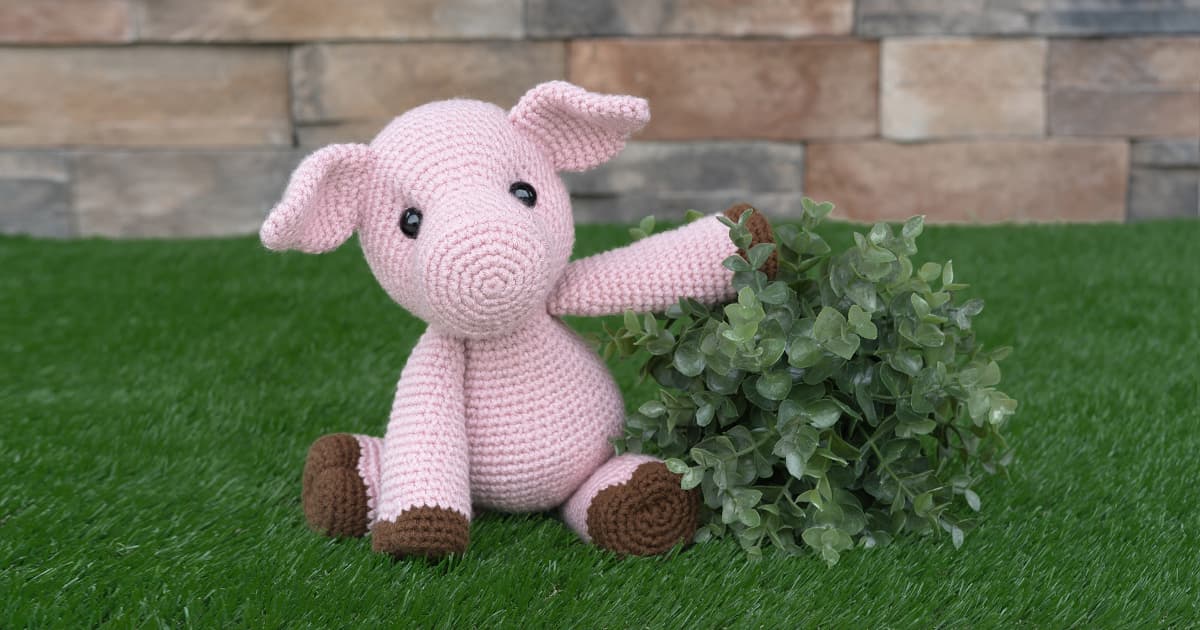
Crochet Ears to Head Amigurumi Croc...
jesshuff.com
Your folders
 217 views
Crochet Cat Cave
dreamalittlebigger.com
Your folders
 220 views
Crochet Tulip Pattern
hookok.com
Your folders
 60 views
Crochet Crow Pattern
thecaffeinatedsnail.com
Your folders
 247 views
Crochet Crow Pattern
thecaffeinatedsnail.com
Your folders
 212 views
Bobble Stitch Crochet
blog.treasurie.com
Your folders
 176 views
Crochet Berry Stitch
blog.treasurie.com
Your folders
 132 views
Crochet Thai Rose
hookok.com
Your folders
77 viewsCrochet Thai Rose
hookok.com
Your folders
 255 views
Crochet Flower Bookmark
easybreezycrochet.com
Your folders
71 viewsCrochet Flower Bookmark
easybreezycrochet.com