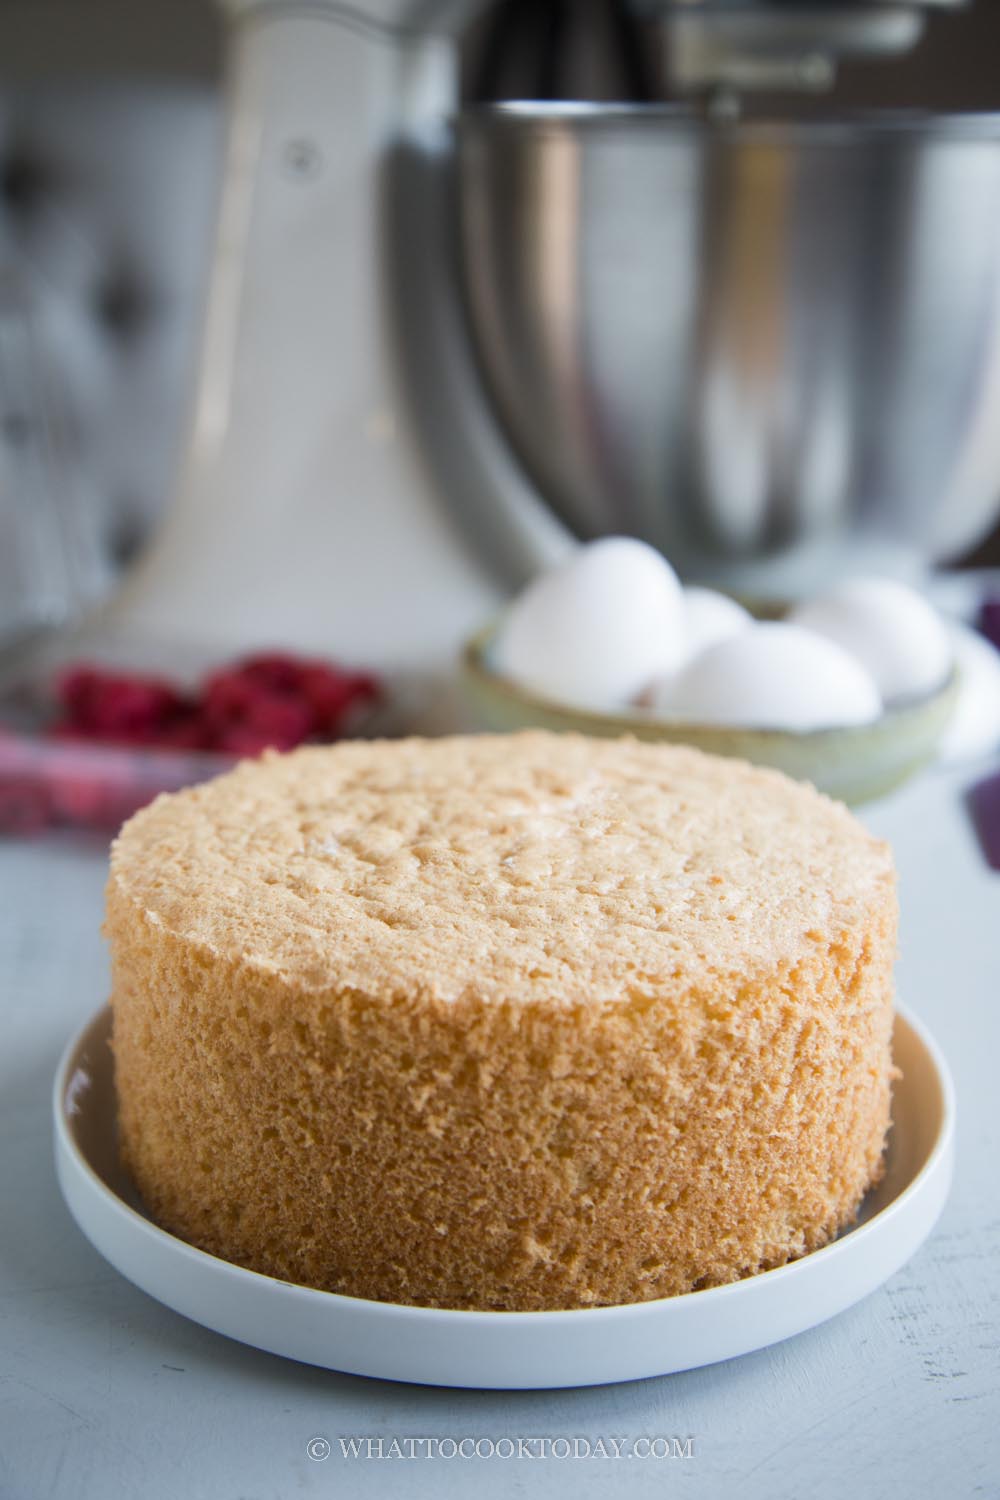
Easy Genoise Sponge Cake
Your folders
Your folders
Prep Time: 15 minutes
Cook Time: 30 minutes
Total: 45 minutes
Servings: 6

Ingredients
Export 15 ingredients for grocery delivery
Instructions
Step 1
Preheat oven to 330 F (165 C). My oven is conventional with bottom heat no fan. If you use convection with top and bottom heat, please adjust accordingly. You may need to lower the temperature by 15-20 degrees. Make sure the oven is preheated for at least 15 minutes before you start baking
Step 2
Please note that I bake using a 3-inch deep pan. You can get 3 layers of cake or 2 thicker layers. You can bake using two 2-inch deep pan too to get 2 layers of cake
Step 3
Line the bottom of the pan with parchment paper. Do not grease the side of the pan so it can have a good height
Step 4
Sift cake flour and salt and mix to combine. Sifting will get rid of the lump when you fold in the flour into the cake batter later
Step 5
Place the milk and butter in a heat-proof bowl and set aside
Step 6
Bring a pot of water to a boil and remove from the heat. Put eggs, sugar, and honey in a large mixing bowl and whisk to combine. Then put this mixing bowl on to of the pot (like a water bath) and start whisking again until sugar dissolves and the mixture is warm when you dip your finger in the mixture. If you have an instant-read thermometer, it should be about 40 C (105 F). The purpose of this step is so that the protein of the eggs is able to capture the air that we need to make fluffy and soft genoise
Step 7
If you use a stand mixer, transfer to the bowl of stand mixer immediately and start whipping with a whisk attachment on high speed (speed 8 on KA) until the mixture is thick, pale, and creamy. When you lift the batter with the whisk, the batter that drops down will leave a trail that remains visible for about a minute before slowly disappearing. We call this a ribbon stage. You have to beat it to this ribbon stage or the cake will not turn out right
Step 8
Bring the pot of water to a boil again and remove from the heat. Place the bowl of milk and butter you prepared earlier in the hot water bath to allow the butter to melt and the milk to warm up. The mixture should be about 60 C (140 F). Add the vanilla extract in and stir to combine
Step 9
Once it has reached the ribbon stage, turn off the mixer. Sift in 1/3 of the flour mixture and very gently but work efficiently, fold the flour mixture into the batter using a rubber spatula using a swipe down and fold over method as you turn the bowl while doing this. Then add the next batch of flour and continue to fold.
Step 10
Once you no longer see any loose flour in the batter, scoop out about 1/3 cup of the batter into the melted butter mixture. Stir to combine thoroughly. Pour this mixture gently over the batter and use a spatula to fold again until combined. Make sure they are thoroughly combined into the batter or your cake will have separate layers later
Step 11
Pour the well-combined batter into the prepared pan from a height. Use a skewer and do a zig zag pattern on the batter to pop any large bubbles. Bang the pan on the counter a few times to pop any large bubbles that are trapped inside the cake batter. Place the pan on the middle rack.
Step 12
Put the pan in the middle rack and bake
Step 13
Do not open the oven door for the first 30 minutes however. The cake will rise and has a dome top during baking but it will shrink a bit after being cooled down and has a nice flat top without any crack
Step 14
If you use a deep round pan, about 3-inch tall like me, for 6-inch cake, bake for 35-40 minutes, for 7 inch cake, bake for 45-50 minutes. For 8-inch cake bake for 50-55 minutes.
Step 15
If you use a 2-inch tall pan instead, reduce the baking time by 5-8 minutes and since every oven can be different and you know your oven best, check for doneness
Step 16
Do a finger test by gently pressing on the center of the cake. It should spring back. If it leaves indentation, bake for another 5 minutes and test again. You can also test with using a skewer and poke into the middle of the cake. It should come out clean with few crumbs are okay, as long as it's no longer wet
Step 17
Once the cake is done baking in the oven, loosen the edge with an offset spatula and turn it upside down into a cooling rack and let it cool down in this position for 5 minutes, this will help to flatten the top of the cake and to get a homogenous crumbs and texture. Then turn the cake back up and let it cool down completely before slicing
Step 18
The cake is ready to be used once they have cooled down completely. Wrap them up in a cling wrap if it has cooled down completely and you won't be using it on the same day. They can be kept at room temperature for 3 days
Step 19
For longer storage, wrap it well with a cling wrap and then put in the freezer bag, push all the air out and store it in the freezer for one month. Simply thaw at room temperature for few hours before decorating your cake
Step 20
I recommend cutting a sponge cake with serrated knife using a sawing motion