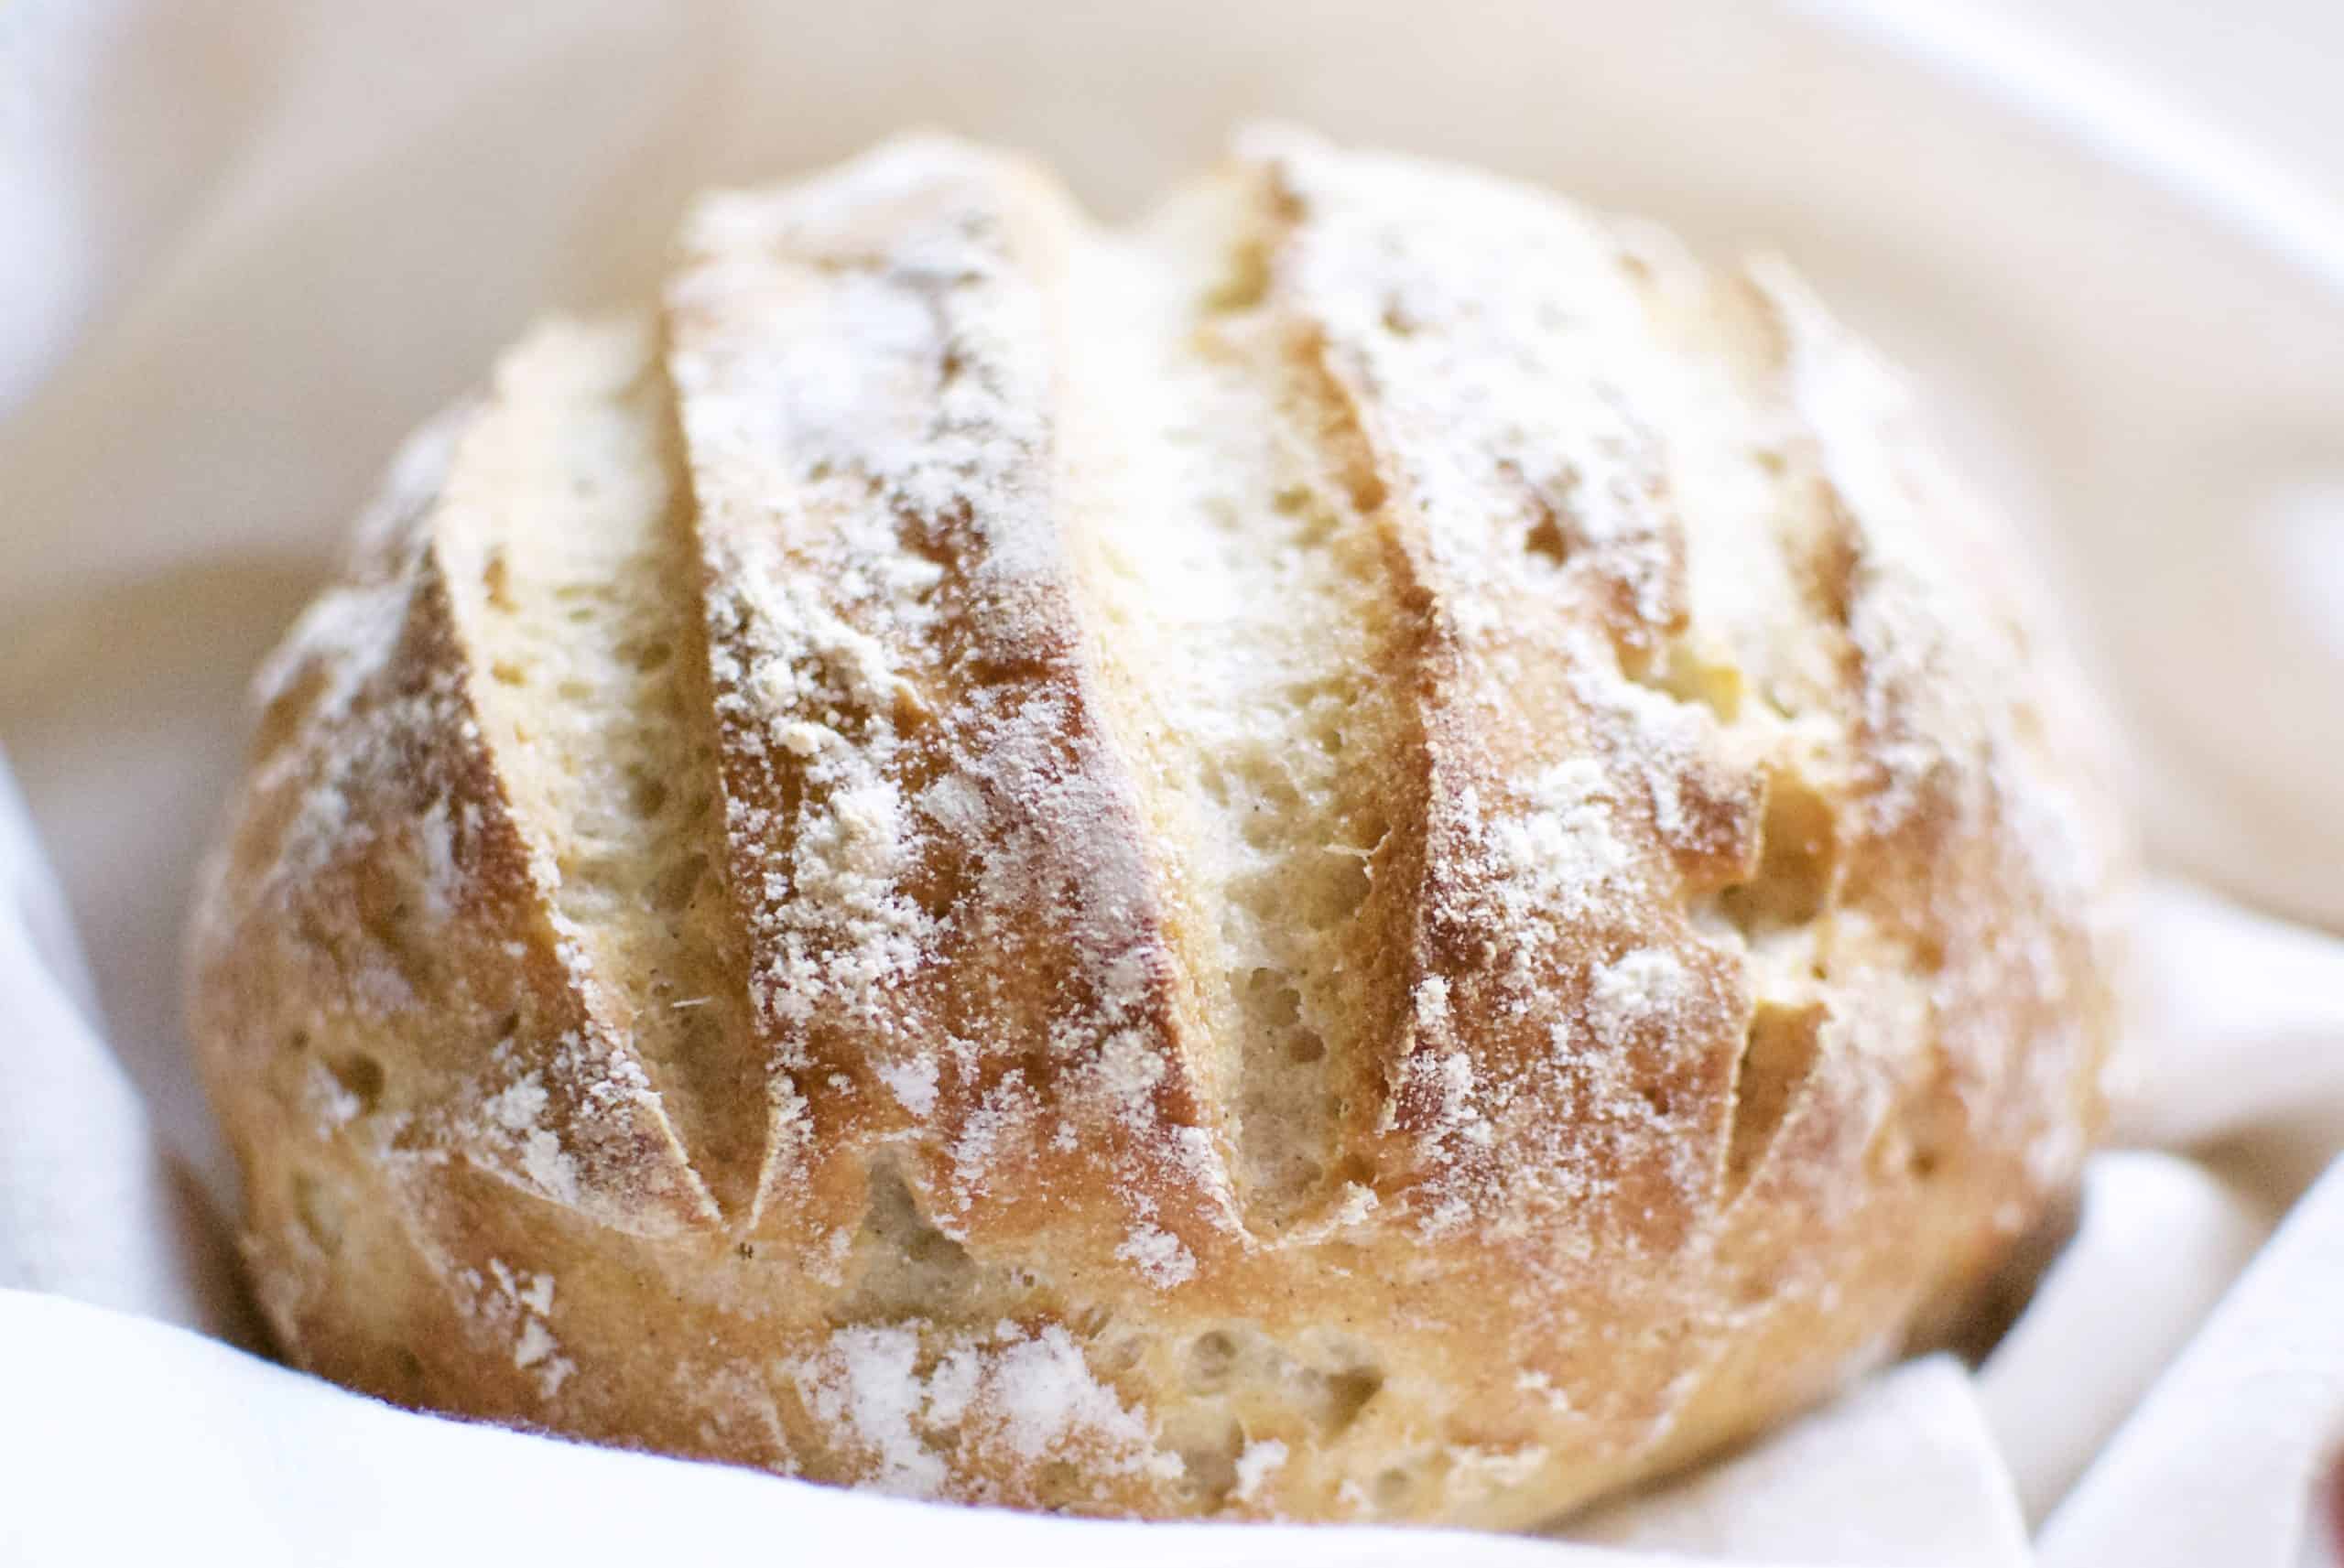
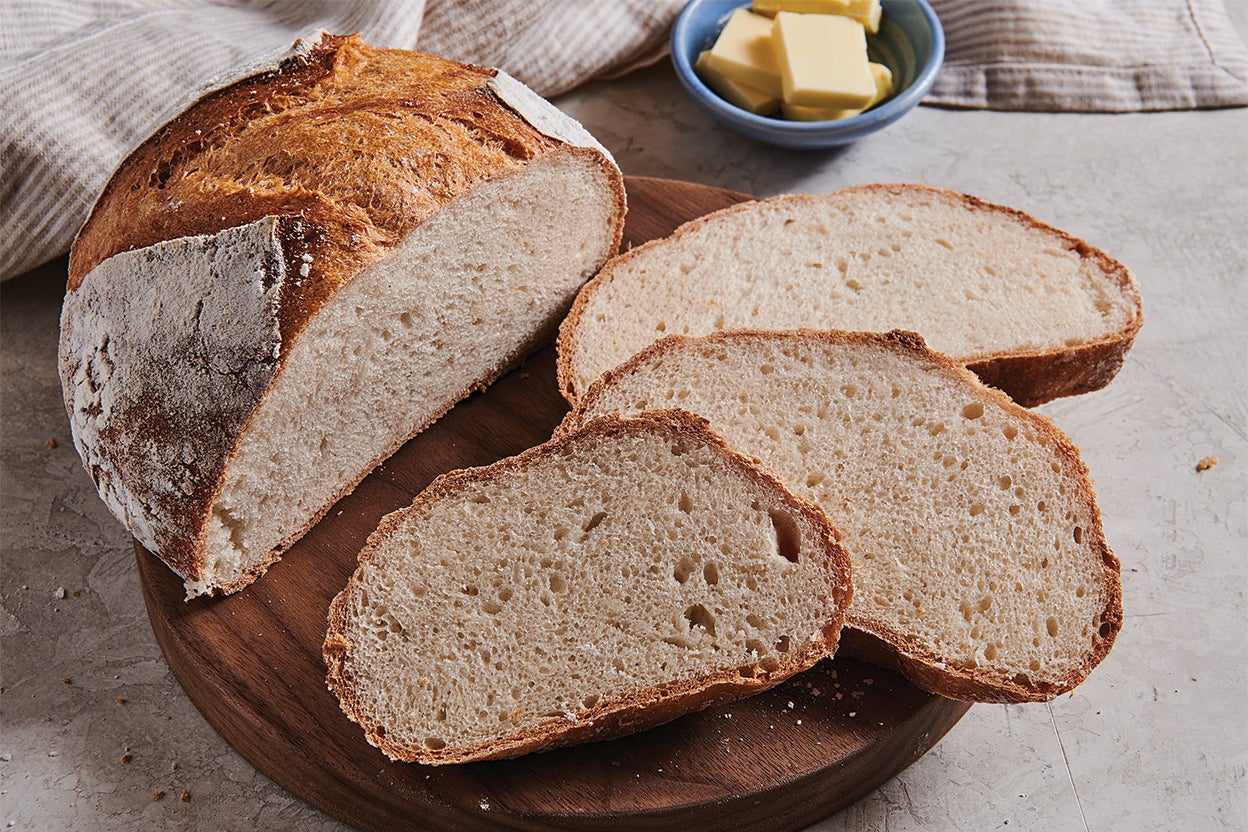
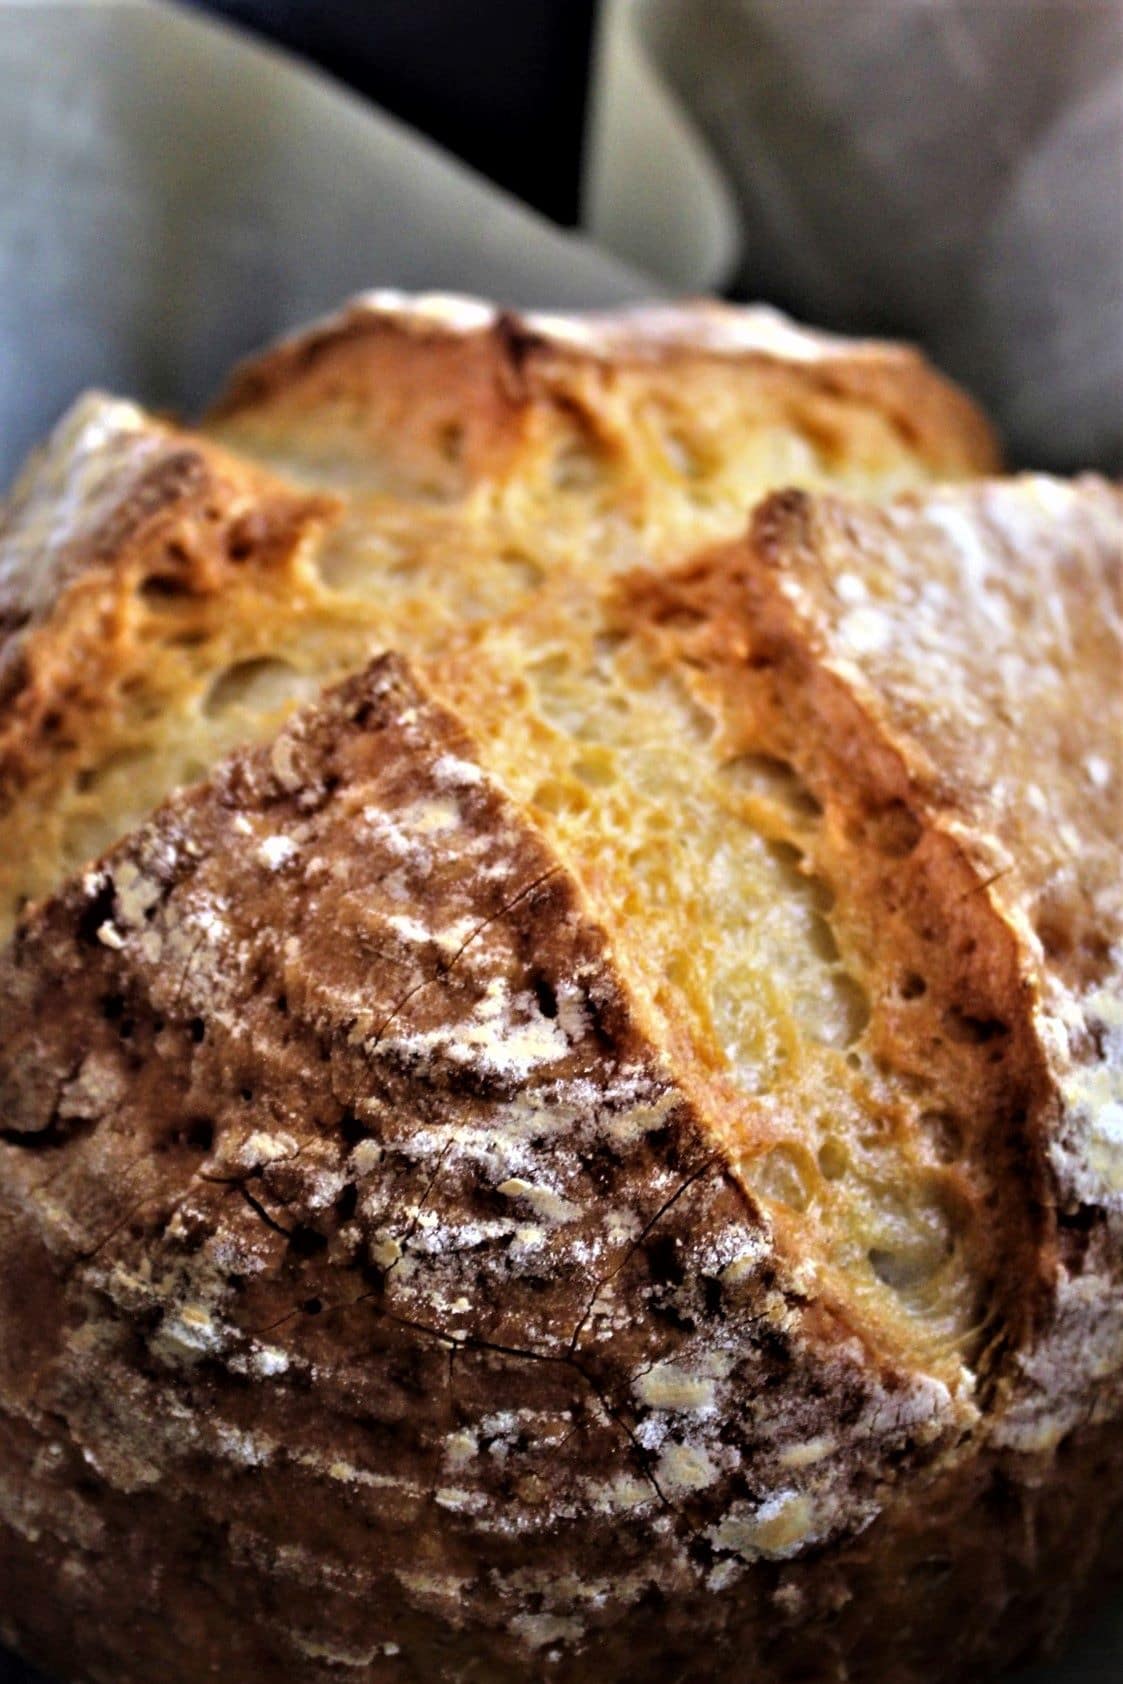
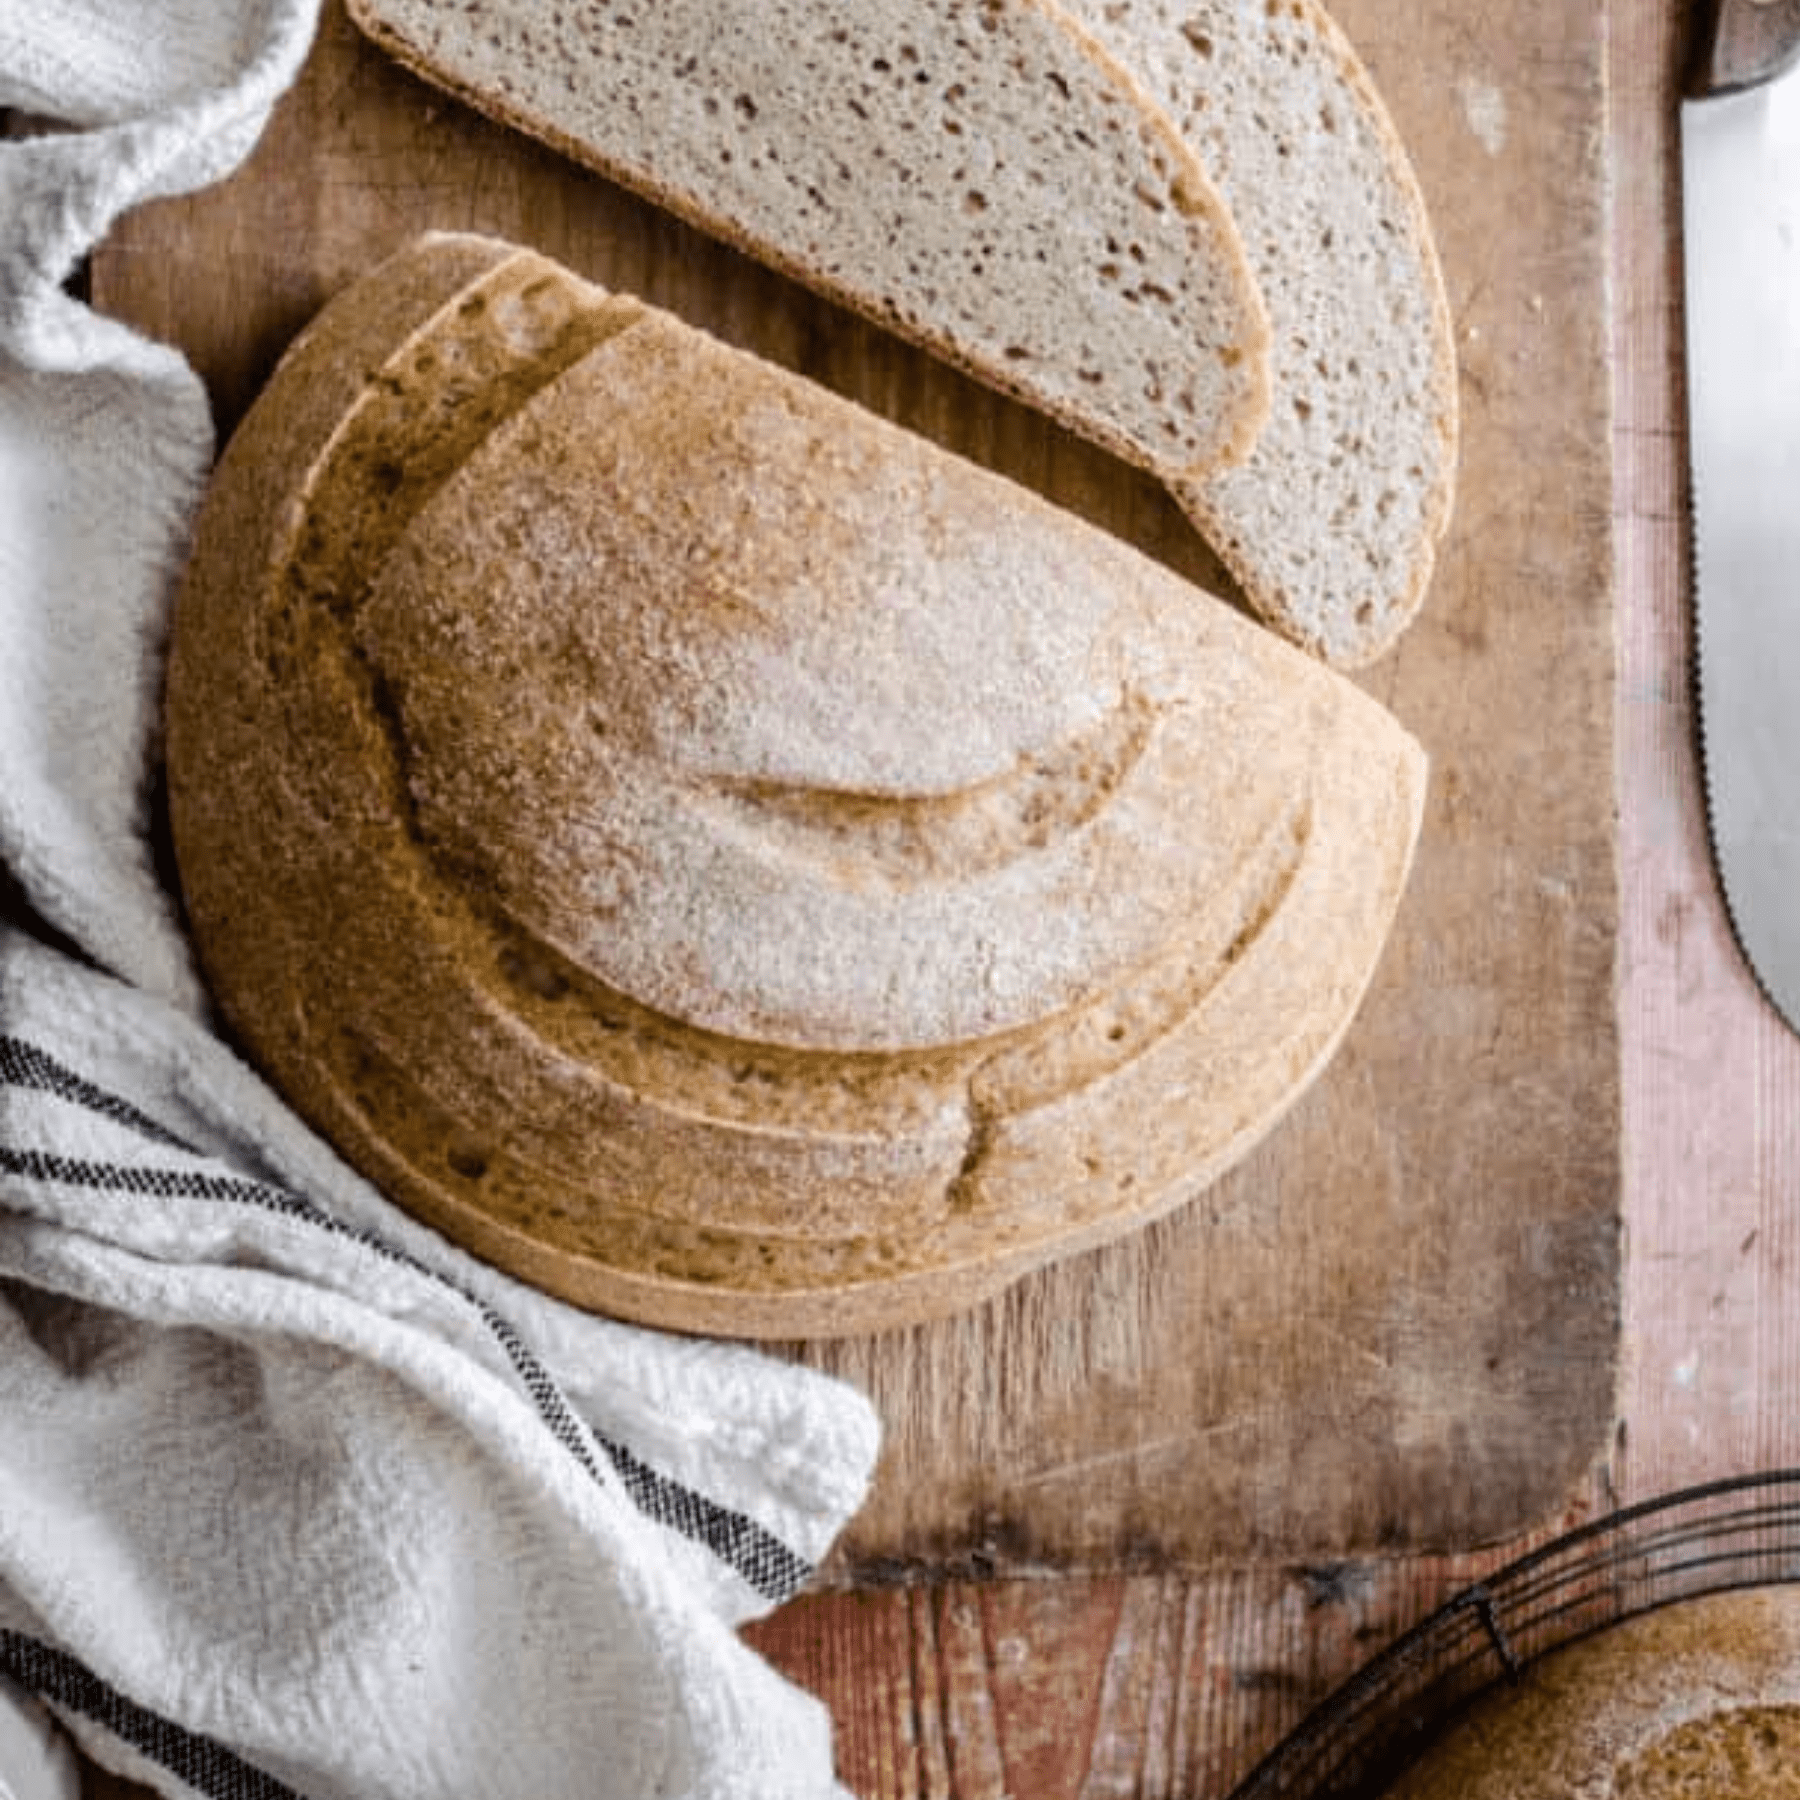
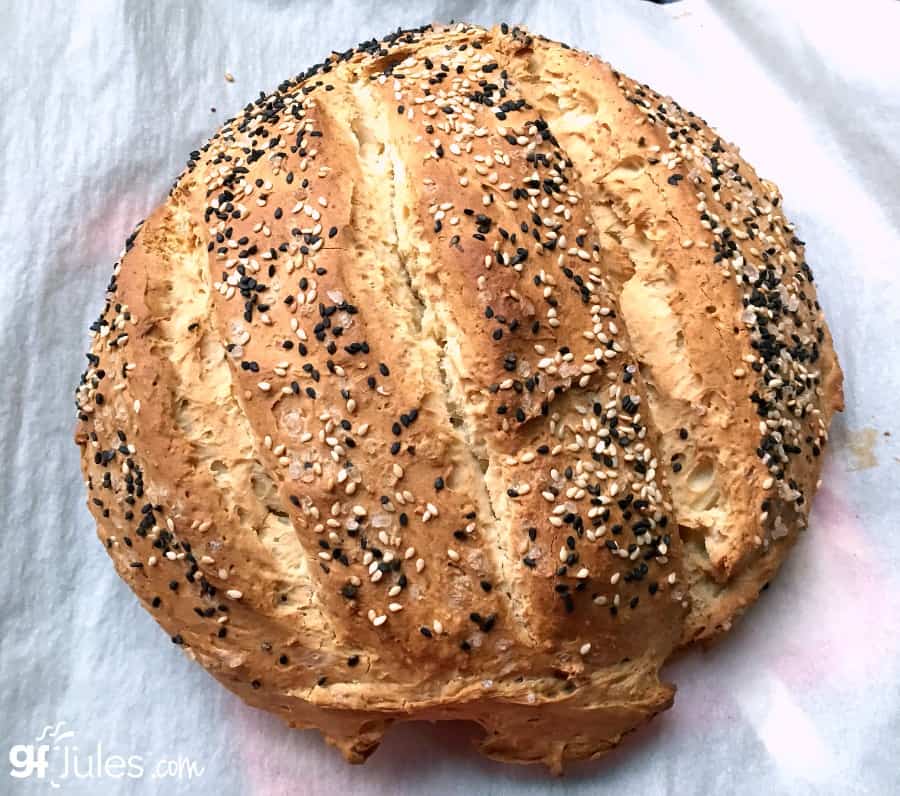
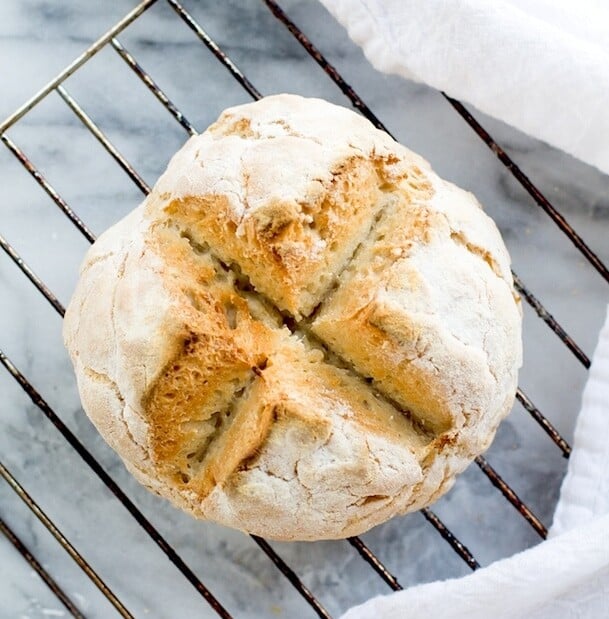
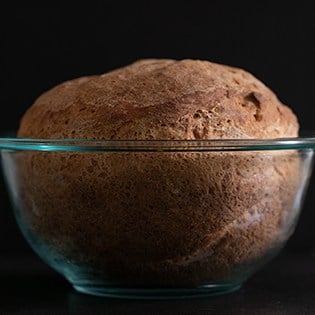
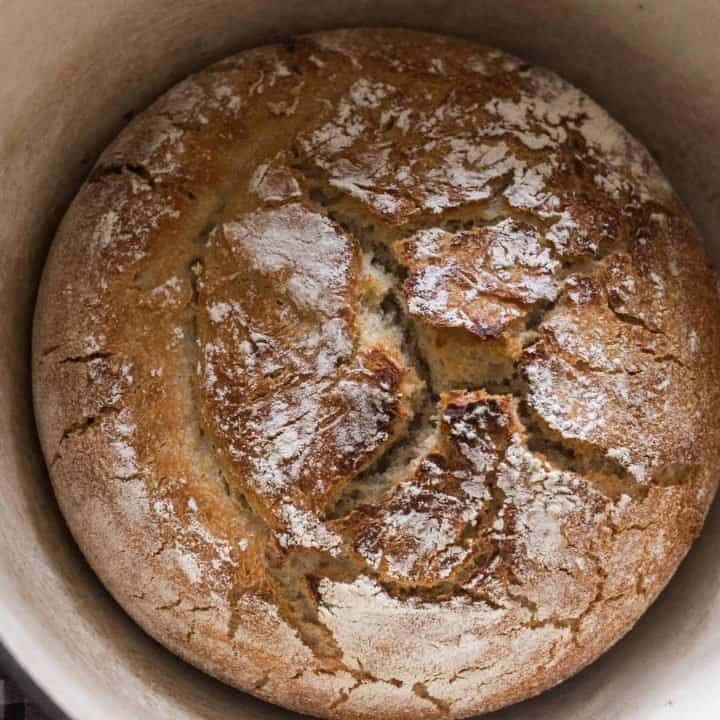
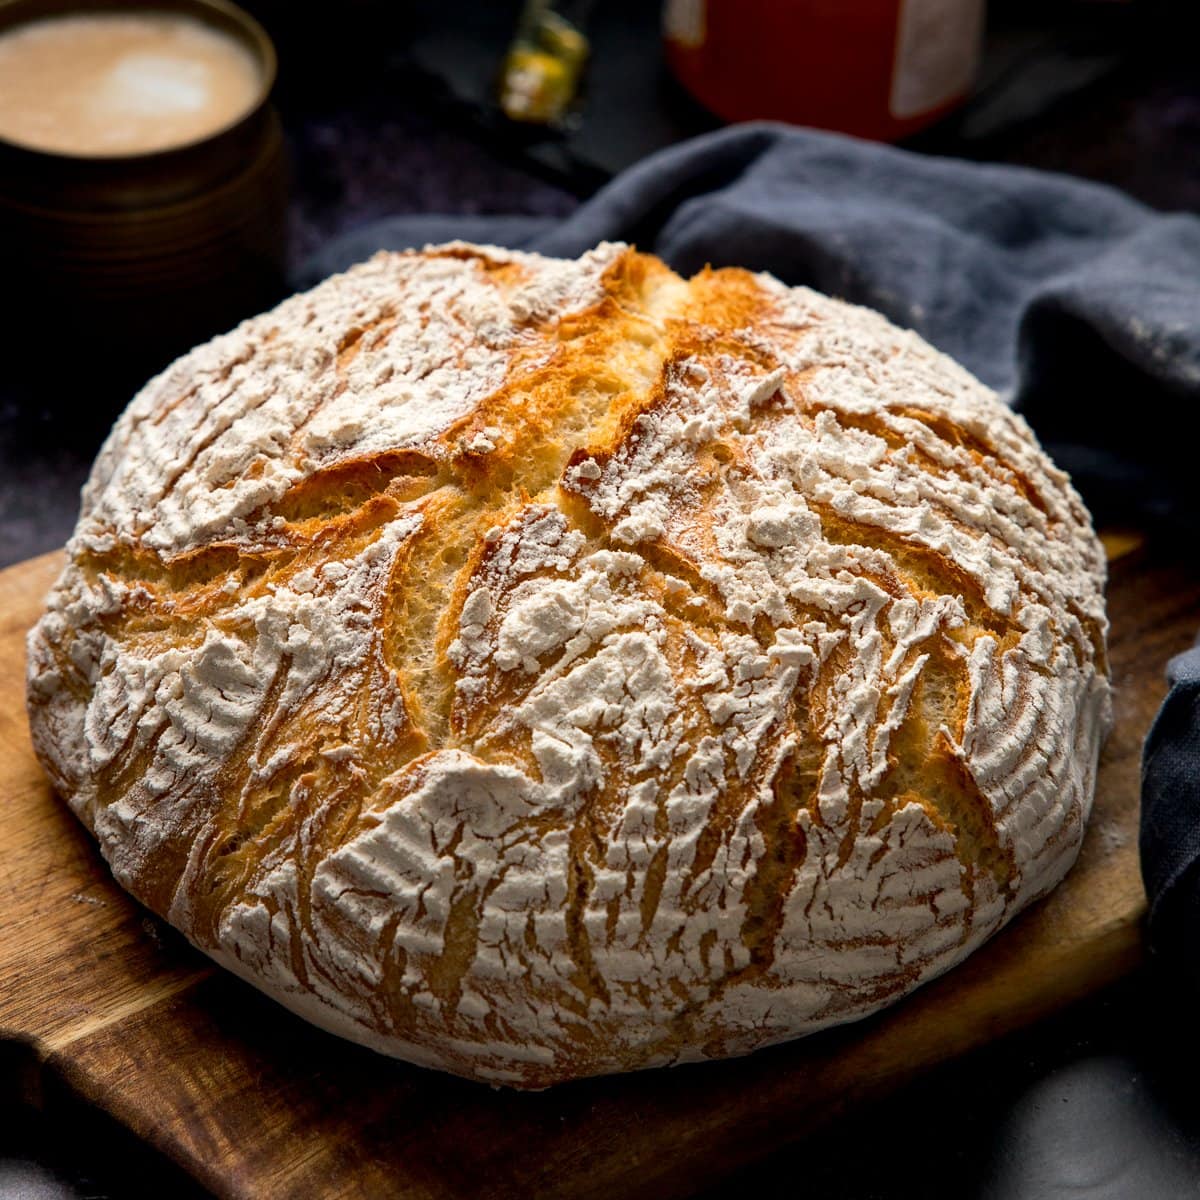
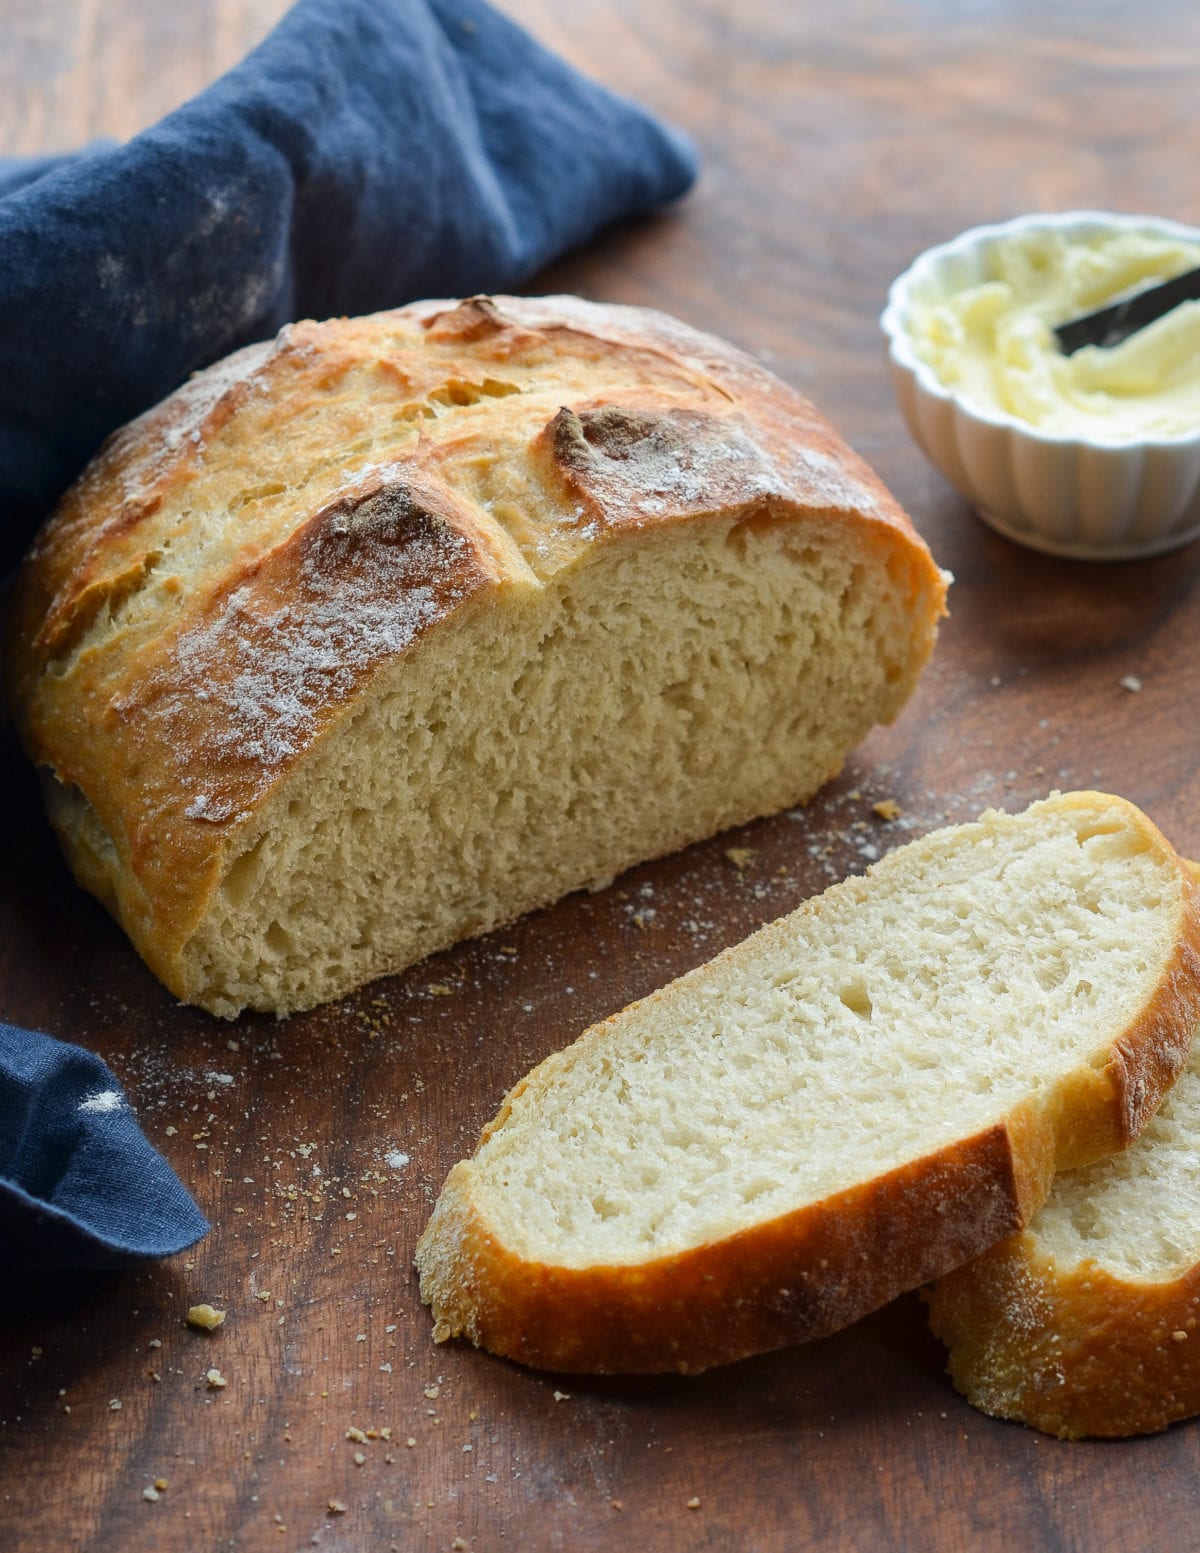
gluten-free artisan bread
4.9
(16)
Your folders
Your folders
Servings: 4
Author : Rosemary Stelmach
Ingredients
Export 8 ingredients for grocery delivery
Instructions
Step 1
Whisk and mix the ingredients in a 5- to 6-quart lidded container. Finish by picking up the container and vigorously shaking until the flours are completely blended.
Step 2
The ingredients must be very well mixed, otherwise the xanthan gum or psyllium will not be evenly distributed and your loaves will be inconsistent.
Step 3
Store the flour mixture in an airtight container in a cool dark area until needed.
Step 4
* Do not substitute with sweet white rice flour.
Step 5
** Do not substitute with potato flour.
Step 6
If you’re measuring by U.S. cup-measures, be sure to pack the flour tightly into the cup, as if you were measuring brown sugar.
Step 7
In a 5 to 6-quart bowl or stand mixer, whisk together the flour, yeast, salt and sugar.
Step 8
Add the lukewarm water — lukewarm water (100ºF) will allow the dough to rise to the right point for storage in about 2 hours.
Step 9
Mix with the paddle attachment of mixer until mixture is very smooth, for about one minute. Alternatively, using a spoon or spatula, mix well by hand for one to two minutes. Kneading is not necessary. Transfer mixture to lidded (not airtight) food container.
Step 10
Cover with a lid that fits well to the container but can be cracked open so it’s not completely airtight. Plastic wrap is fine, too. Allow the mixture to rise at room temperature about 2 hours; then refrigerate it and use over the next 10 days. You can use a portion of the dough any time after the 2-hour rise. Fully refrigerated wet dough is less sticky and easier to work with than dough at room temperature, but whatever you do, do not punch down the dough — this is unnecessary with gluten-free bread baking.
Step 11
On baking day: pull off a 1-pound (grapefruit-size) piece of dough, then place it on a pizza peel prepared with plenty of cornmeal or parchment paper. Gently press the dough into a ball and use wet fingers to smooth the surface. Allow it to rest at room temperature for 60 minutes loosely covered with plastic wrap or under a roomy overturned bowl. The dough will not look as though it has risen much after the 60 minutes — this is normal.
Step 12
While the dough is resting, preheat a baking stone or baking steel near the middle of your oven set at 450ºF for at least 30 minutes. Alternatively, preheat a lidded Dutch oven for 45 minutes at 450ºF. If you are using the stone or steel, place an empty metal broiler tray for holding water on the shelf below the stone or steel.
Step 13
Dust the top of the dough liberally with gluten-free flour. Slash a 1/4-inch to a 1/2-inch deep cross or scallop(s) across the top using a wet serrated bread knife.
Step 14
Shimmy the loaf onto the preheated stone. Quickly and carefully pour 1 cup of hot water from the tap into the metal broiler tray and close the oven door to trap the steam. If you are using parchment paper on the steel or stone, remove it after 20 minutes. Bake loaf for a total of 45 minutes. Alternatively, use the piece of parchment paper as handles and carefully lower the dough-topped parchment paper into the preheated pot. Cover and place in the oven. No need for a steam bath with the dutch oven. If you are using the preheated vessel, remove the lid after 30 minutes, and bake for 15 minutes longer uncovered or until the crust is richly browned.
Step 15
Allow bread to cool completely, about 2 hours, on a wire rack.
Step 16
Store remaining dough in the refrigerator in your lidded or loosely plastic-wrapped container and use it over the next 10 days. If your container isn't vented, allow gasses to escape by leaving the cover open a crack for the first couple of days in the fridge. After that, it can be closed.
Top similar recipes
Curated for youYour folders

 1293 views
Gluten Free Artisan Bread
letthemeatgfcake.com
4.3
(126)
30 minutes
Your folders
 216 views
Artisan Gluten Free Bread
darngoodveggies.com
5.0
(13)
3 hours
Your folders
 109 views
Gluten-Free Artisan Bread
kingarthurbaking.com
4.3
(64)
1 hours, 10 minutes
Your folders
 1059 views
Gluten Free Artisan Sourdough Bread
letthemeatgfcake.com
4.7
(12)
60 minutes
Your folders
 274 views
Gluten-Free Artisan Sourdough bread
fromthelarder.co.uk
5.0
(2)
70 minutes
Your folders
 245 views
Gluten Free Artisan Bread Recipe
gfjules.com
4.5
(152)
35 minutes
Your folders
 178 views
Best Homemade Gluten-Free Artisan B...
heartbeetkitchen.com
5.0
(3)
45 minutes
Your folders
 189 views
Gluten-Free Artisan Bread In 5 Minu...
veggiesbycandlelight.com
3.6
(18)
Your folders
 1181 views
The Ultimate Gluten Free Bread Reci...
theloopywhisk.com
4.9
(100)
60 minutes
Your folders
 209 views
Easy Gluten Free Artisan Bread | Yo...
glutenfreeonashoestring.com
5.0
(120)
45 minutes
Your folders
 364 views
The Artisan Gluten-Free Flour Blend
nogluten-noproblem.com
Your folders
 528 views
Artisan Bread
jocooks.com
4.5
(591)
185 minutes
Your folders
 90 views
Artisan Bread
lifemadesimplebakes.com
Your folders
 145 views
Gluten-free bread
bbc.co.uk
3.4
(18)
1 hours
Your folders
 412 views
Artisan Sourdough Bread
farmhouseonboone.com
4.5
(17)
40 minutes
Your folders
 803 views
Artisan Bread Recipe
kitchensanctuary.com
5.0
(3)
45 minutes
Your folders
91 viewsArtisan Sourdough Bread
fleischmannsyeast.com
Your folders
 301 views
Artisan Bread Recipe
tasteandtellblog.com
5.0
(4)
30 minutes
Your folders
 1039 views
Crusty Artisan Bread
onceuponachef.com
5.0
(213)
30 minutes