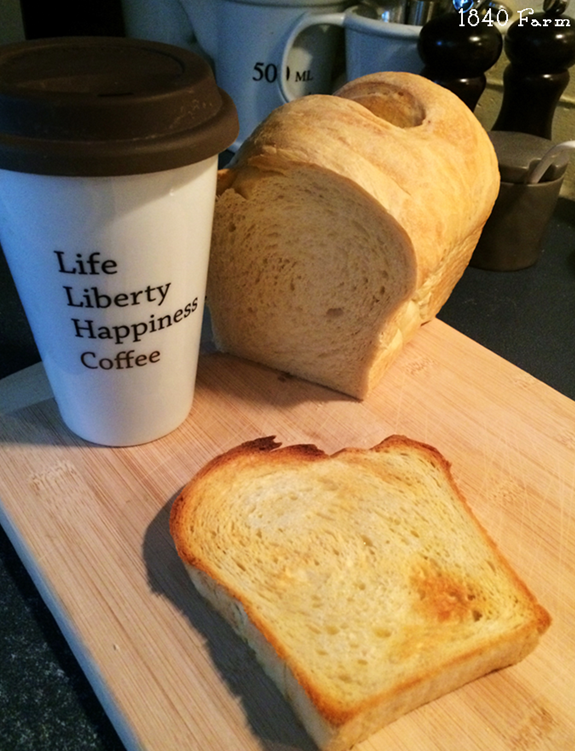
Handmade Enriched Bread Dough
5.0
(1)
Your folders
Your folders
Servings: 2
Author : Jennifer from 1840 Farm

Ingredients
Export 7 ingredients for grocery delivery
Instructions
Step 1
Whisk the warm water and honey in a large bowl. Sprinkle the yeast over the top of the liquid. Allow the yeast to rest for approximately five minutes as you prepare the remaining ingredients.
Step 2
In a large bowl, combine the two types of flour and salt. Cube the butter and soften in the microwave for approximately 30 seconds. It should be incredibly soft to allow it to be easily incorporated into the dough by hand. In a small bowl, whisk the eggs until smooth.
Step 3
Add the buttermilk and eggs to the bowl with the yeast. Whisk until combined. Add the softened butter followed by the dry ingredients all in one addition. Using your hands or a sturdy wooden spoon, mix the ingredients until they begin to come together.
Step 4
Turn the dough out on to a lightly floured surface. Using your hands, bring the dough together and begin to knead until it forms a ball. Continue to knead for about five minutes. The dough should be smooth and elastic. Shape the dough into a ball and move it to a large buttered bowl covered with a clean towel. Place in a dough proofer or a warm spot and allow to rise for 1-2 hours or until nearly doubled in size.
Step 5
It is easy to confirm that the bread dough is ready to shape by using the windowpane test. If you are unfamiliar with the windowpane test, the technique is quite simple but incredibly helpful when making a loaf of bread. This windowpane test will help you to determine if your dough has been kneaded sufficiently to yield a wonderful finished loaf. By using this technique, you will be certain that your homemade bread dough will produce a beautiful loaf of bread.
Step 6
Conducting the windowpane test is simple. Take a small piece of dough and stretch it between your fingers until it is thin and translucent (much like a window). If the dough stretches without breaking, the gluten has developed sufficiently and the dough is ready to prepare for its shaping and final rise. If the dough breaks, allow the dough to rise a bit longer until it passes the test.
Step 7
Prepare two standard sized (8”x4”) loaf pans by brushing with butter or a neutral tasting oil. Be sure to brush the top rim of the loaf pan as this dough has a tendency to rise well above the top of the pan. Oiling the top rim of the pan will make releasing the baked loaf from the pan much easier.
Step 8
Divide the dough into two even balls. You can shape the loaves by hand or by using a rolling pin. Either will create a beautiful loaf with great texture. To shape by hand, work the ball of dough by turning and pulling into a rectangle before placing in the lightly oiled loaf pan.
Step 9
To shape with a rolling pin, stretch the ball of dough by hand into a large rectangle before placing on a lightly floured surface. Using the rolling pin, roll the dough into a large rectangle measuring approximately 8 x16 inches. Fold in the edges along the long ends to match the length of your bread pan. Starting on one short end, begin rolling the dough tightly into a log to create a loaf shape. Transfer the dough to the prepared pan with the seam side on the bottom.
Step 10
Brush the top of the loaves with a bit of melted butter and use a sharp knife to cut three slits in the top of the dough. Scoring the loaf will allow the dough to rise and bake evenly without breaking the beautiful top crust.
Step 11
Brush a piece of plastic wrap with melted butter before loosely covering the loaf. The plastic wrap will prevent the dough from drying out as it rises. Take care not to cover the loaf too tightly which can prevent the dough from rising properly. Set the loaves aside to rise in a warm, draft free spot. Allow the loaves to rise until they have reached a height of about an inch above the top edge of the loaf pans.
Step 12
As the dough nears the end of its rise, preheat the oven to 350 degrees. If you have a pizza stone, this is a great time to put it to use. I like to use stones when baking bread in order to deliver even heat to the bottom of the loaf as it bakes. I find that my loaves bake more evenly when I have the stones in the oven during preheating and baking.
Step 13
Once the loaves have risen sufficiently and the oven has reached the proper temperature, transfer the loaves to the oven. Bake for 30 minutes, turning near the halfway mark to ensure even browning. When the loaves are fully baked, they will be golden brown and sound hollow when tapped on the bottom. Remove the baked loaves from their pans to a wire rack. Allow them to cool completely before slicing or storing.