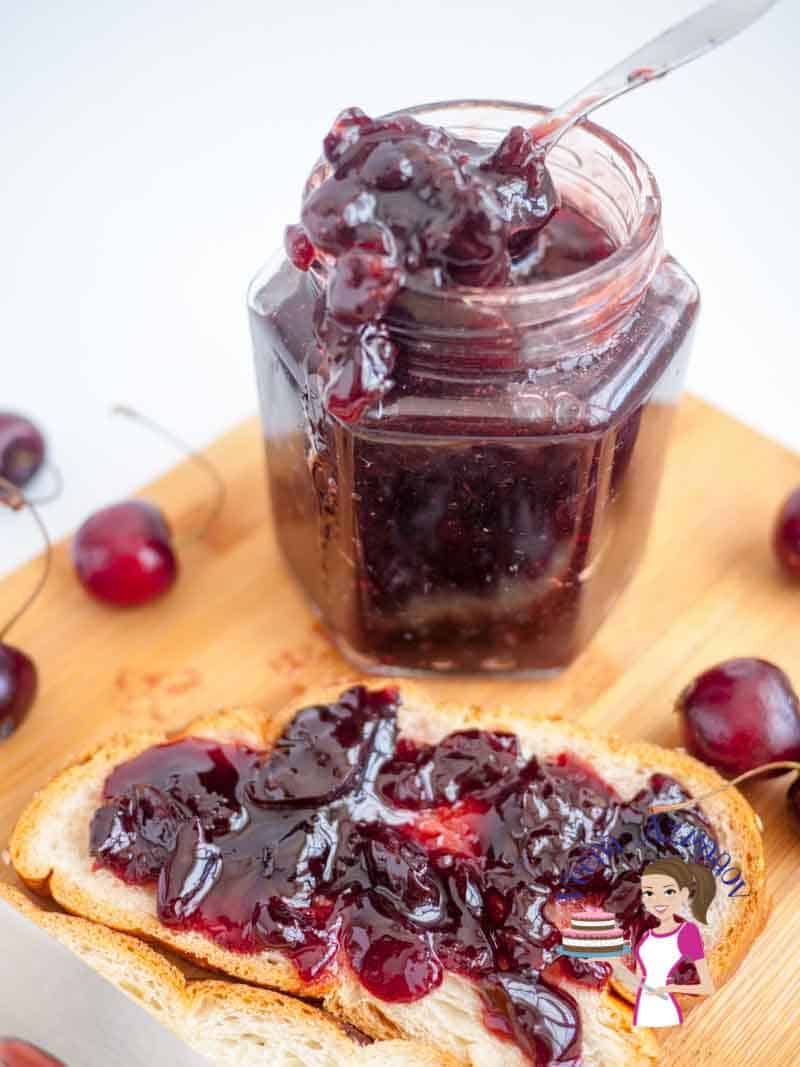
Homemade Cherry jam without Pectin
4.8
(53)
Your folders
Your folders
Prep Time: 10 minutes
Cook Time: 30 minutes
Total: 40 minutes
Servings: 4
Author : Veena Azmanov
Ingredients
Export 3 ingredients for grocery delivery
Instructions
Step 1
Wash drain and pit the cherries. Discard any that may not be good or healthy
Step 2
Chop the pitted cherries into little chunks depending on the texture you need (see note)
Step 3
Place cherries in a deep heavy bottom pan. (leave space for the jam to rise)
Step 4
Add Sugar, Lemon Juice and stir.
Step 5
Place on medium-high heat until the sugar is almost dissolved and the mixture comes to a rolling boil.
Step 6
Once the mixture comes to a rolling boil. Turn the heat to medium-low. The mixture should still be simmering but slow.
Step 7
Let simmer for about 20 minutes.
Step 8
Meanwhile, place two ceramic plates in the freezer. (see note)
Step 9
After almost 15 to 20 minutes you will see the mixture has darkened, thickened and reduced.
Step 10
Remove one of the plates from the freezer.
Step 11
Place a small amount on the mixture on the place. The cold plate will help cool the mixture and give you a good indication if the jam is ready.
Step 12
You may need to do this once or a couple of times depending on how soon you start checking.
Step 13
You know when the jam is done; If the blob of mixture you placed on the plate wrinkles when you touch it with your fingers.
Step 14
Just when you are ready to take the jam off the heat add a teaspoon of butter and you will notice that all the foam on the top will dissolve.
Step 15
Let the Jam cool for about 20 mins before you pour it into a warm sterilized jar leaving 1/4 inch of the top.
Step 16
Use a clean sterilized knife or spatula to move the jam a bit – this will remove any air pockets.
Step 17
Clean the rim of the jar with a clean paper towel.
Step 18
Top the lid and screw on rings (that come with the canning jars)
Step 19
Place a piece of wax paper on the top before you place the lid on tightly.