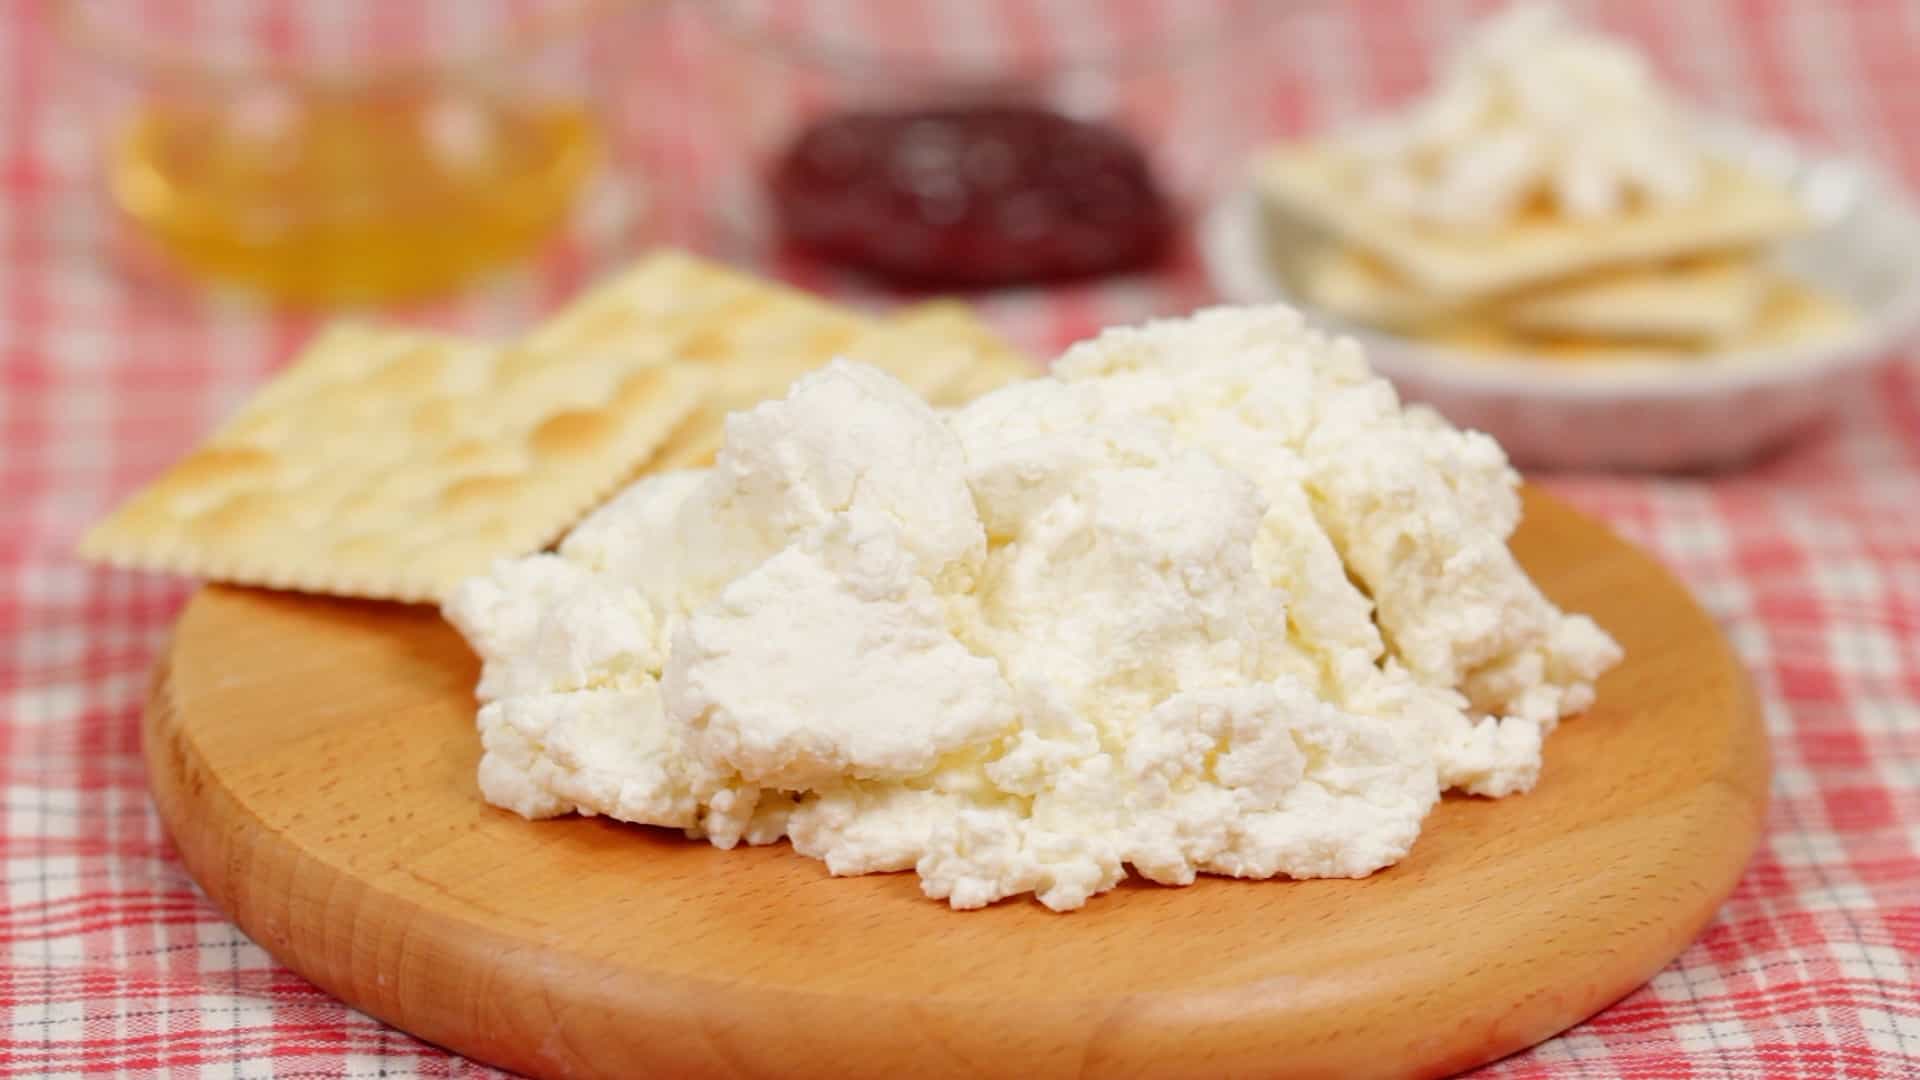
Homemade Fresh Farmer's Cheese
Your folders
Your folders
Total: 1320
Servings: 10
Ingredients
Export 6 ingredients for grocery delivery
Instructions
Step 1
Pour 1 gallon of milk into a large heavy bottom pot and heat it to 100F. It should feel slightly hotter than warm. (Do not make it hot, or it will kill the buttermilk culture.) Remove from heat.
Step 2
Shake the bottle with buttermilk, then pour 1-2 cups into the warm milk. Stir for about 1-2 minutes.
Step 3
Cover with lid and allow to sit at room temperature, undisturbed for 12-24 hours depending on how warm it is. If the room temperature is below 70, place pot of warm milk in the oven with just the light on (NO heat).
Step 4
Buttermilk is ready when it’s thick and you’re able to ‘cut’ it with a spoon, that means when taking a spoonful of buttermilk, it doesn’t run like milk but holds its shape. (When in doubt, leave it for full 24 hours.)
Step 5
Cut the buttermilk into 1-inch squares with a long knife.
Step 6
Insert a thermometer into one of the curds and start heating over very low heat. It will take about 15 minutes to reach to 120°F. This is what it will look like when it’s heated to 130°F.
Step 7
Make sure the thermometer is inserted into the curd, not the whey. Whey around the curds might even start boiling because it’s of less density than the curds. When temperature inside the curd reaches 100°F, give a gentle stir with a large spoon and bring the hot curd from the bottom to the top. It only needs to be heated another 30°F-40°F degrees before you will need to drain it. You will see both cheese-like chunks and big curd chunks, that’s ok, that’s how it’s supposed to be.
Step 8
Once the temperature inside the curd reaches 130-140, give it another gentle stir, to break up large curd chunks and to distribute the heat evenly.
Step 9
Carefully pour the heated curds to a different pot lined with a cheese-cloth, then gather the ends of the cheesecloth, tie them and hang over the kitchen cabinet door handle or some other device. Allow the whey to drip off, until droplets fall about 30 seconds apart. At this point, transfer the cheese with the cheesecloth to the refrigerator. It will harden up and it will be easier to remove the cheesecloth without ruining the cheese ‘ballthe
Top similar recipes
Curated for youYour folders

 220 views
Farmer Cheese
leitesculinaria.com
5.0
(4)
Your folders
 95 views
Farmer Cheese
leitesculinaria.com
Your folders
 151 views
RECIPE: FARMER CHEESE
culturesforhealth.com
5.0
(1)
3 hours
Your folders
 308 views
Homemade Fresh Cheese
cookingwithdog.com
5.0
(1)
Your folders
 353 views
Syrniki (Farmer Cheese Pancakes)
washingtonpost.com
3.7
(3)
Your folders
 140 views
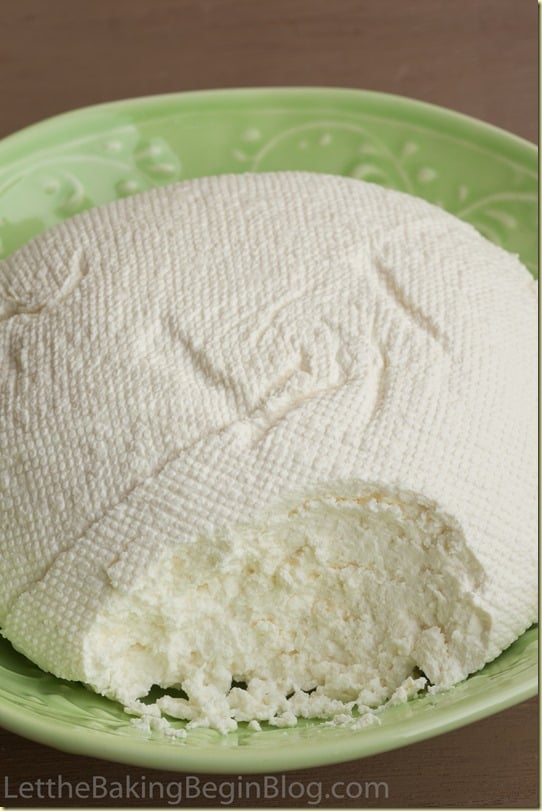
Homemade Fresh Farmer's Cheese
letthebakingbegin.com
4.9
(7)
600 minutes
Your folders
 275 views
Banana Farmer
theeducatedbarfly.com
4.3
(4)
Your folders
 173 views
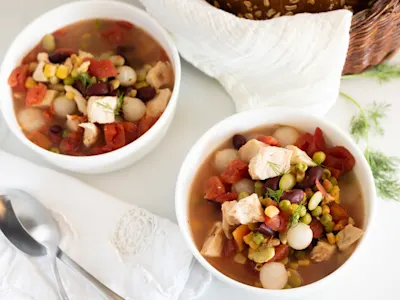
Farmer Soup
lazycooking.com
5.0
(1)
4 hours, 10 minutes
Your folders
174 viewsFarmer Soup
recipesaver.com
5.0
(1)
4 hours, 10 minutes
Your folders
 220 views
Farmer Soup
cookingprofessionally.com
5.0
(1)
4 hours, 10 minutes
Your folders
139 viewsFarmer Soup
commandcooking.com
5.0
(1)
4 hours, 10 minutes
Your folders
152 viewsFarmer Soup
heartlandcooking.com
5.0
(1)
4 hours, 10 minutes
Your folders
 218 views
Ayib (Ethiopian Homemade Fresh Chee...
tarasmulticulturaltable.com
5.0
(1)
15 minutes
Your folders
 183 views
Baked Farmer Casserole
happyhomeschoolnest.com
4.3
(39)
45 minutes
Your folders
 78 views
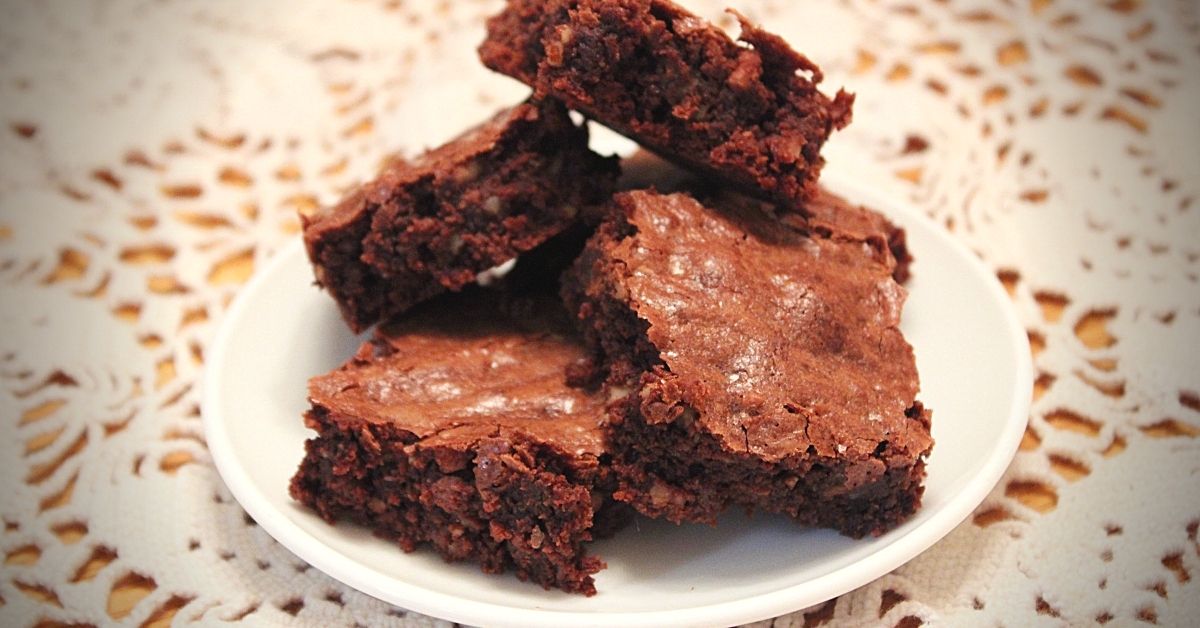
Fanny Farmer Brownies
younggoodsandeats.com
30 minutes
Your folders
 218 views
Fresh Cheese
cooking.nytimes.com
4.0
(15)
Your folders
 422 views
Homemade Paneer (Fresh Indian Cotta...
recipetineats.com
4.9
(8)
600 minutes
Your folders
108 viewsHomemade Paneer (Fresh Indian Cotta...
recipetineats.com
Your folders
/how-to-make-farmers-cheese-591547-hero-01-e3bc693977ce46e4a57aac820d963668.jpg) 251 views
251 viewsHow to Make Farmer Cheese With Thre...
thespruceeats.com