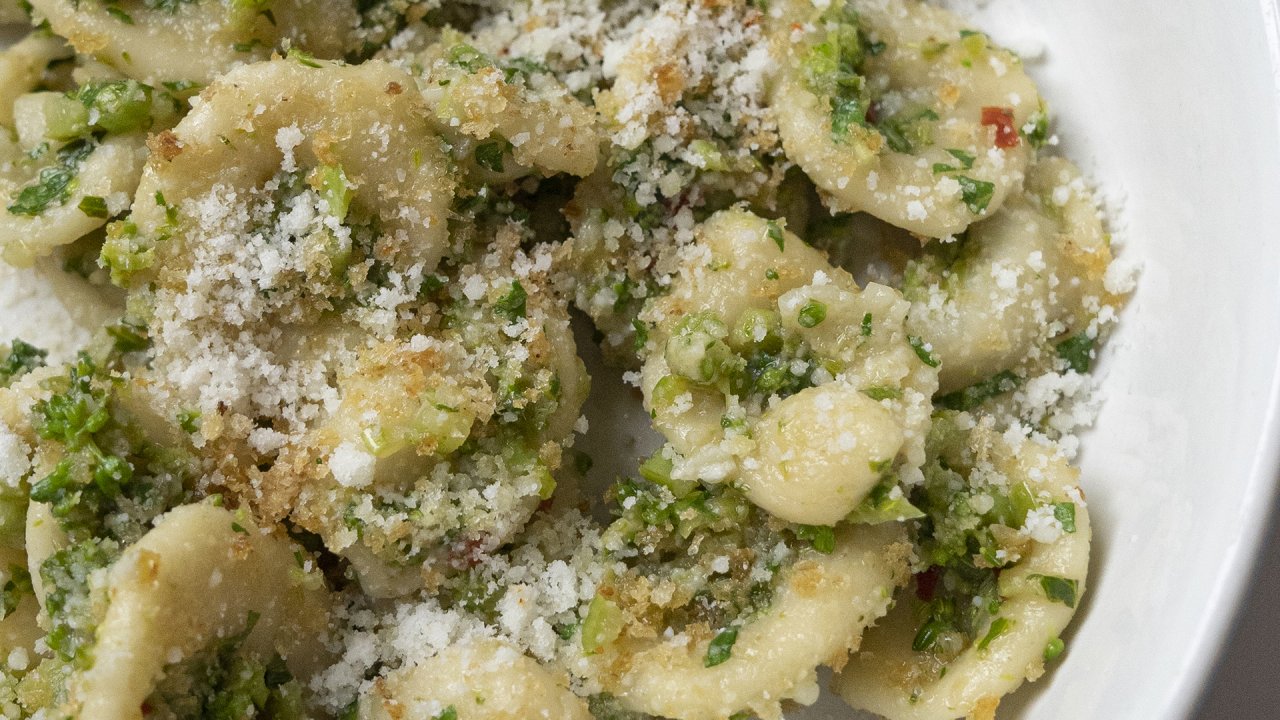
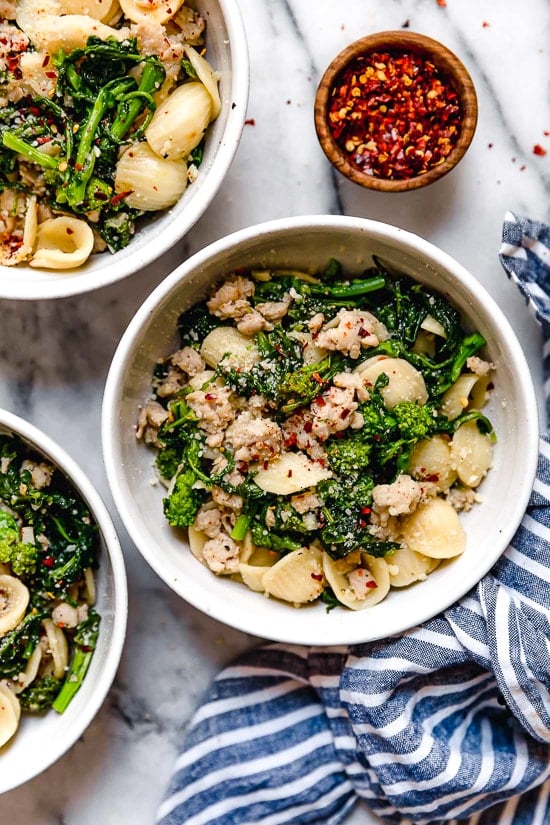
Homemade Orecchiette Makes All The Diff in This Broccoli Rabe Pasta
Your folders
Your folders
Author : Missy Robbins and Talia Baiocchi
Ingredients
Export 16 ingredients for grocery delivery
Instructions
Step 1
For the semolina dough, in a bowl, combine the 00 flour and semolina flour and stir until fully integrated
Step 2
Turn out the flour mixture onto your wooden work surface and create a barricade with a center sanctuary for the water that is 5 to 6 inches in diameter, but not more
Step 3
If you create too much space, your barricade won't be strong enough to contain the water as you begin to incorporate the flour
Step 4
Because water does not have the viscosity and thus the self-containment that egg yolks do, add the water to the well slowly, using a fork to incorporate the inner layer of flour and stirring in a continuous motion around the circumference to combine
Step 5
Continue adding water, incorporating the flour as you go, until you have used up all of the water
Step 6
If you bust through your barricade, not to worry
Step 7
Use your bench scraper to catch the water and incorporate it into the flour, doing this at every edge until you have a mixture that is thick enough to contain itself
Step 8
Set your tools aside, roll up your sleeves, and get to work kneading
Step 9
The dough will be sticky at first, so as you work it, continue to remove the bits that cling to your hands and return them to the mass
Step 10
The dough will begin to firm up as the gluten is activated by kneading, but if it feels a touch too dry and is not integrating (this can happen when the environment is drier, such as during the winter or if you're working in an arid climate), add about 1 tablespoon room-temperature water to hydrate it
Step 11
The kneading motion is simple, but it does take some time to get the rhythm right
Step 12
You essentially want to fold the dough in on itself, pressing down and away from your body with the heel of your dominant hand, relying on the weight of your body to do so
Step 13
(You can hold the edge of the dough closest to you with your other hand to keep the dough in place as you stretch it away from you
Step 14
) Rotate it 180 degrees, fold, and press again
Step 15
Repeat this rotating, folding, and pressing motion until the dough is smooth and relatively firm to the touch, 10 to 15 minutes
Step 16
(Note that this dough will be firmer and harder to knead than the egg-based doughs, so ready your forearms
Step 17
) Use your bench scraper to clean off any pieces of dough that clump and stick as you're kneading
Step 18
Lightly dust the board with flour if needed; be careful not to add too much, as it will dry out the dough
Step 19
Unlike egg dough, which will resemble the texture of modeling compound when properly kneaded, flour-and-water dough will be a bit less tender and more elastic
Step 20
Cover the dough with plastic wrap and set it aside for at least 30 minutes
Step 21
This allows the dough to become more pliable
Step 22
If you're not forming pasta until the evening or the next day, place the dough in the refrigerator and remove it 20 minutes before you plan to roll it out so it returns to room temperature
Step 23
Use the dough within 24 hours For the orecchiette, lightly dust a wooden work surface with 00 flour
Step 24
Line a sheet pan with parchment paper and lightly dust with semolina
Step 25
Divide your dough into quarters
Step 26
Place one piece of dough on your work surface and cover the other pieces with plastic wrap or a kitchen towel
Step 27
Use your hands to form the dough into a large rope
Step 28
Place all four fingertips of both hands next to one another at the center of the rope and begin rolling the dough back and forth on the work surface, moving both hands outward, away from each other, toward the ends of the dough
Step 29
Repeat this motion, gently applying pressure as you go, to elongate the dough into a rope about ½ inch in diameter and about 18 inches in length
Step 30
(If your rope gets too long to manage easily, cut it in half and roll out each half separately
Step 31
) Using a knife or bench scraper, divide the rope into ½-inch-long pieces
Step 32
(When you're first starting out, you can cut them a bit bigger to make shaping them easier
Step 33
) Cover any pieces you are not forming with plastic wrap or a kitchen towel
Step 34
Using the serrated edge of a butter knife, shape your pasta by positioning the top of your knife, serrated edge down, at a 30-degree angle to the edge of the piece of dough
Step 35
Drag the dough along your work surface toward you
Step 36
(Make sure you don't have too much flour on your work surface, or there will not be enough friction to complete this step
Step 37
) Don't be afraid to apply a good amount of pressure; semolina dough can take it, and you want the center of the shape to be relatively thin
Step 38
If you stopped here, you'd essentially have a cavatello
Step 39
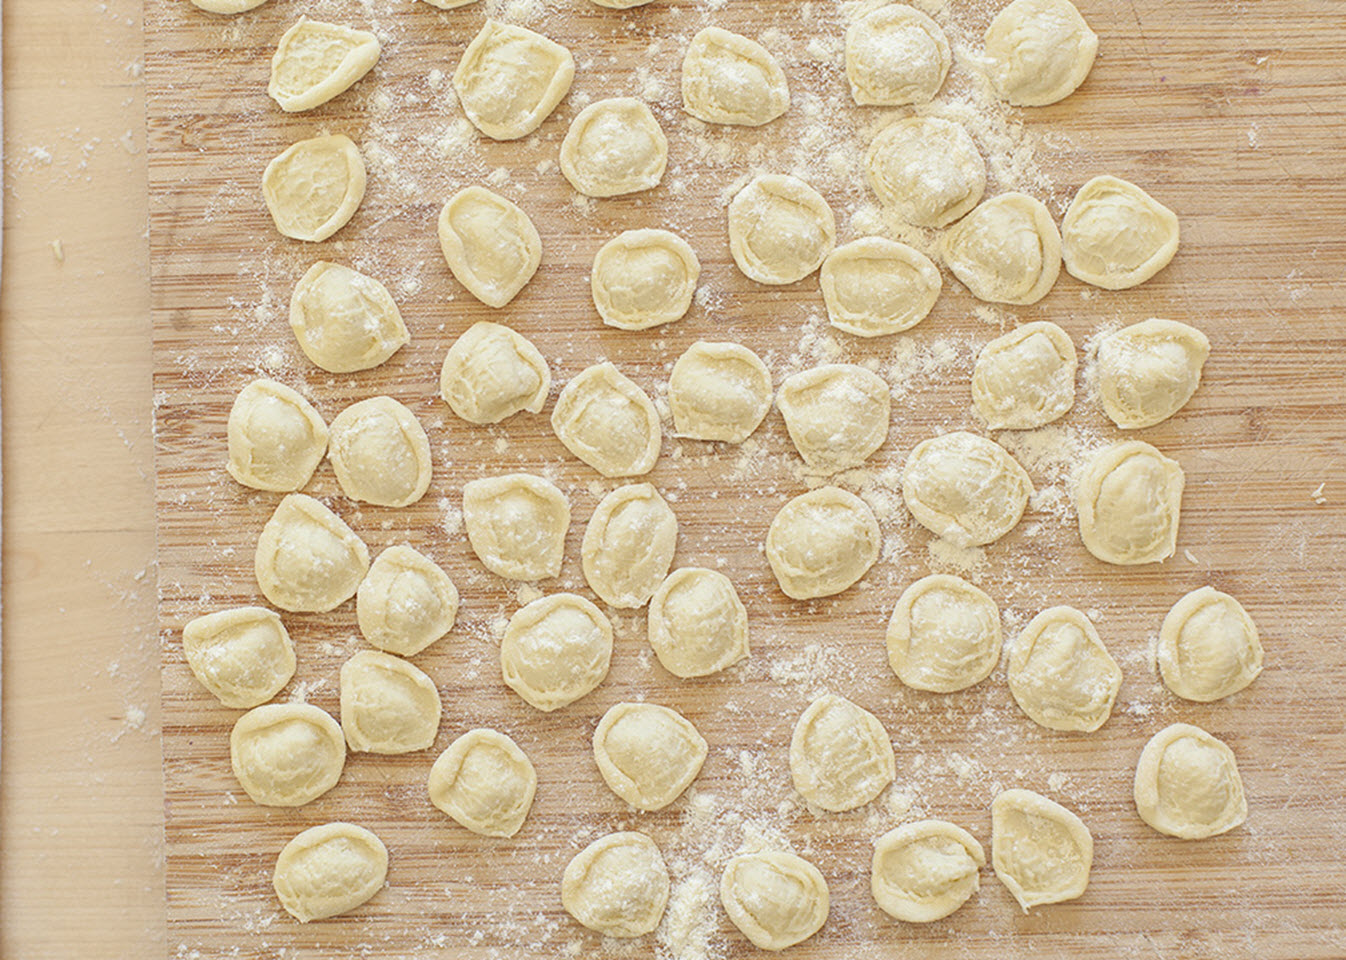
It's the next step that sets orecchiette apart
Step 40
Using your first two fingers, pull the dough off the knife and over your thumb, essentially turning that cavatello-like shape inside out while pressing upward with your thumb to form a dome
Step 41
(If this sounds challenging, it's because it's about as easy to describe as it is to make
Step 42
) Repeat with the remaining pieces from the batch
Step 43
Place the finished pasta in a single layer on the prepared sheet pan
Step 44
Repeat with the remaining dough
Step 45
Let the pasta dry for 1 to 2 hours at room temperature, until it just begins to harden and hold its shape when handling
Step 46
If not using right away, cover the sheet pan with plastic wrap and refrigerate for up to 24 hours
Step 47
To make the bread crumbs, preheat the oven to 200°F
Step 48
Spread the bread on a sheet pan and bake until dried out, 30 to 45 minutes
Step 49
You do not want any color
Step 50
To test for doneness, crush a shard of bread with the back of a spoon
Step 51
The interior should be completely dry
Step 52
Let cool
Step 53
Once cooled, place the bread in a food processor and pulse until broken down into fine crumbs
Step 54
You want them to retain some texture, so be careful not to turn them to dust
Step 55
Place a saute pan over medium-low heat
Step 56
Add the oil and garlic cloves and cook until the garlic perfumes the oil, 1 to 2 minutes
Step 57
Remove the garlic and save for another use
Step 58
Turn the heat down to low
Step 59
Line a plate with paper towels
Step 60
Add the breadcrumbs to the pan and cook, stirring occasionally, until golden brown, 5 to 8 minutes
Step 61
Remove from the pan and transfer to the plate to drain
Step 62
Let cool
Step 63
Measure out ¼ cup bread crumbs and set aside
Step 64
Transfer the remainder to an airtight container and store in a cool, dry place for up to 1 week for another use
Step 65
To finish, separate the broccoli rabe leaves from the stems
Step 66
Roughly chop the stems and florets into very small pieces
Step 67
Finely chop the leaves and reserve separately
Step 68
Bring a large pot of water to a boil over high heat
Step 69
Generously salt the water
Step 70
Place a large saute pan over low heat
Step 71
Add the olive oil and garlic and gently cook until aromatic but without color, 10 to 15 seconds
Step 72
Add the anchovies, chile flakes, and broccoli rabe stems and florets and stir to combine
Step 73
Add the wine and about 3 ladles (¾ cup) pasta cooking water
Step 74
Braise the broccoli rabe until tender, but still bright green, 3 to 5 minutes
Step 75
Add the leaves and cook for 1 to 2 minutes
Step 76
Set aside
Step 77
Add the orecchiette to the water and cook for 4 to 6 minutes, until al dente
Step 78
Using a spider or pasta basket, remove the pasta from the pot and transfer to the sauté pan
Step 79
Turn the heat up to medium
Step 80
Gently toss for 1 to 2 minutes to marry the pasta and the sauce
Step 81
If the sauce feels tight, add a splash of pasta cooking water to loosen and continue tossing to marry
Step 82
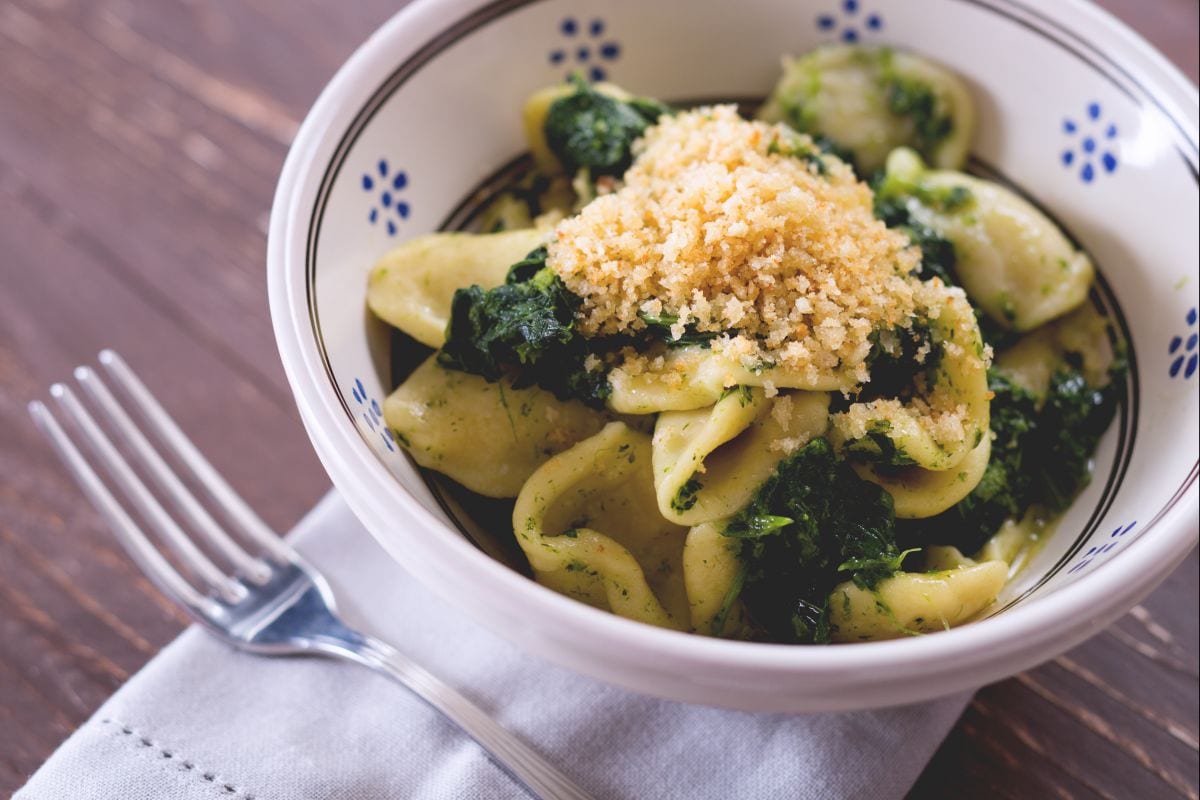
Divide the pasta into bowls and garnish with the bread crumbs and pecorino
Top similar recipes
Curated for youYour folders
 299 views
Orecchiette With Broccoli Rabe
delish.com
5.0
(3)
Your folders
 78 views
Orecchiette with Broccoli Rabe
epicurious.com
Your folders
 244 views
Orecchiette with broccoli rabe
giallozafferano.com
15 minutes
Your folders
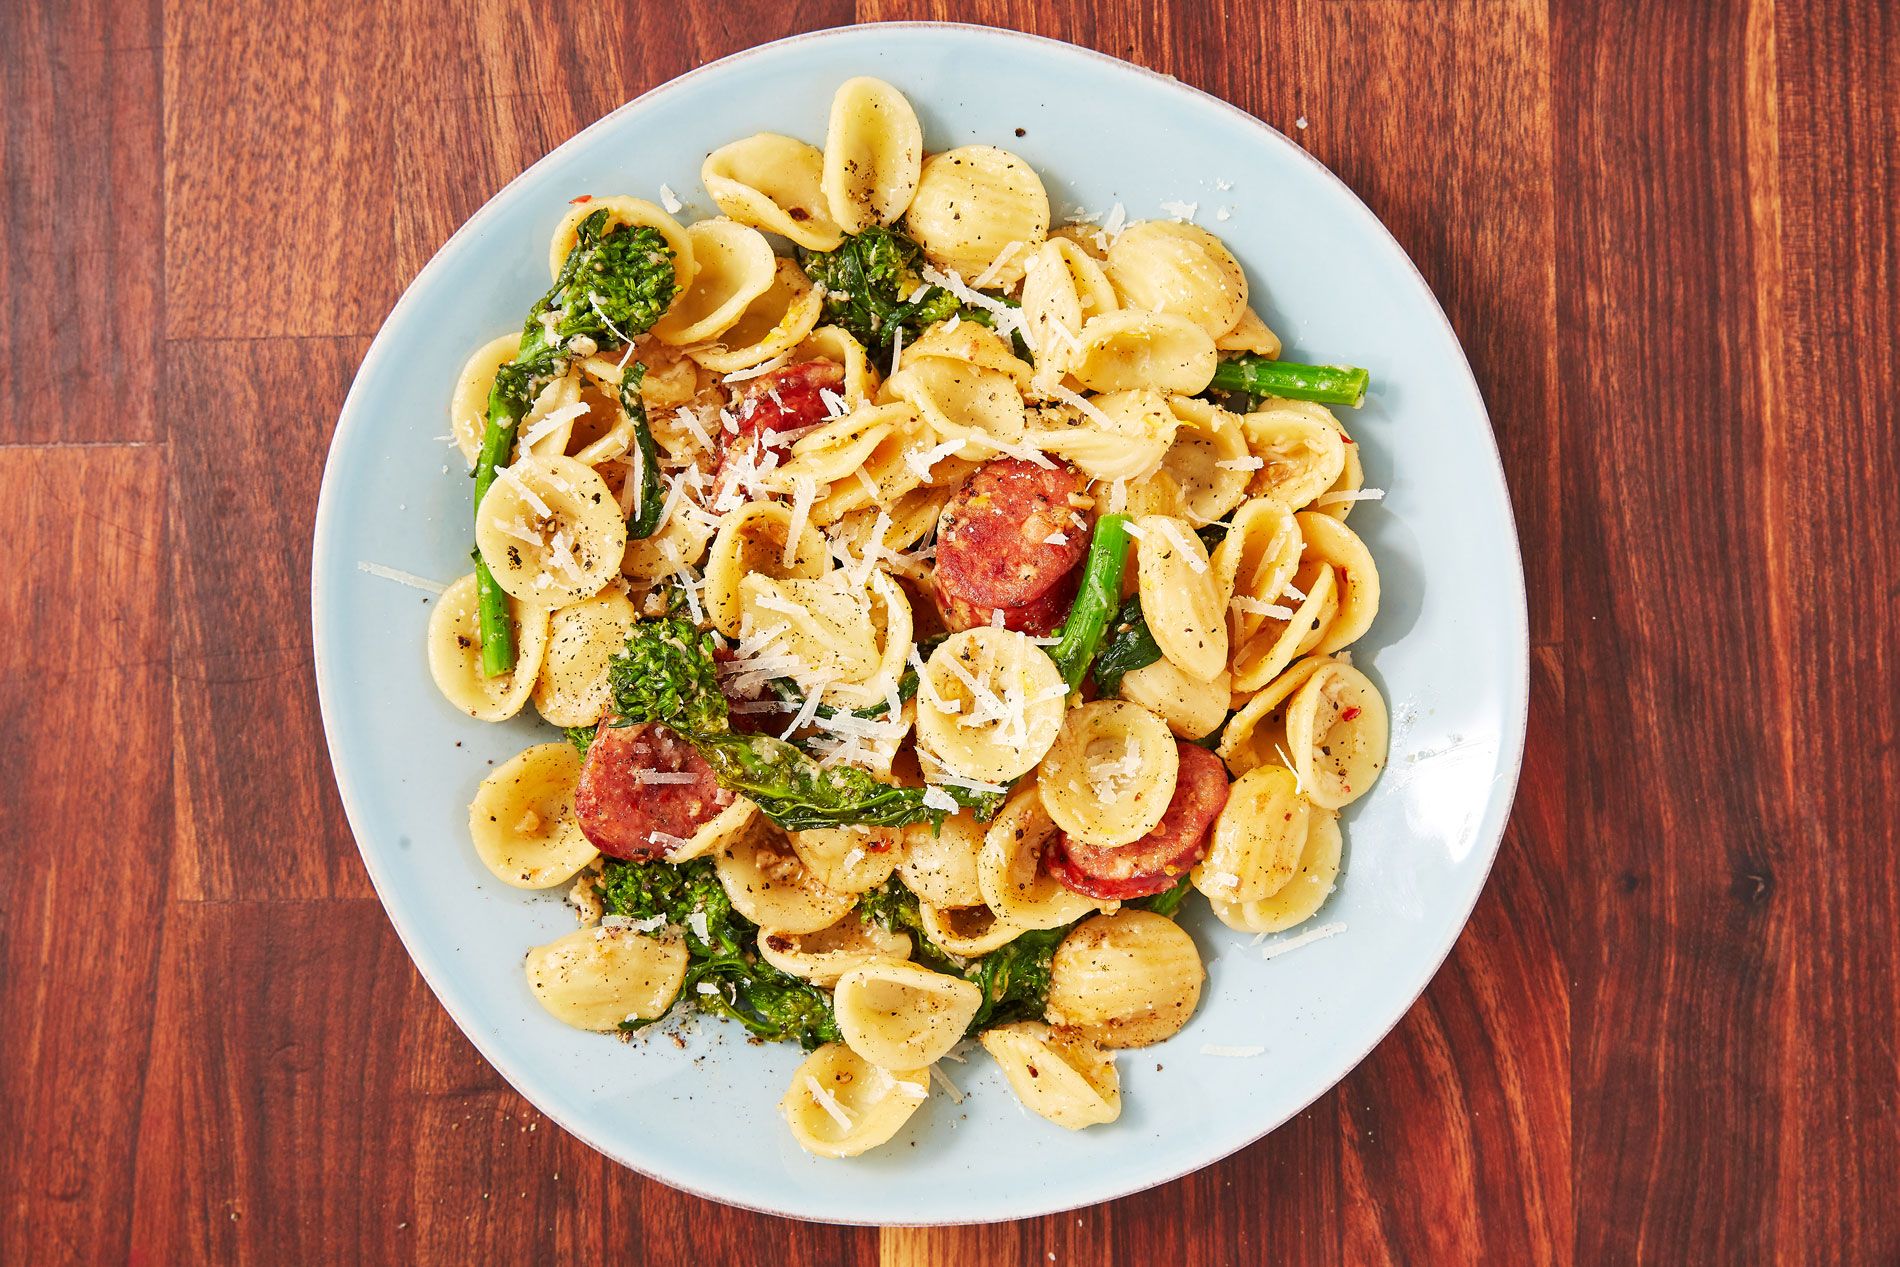
 437 views
Orecchiette with Broccoli Rabe & Sa...
foodnetwork.com
35 minutes
Your folders
 427 views
Lidia's Orecchiette with Broccoli R...
cento.com
5.0
(2)
25 minutes
Your folders
254 viewsOrecchiette with Broccoli Rabe Pest...
foodnetwork.com
3.4
(43)
12 minutes
Your folders
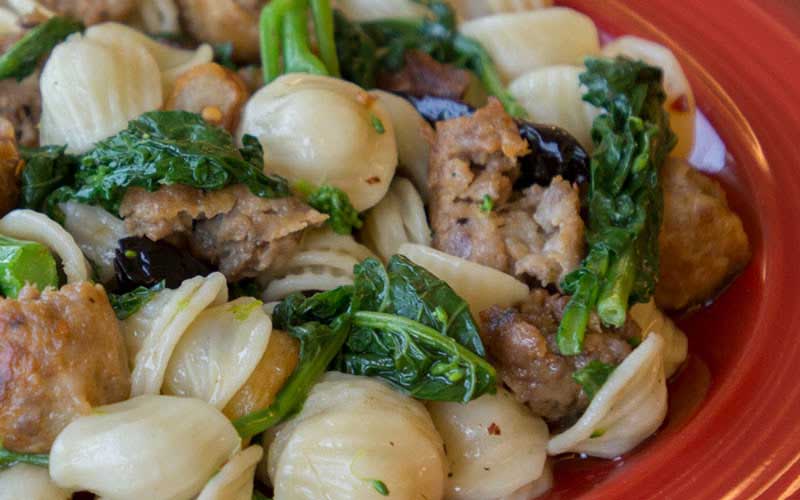
 781 views
Orecchiette with Sausage and Brocco...
skinnytaste.com
5.0
(21)
20 minutes
Your folders
/__opt__aboutcom__coeus__resources__content_migration__serious_eats__seriouseats.com__2021__03__20210301-Orecchiette-Sausag-Broccoli-Rabe-sasha-marx-14-3f4223be2cc14853bfacf729e306b985.jpg) 343 views
343 viewsOrecchiette With Sausage and Brocco...
seriouseats.com
Your folders
 239 views
Orecchiette With Broccoli Rabe and ...
food.com
5.0
(4)
20 minutes
Your folders
67 viewsOrecchiette with Sausage and Brocco...
skinnytaste.com
Your folders
177 viewsOrecchiette with Broccoli Rabe and ...
foodnetwork.com
2.3
(3)
Your folders
 384 views
Homemade Orecchiette Pasta
allrecipes.com
Your folders
 316 views
Pasta with Broccoli Rabe
themom100.com
15 minutes
Your folders
 484 views
Orecchiette With Broccoli Rabe and ...
cooking.nytimes.com
5.0
(44)
Your folders
 151 views
Out-of-This-World Orecchiette Pasta
cookingprofessionally.com
5.0
(1)
40 minutes
Your folders
266 viewsOut-of-This-World Orecchiette Pasta
heartlandcooking.com
5.0
(1)
40 minutes
Your folders
 128 views
Instant Pot Orecchiette with Brocco...
americastestkitchen.com
4.2
(45)
Your folders
 288 views
Broccoli Rabe and Sausage Pasta
pinchandswirl.com
5.0
(9)
20 minutes
Your folders
 287 views
Broccoli Rabe and Sausage Pasta
lexiscleankitchen.com
15 minutes