Homemade Paneer (Fresh Indian Cottage Cheese)
4.9
(8)
Your folders
Create new folder
Your folders
Create new folder
Prep Time: 10 minutes
Cook Time: 600 minutes
Servings: 4
Cost: $2.11 /serving
Author : Nagi

Ingredients
Export 2 ingredients for grocery delivery
Instructions
Step 1
Heat the milk in a large saucepan over medium high heat until the top becomes foamy, just as looks like it's about to boil.
Step 2
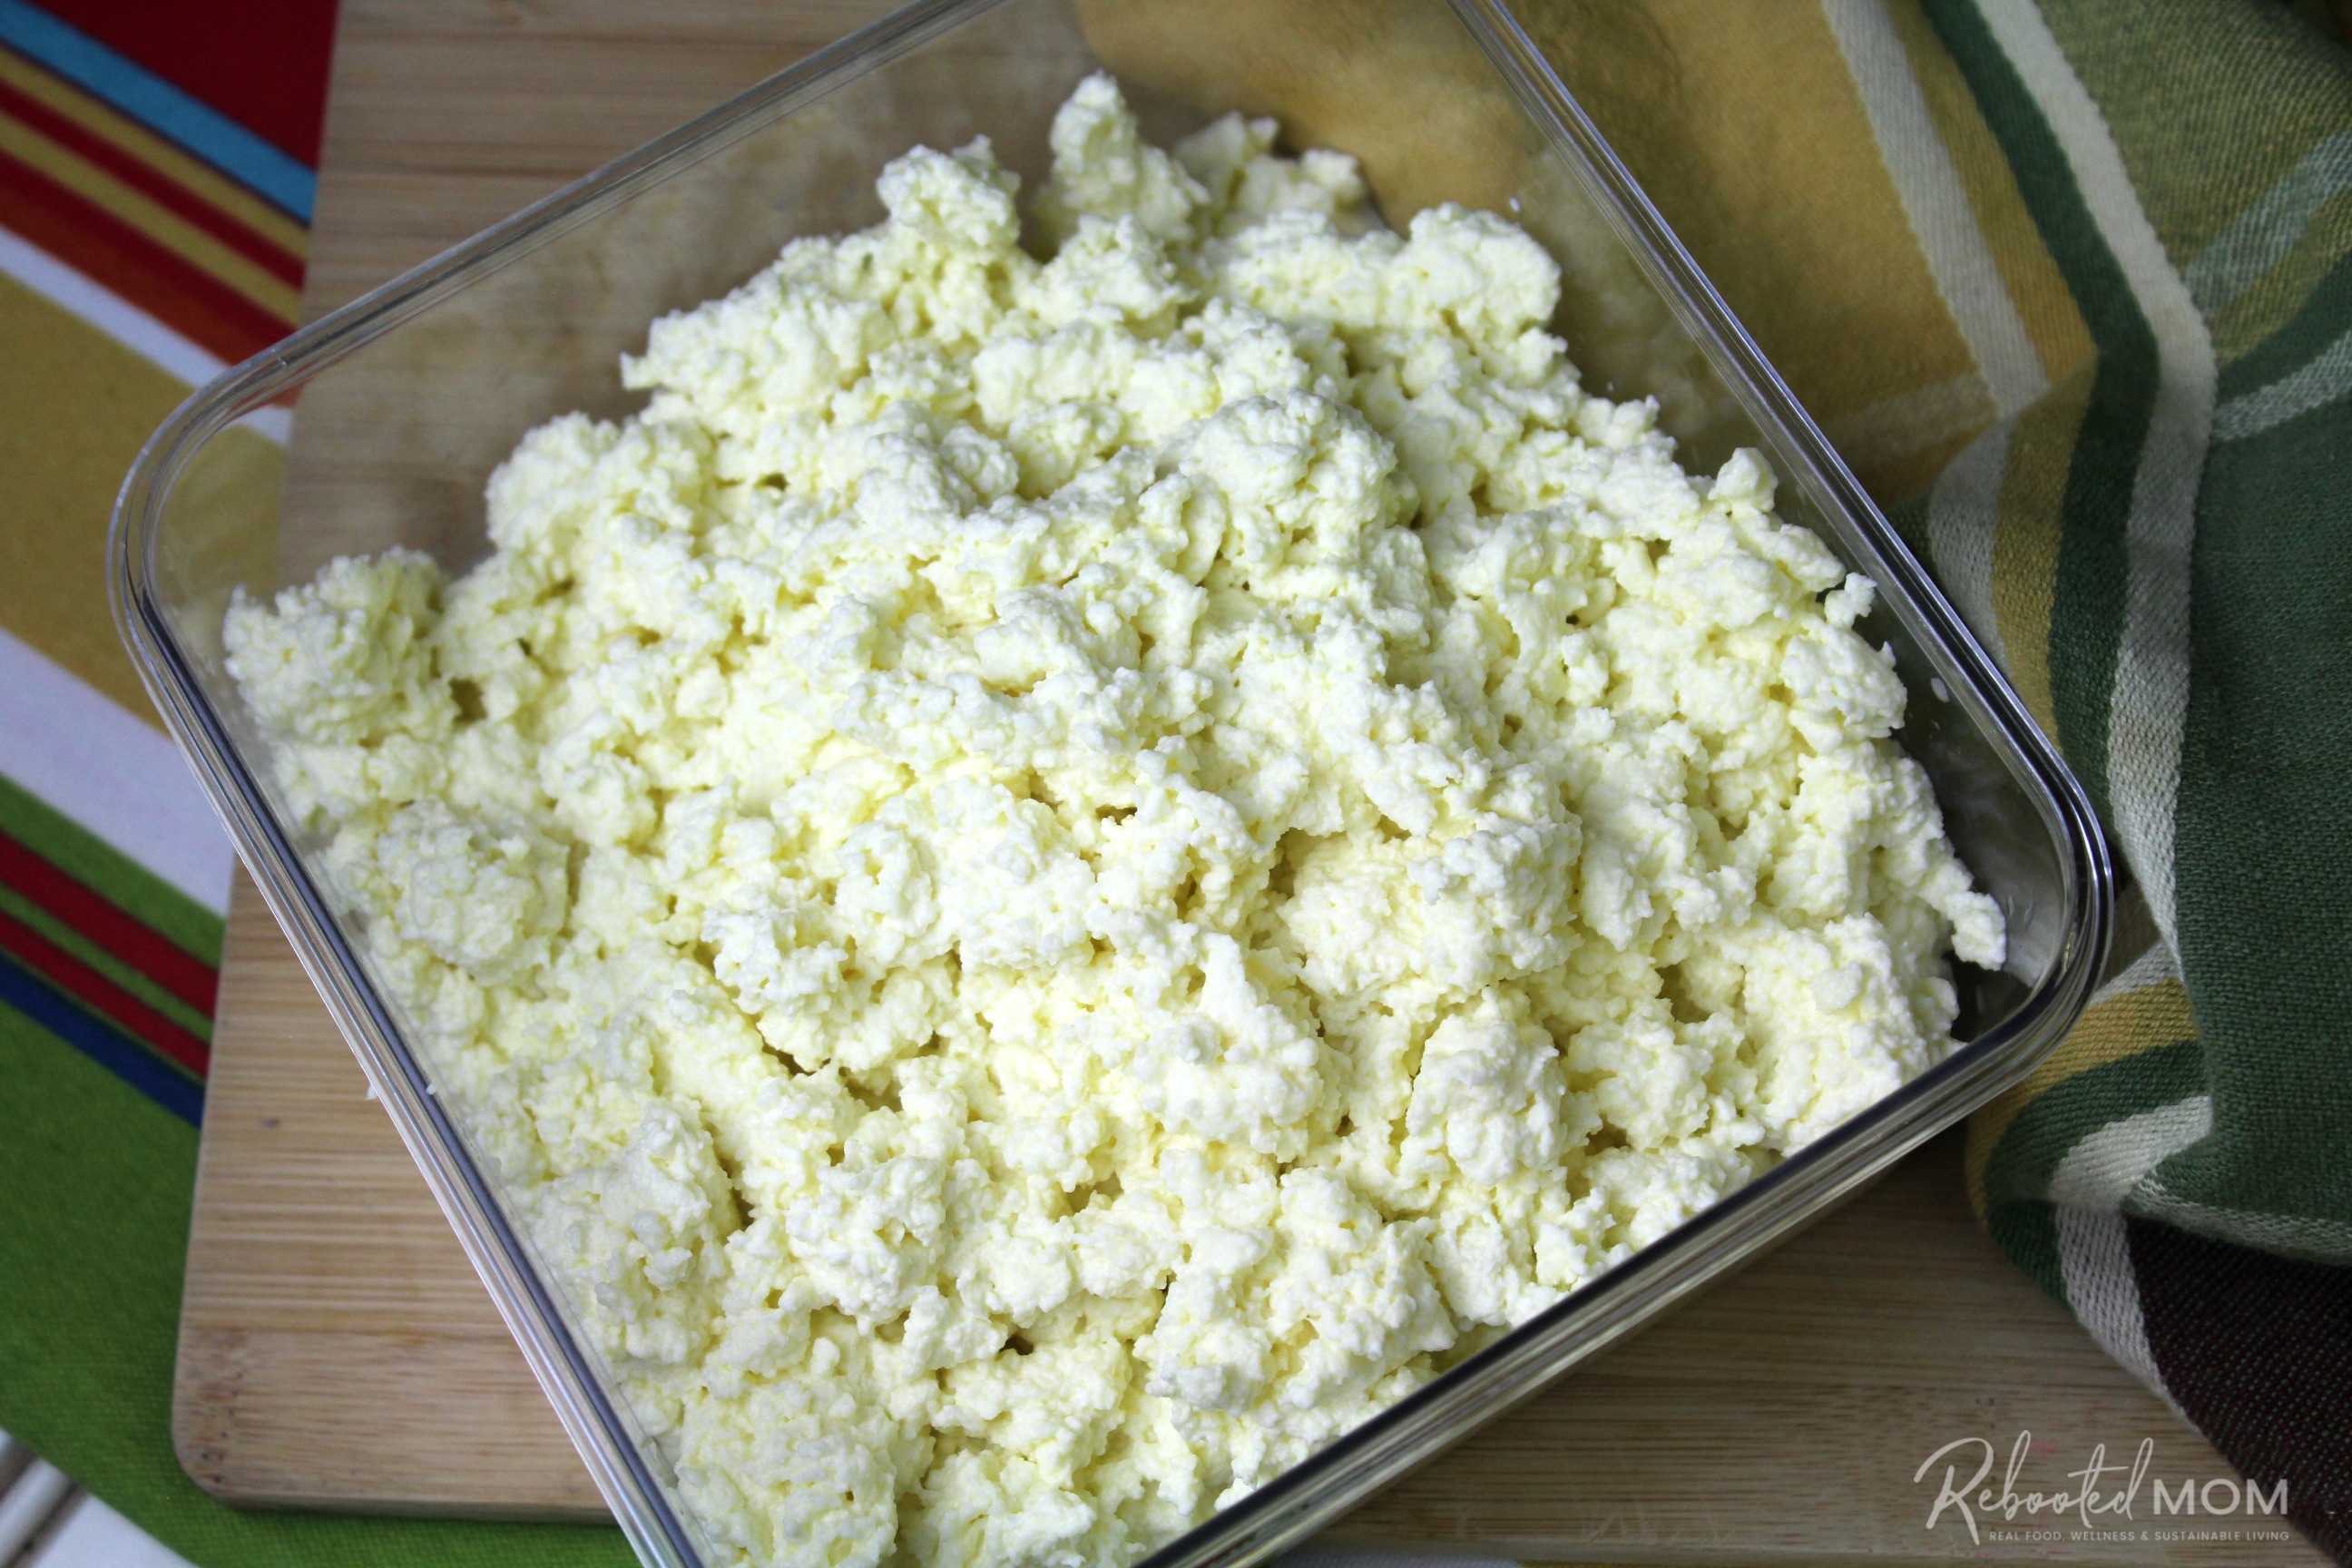
Turn stove off. Add lemon juice and stir for 1 minute. The milk should begin to curdle. If it doesn’t, turn the stove back on and bring back to a gentle boil until the solids separate.
Step 3
Line strainer or colander: Place over a deep bowl. Line strainer with 2 layers of cheesecloth (Note 1).
Step 4
Strain: Ladle in half of the curdled milk to begin with, then pour the rest in. Leave until all the liquid drains – this might take 5 to 10 minutes.
Step 5
Rinse: Discard liquid (whey) in the bowl. Bundle the paneer up in the cheesecloth (it will still be quite watery at this stage) then rinse bundle briefly under cold tap water. This helps to remove lemon flavour + cool for easier handling.
Step 6
Squeeze out excess water by twisting the cheesecloth and squeezing the bundle, but not so hard that paneer squeezes out through the cloth. Once liquid no longer comes out, stop. The paneer will still be quite soft at this stage.
Step 7
Weigh cheese down with weights: Shape cheese into a disc around 2cm / ¾" thick, still wrapped in cheesecloth. Place in a strainer or colander set over a bowl. Top with a small plate then 2 x 400g/14oz cans (or similar weight).
Step 8
Refrigerate for 4 hours. During this time the paneer will set (become firm) and remaining liquid will drain out. (Note 2)
Step 9
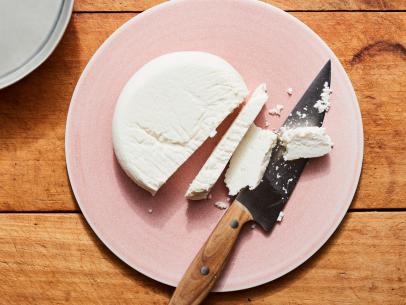
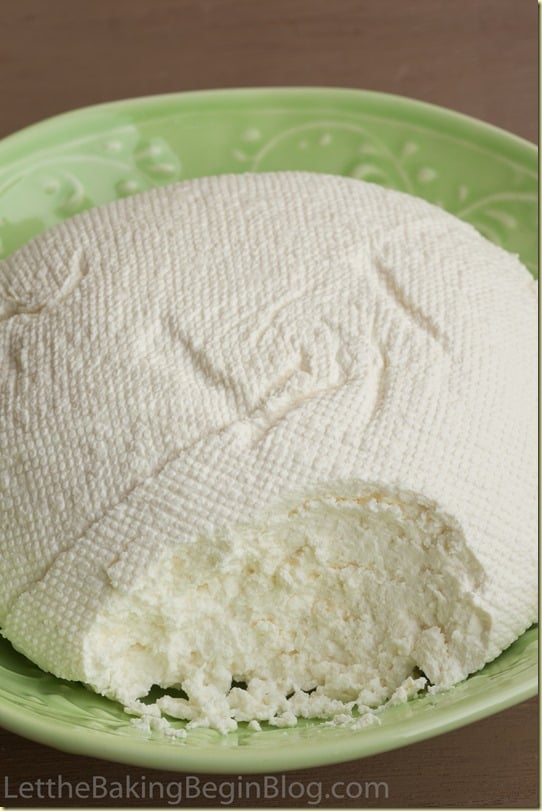
Remove paneer from fridge and carefully unwrap. There will be a dent in the middle, this is normal (it's from the draining).
Step 10
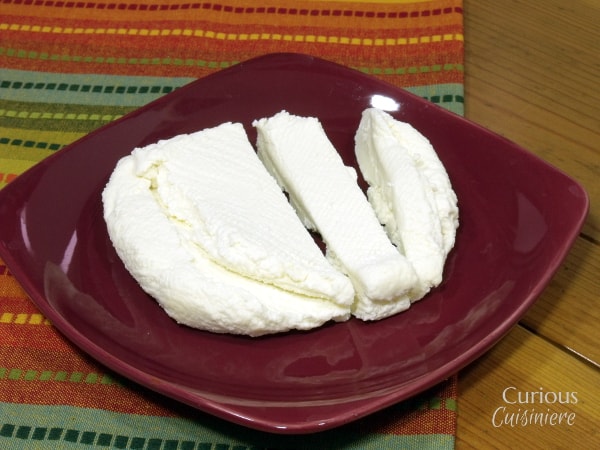
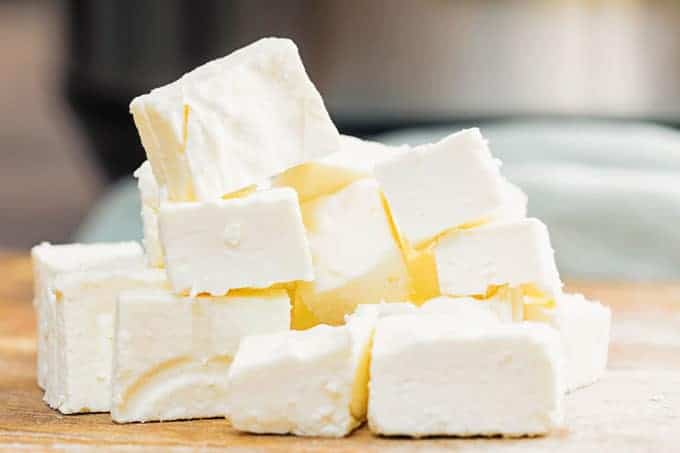
At this stage, the paneer is now ready for use. You can either cut it immediately and use in a recipe (such as Palak Paneer!), or store the whole uncut block for another time and just cut when needed.
Step 11
Store in the fridge for up to 2 weeks, or freeze for 3 months.
 16 views
