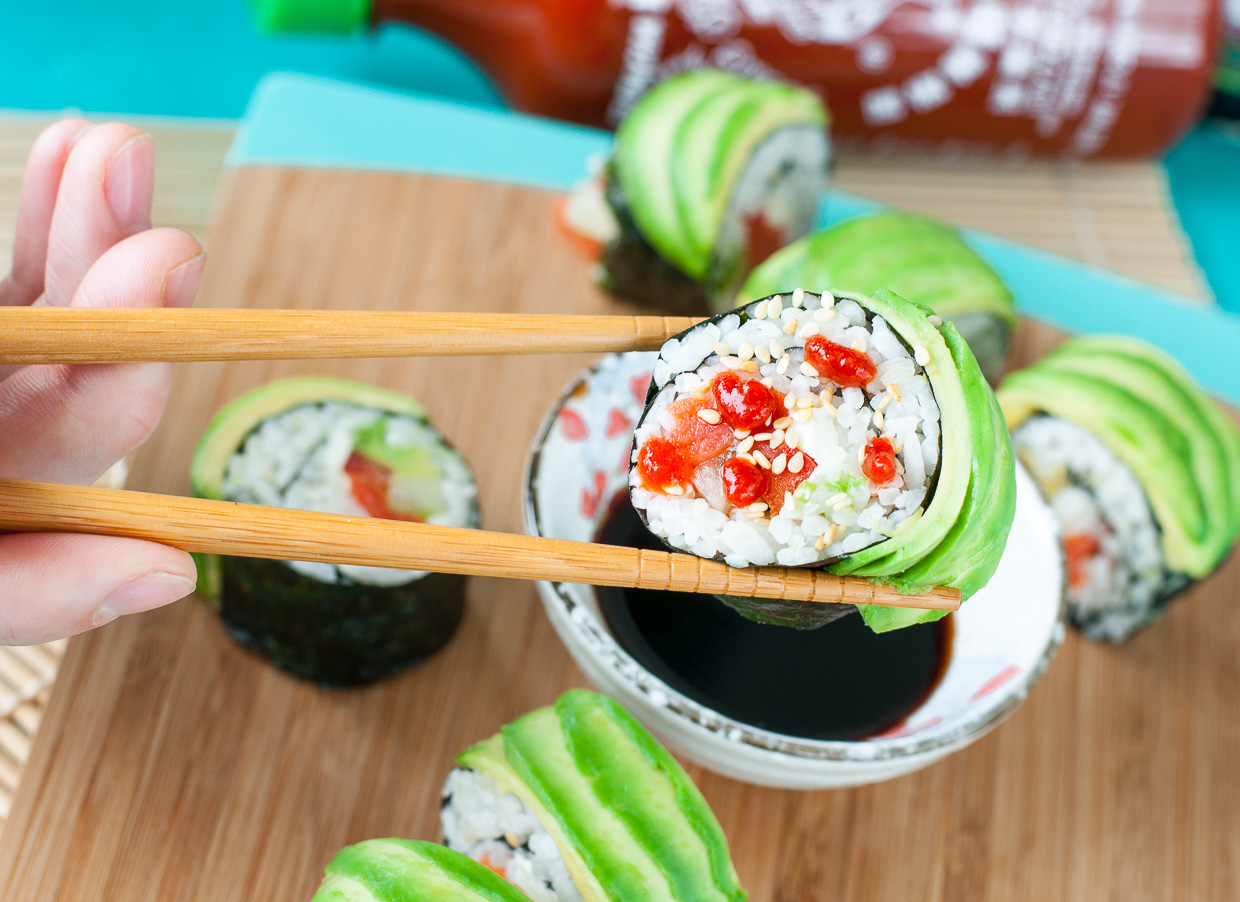
Homemade Sushi: Tips, Tricks, and Toppings!
5.0
(26)
Your folders
Your folders
Prep Time: 20 minutes
Cook Time: 20 minutes
Total: 40 minutes
Servings: 2
Cost: $41.88 /serving
Author : Jenn Laughlin

Ingredients
Export 33 ingredients for grocery delivery
Instructions
Step 1
STEP ONE: Make your sushi rice on the stove top or using a rice cooker. Quinoa works excellent too!
Step 2
STEP TWO: Season the rice with seasoned rice vinegar or a combination of plain rice vinegar, sugar, and salt. Pour over your rice, fluff with a fork, taste, and adjust as desired. Remove rice from heat, fluff into a bowl and set aside.
Step 3
STEP THREE: While the rice cooks/cools, prep your veggies! Slice into matchsticks and set aside. Once the rice is done you'll be ready to roll!
Step 4
STEP FOUR: To avoid messy clean-up and scrubbing, wrap your bamboo mat in plastic wrap. Lay a sheet of nori on top and grab your rice!
Step 5
STEP FIVE: Use a spoon to spread a thin layer of rice on the seaweed sheet.
Step 6
STEP SIX: Place your toppings in the center, very close to one another and practically in a little veggie dogpile.
Step 7
For rice on the inside, line your veggies/seafood on top of the rice.
Step 8
For rice on the outside, flip the sheet of nori so the rice touches the plastic wrap and then add your vegetables to the seaweed-only side.
Step 9
STEP SEVEN: roll, squeeze, repeat: This one's hard to explain... but it's easy to do! The first roll will bind the ingredients into the center. Roll approx 1/4 of the mat and gently squeeze (so it sticks) and unfold the bamboo mat. Repeat the process until you've rolled the sheet of rice, seaweed, and veggies into a spiral. Give it one last squeeze to seal the deal.
Step 10
STEP EIGHT: Slice into bite-sized discs with a freshly sharpened chef's knife. If you're topping your sushi with sashimi or avocado, first tightly wrap the roll in plastic wrap prior to slicing. This will keep everything neat and pretty an avoid the horrific act of flinging avocado slices all over the kitchen. Though if that sounds like fun to you, fling away! I'll stick with the saran wrap!
Step 11
Next pile on all your favorite toppings and set up a few sauces for dunking.
Step 12
Enjoy!