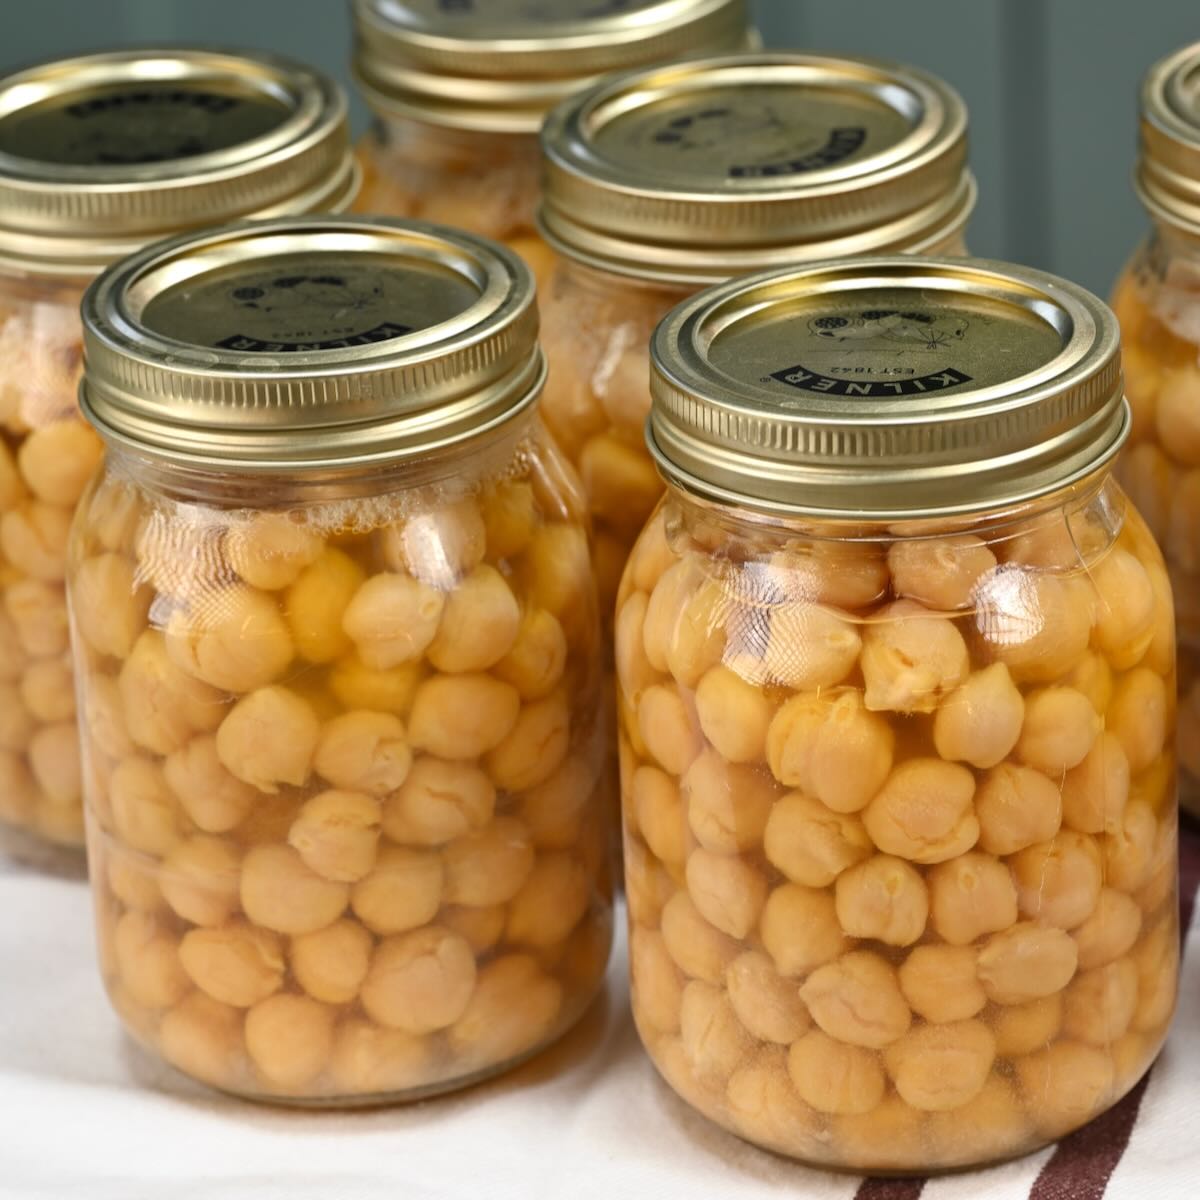
How to Can Chickpeas
5.0
(2)
Your folders
Your folders
Prep Time: 20 minutes
Cook Time: 10 minutes
Servings: 12

Ingredients
Export 2 ingredients for grocery delivery
Instructions
Step 1
Soak the dried chickpeas in a large bowl with cold water for 12-24 hours. They will double in size.
Step 2
Drain the soaking water and sort through the chickpeas, discarding any that are bad. Rinse the soaked chickpeas well under running water.
Step 3
Inspect your jars for cracks or chips and the lids and bands for dents or rust. Make sure your pressure canner has a canning rack and that the vent pipe and gasket (rubber seal) are free of obstructions.
Step 4
Wash the jars, lids, and other canning tools thoroughly in hot, soapy water. Rinse them well.
Step 5
To sterilize the clean jars, place them in a large pot (or canner) with boiling water for 10 minutes. Keep them hot until you are ready to fill them.
Step 6
Boil some fresh water. Prepare your work surface by using a large wooden board or laying out clean towels.
Step 7
Take a sterilized jar with the jar lifter and empty it of all the water. Place it on your work surface and position the canning funnel in the jar opening.
Step 8
Fill a 1-pint jar with 1 cup of soaked chickpeas, leaving about 1-inch headspace. Add 1/4 teaspoon of salt.
Step 9
Fill the jar with fresh boiling water, keeping the 1-inch headspace. Use the bubble remover to remove the air bubbles. Add some more water if needed.
Step 10
Wipe the jar rims with a clean kitchen cloth and white vinegar. Use the magnetic wand to position the lid on top of the jar, and close the band finger-tight only.
Step 11
Repeat the above steps until all the jars are filled and closed.
Step 12
Place the canner on the stovetop and fill it with the required amount of water (usually 2-3 inches—check your manufacturer's manual). Bring the water to a simmer.
Step 13
Place the filled jars in the canner, making sure they don't touch each other or the wall. Lock the canner lid, but leave the weight off the vent pipe. Turn the heat to high and allow steam to flow from the vent pipe for 10 minutes.
Step 14
After 10 minutes, close the vent or place the pressure regulator weight on the vent pipe. Rise the pressure until it reaches the correct level according to your altitude (minimum 10 PSI).
Step 15
When you have reached the proper pressure, start a timer and process for 75 minutes for pint-sized jars (or 90 minutes for quart-sized jars). Adjust the heat to maintain a steady pressure throughout the processing if needed.Make sure to monitor the pressure gauge consistently—it needs steady pressure. If it drops below the recommended level, you need to bring the pressure back and restart the timer.
Step 16
Once the processing time is over, turn off the heat and allow the canner to depressurize naturally. Wait until the pressure gauge reads zero, and then wait an extra few minutes.
Step 17
Carefully remove the weight from the vent pipe to ensure no steam remains. Wait another 10 minutes before finally unlocking and carefully removing the lid (making sure to tilt it away from your face).
Step 18
Remove the jars from the canner without tilting them. Place them on a flat surface and let them cool untouched for 12-24 hours.
Step 19
On the next day, you can inspect the seals—the lids should be concave and not flex when pressed. If using removable bands, you can remove them. Then, wipe the jars clean and label them with the contents and dates.
Step 20
Store the canned chickpeas in a cool, dark place for up to 18 months. Each pint jar yields about 1.5 cups of cooked chickpeas.