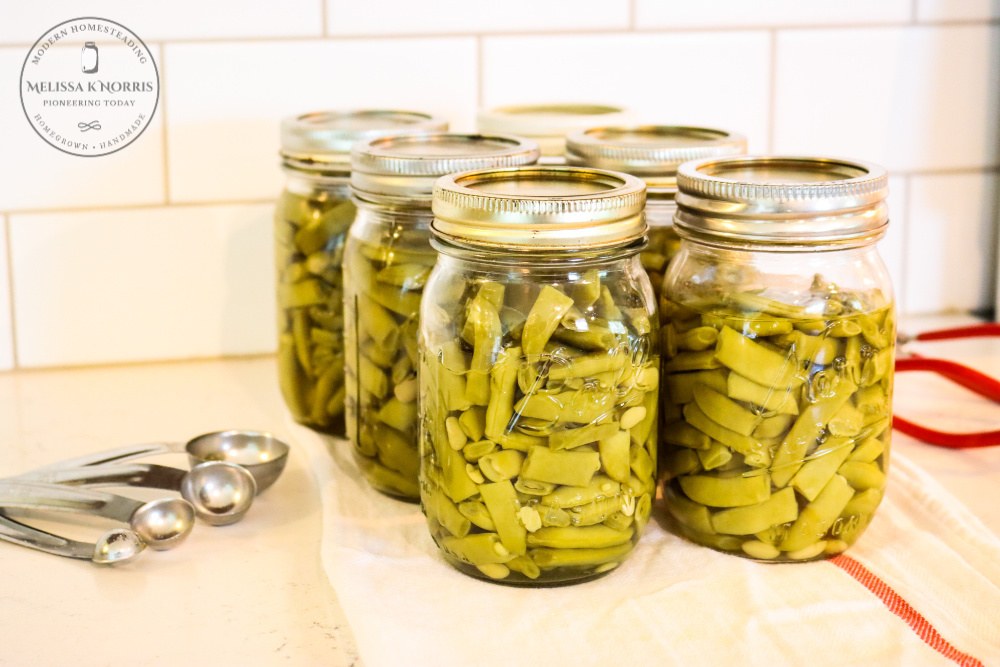
How to Can Green Beans the Easy Way – Raw Pack
4.0
(51)
Your folders
Your folders
Prep Time: 30 minutes
Cook Time: 20 minutes
Servings: 9
Ingredients
Export 1 ingredients for grocery delivery
Instructions
Step 1
Pick your green beans, avoid beans that have blemishes or rust spots, choose beans that are tender, and crisp when snapped.
Step 2
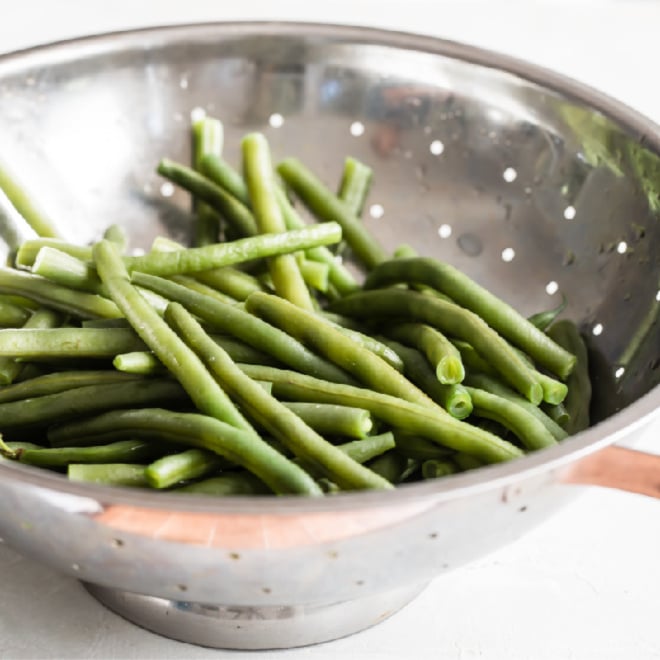
Rinse green beans thoroughly then strain. Trim off ends, string if beans are a string variety, and snap into 1 to 1 and 1/2 inch (bite-sized) pieces.
Step 3
Place pressure canner on stove-top and fill with rack and hot water, water level should be 2 to 3 inches deep. Turn burner on medium heat to keep water at 140 degrees Fahrenheit. Fill a kettle with water and bring to a boil.
Step 4
Wash Mason jars and lids in hot soapy water. DO NOT boil the lids. Canning lid guidelines changed in 2014 and boiling the lids can affect their ability to seal. You do not need to sterilize lids or jars as long as you’re processing jars for 10 minutes or longer (which you definitely are when pressure canning). Place freshly washed jars on a clean towel on the counter.
Step 5
Fill Mason jars with green beans to a 1-inch headspace (space from the top of the green beans to the top of the jar). Add 1/2 teaspoon salt to pint jars or 1 teaspoon salt to quart jars (salt is optional but does provide better flavor).
Step 6
Pour just off the boil water over the top of the green beans until the liquid level reaches the 1-inch headspace.
Step 7
Use a canner bubble/headspace tool (or ruler if you don’t have a headspace tool) to remove air bubbles by running it between the glass and outside of the food. Remeasure your headspace and add extra water if needed.
Step 8
Use a damp cloth and wipe the rim of your glass jar clean. This helps to ensure there’s nothing that will inhibit a seal from forming. Place lid and canning band on and tighten to fingertip tight (over-tightening canning bands can cause lids to buckle). Place in the prepared pressure canner.
Step 9
Place lid on the pressure canner and allow to vent for 10 minutes. Process at 10 pounds of pressure if you’re zero to 1,000 feet above sea level and if 1,001 feet above sea level use 15 pounds, start timer when pressure is reached (weight should be rocking and hissing). Process for 20 minutes for pint jars or 25 minutes for quart jars. Remove from canner following pressure canning protocol
Step 10
Allow jars to cool for 12 to 24 hours before removing bands and checking seals. Then store in cool area out of direct sunlight.
Top similar recipes
Curated for youYour folders

 172 views
How to Can Salsa the Easy Way
laurafuentes.com
5.0
(130)
75 minutes
Your folders
 195 views
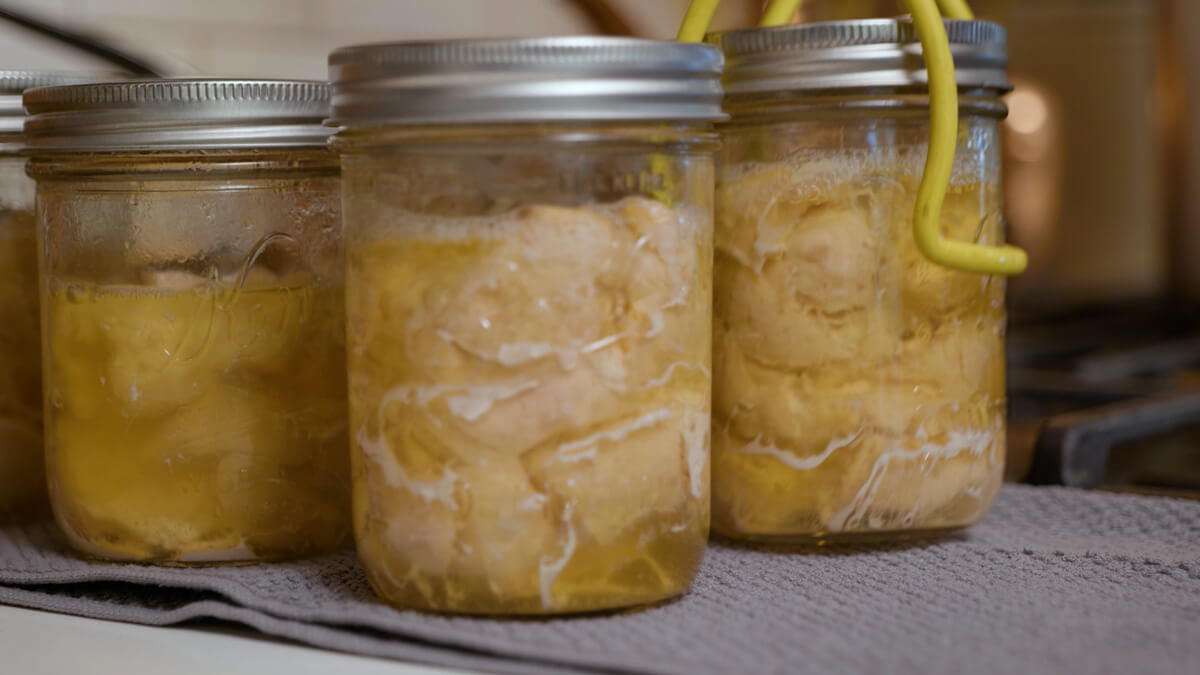
How to Pressure Can Chicken (Raw Pa...
melissaknorris.com
75 minutes
Your folders
 57 views
How to Pressure Can Chicken (Raw Pa...
melissaknorris.com
Your folders
 185 views
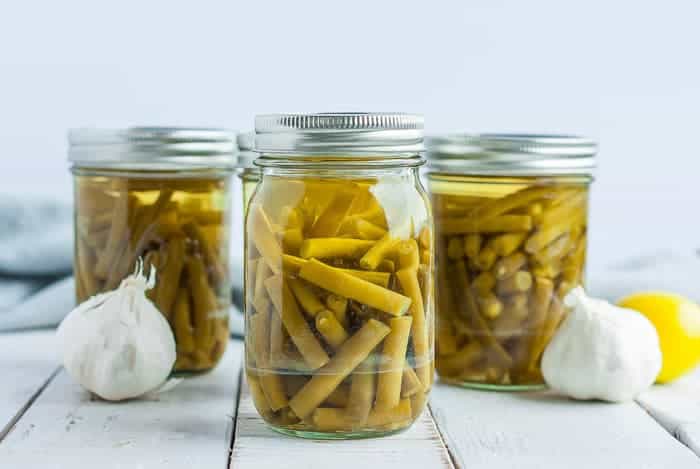
How to Can Green Beans
sustainablecooks.com
5.0
(3)
25 minutes
Your folders
142 viewsThe Best Way to Freeze Green Beans
thekitchn.com
Your folders
 490 views
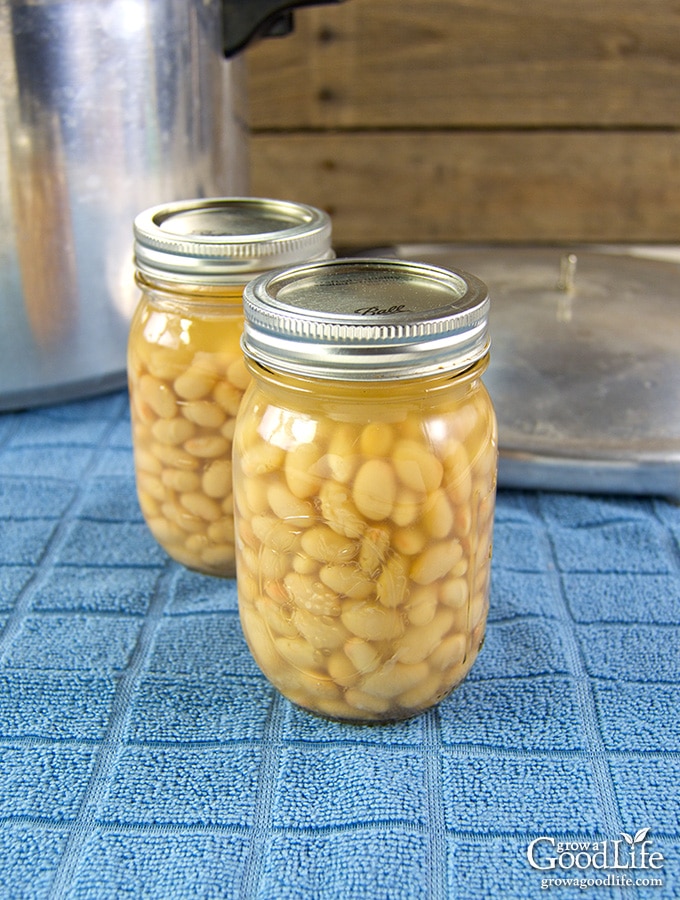
How to Can Dried Beans
growagoodlife.com
5.0
(3)
210 minutes
Your folders
 288 views
How to Can Dried Beans
therusticelk.com
4.0
(3)
1 hours, 15 minutes
Your folders
 282 views
How to Can Dry Beans
theprairiehomestead.com
4.9
(19)
Your folders
 993 views
How To Freeze Spinach (The EASY Way...
unsophisticook.com
4.5
(68)
Your folders
 229 views
Raw-Pack Tomatoes
marthastewart.com
3.1
(21)
Your folders
 267 views
How to Roast Turkey Breasts the Eas...
101cookingfortwo.com
4.7
(81)
120 minutes
Your folders
 598 views
How to Eat a Mango The Easy Way
mexicanmademeatless.com
5.0
(2)
Your folders
 366 views
How to Cook Frozen Peas (The Easy W...
alphafoodie.com
5.0
(4)
5 minutes
Your folders
225 viewsHow To Seed a Pomegranate the Easy ...
thekitchn.com
Your folders
 158 views
How to Make Pumpkin Puree, the Easy...
theprairiehomestead.com
5.0
(6)
Your folders
14 viewsHow To Make Almond Croissants (the ...
thekitchn.com
Your folders
 207 views
Canning Tomatoes Raw Pack
simplycanning.com
5.0
(2)
Your folders
 489 views
How To Cook Green Beans
thekitchn.com
3.4
(9)
12 minutes
Your folders
 463 views
How to Blanch Green Beans
culinaryhill.com
5.0
(2)
5 minutes