How To Make A Funky Bow For Christmas Projects
Your folders
Your folders
Ingredients
Export 6 ingredients for grocery delivery
Instructions
Step 1
Take your first 2.5" ribbon and make 8" tails and two 6" loops.
Step 2
Grab your first 1.5" ribbon and make 8" tails with two 6" loops. Situate this ribbon so that the tails lie opposite of the tails in the first layer.
Step 3
Take your 3rd ribbon and repeat the same process, offsetting the tails in the second layer.
Step 4
For your 4th layer, take your 4th ribbon and repeat the same process. Again, offset the tails in the 3rd layer.
Step 5
For the 5th layer, use the same ribbon that you used first and repeat the same process. This time, though, make the loops 5.5".
Step 6
Grab your final ribbon and repeat the same process with 5.5" loops.
Step 7
Take a cable tie and carefully wrap it around the middle of your bow as you lift the bow out of the EZ Bow Maker.
Step 8
Tighten the cable tie (not completely) and fluff out your bow so that it looks the way you want it to.
Step 9
Take another cable tie and slide it under the other cable tie on the back of the bow. Use this cable tie to attach the bow to your project.
Step 10
Choose a nice contrasting pattern from the ribbons you made the bow with. Cut it in half with your scissors. Fold the ribbon to clean up the cut edges and tie it right down the center to cover the cable tie and complete your bow.
Top similar recipes
Curated for youYour folders

 244 views
How to make a Christmas Funky Bow
howtomakewreaths.com
Your folders
 179 views
How To Make A Handmade Bow for Wrea...
howtomakewreaths.com
Your folders
 186 views
How to Make a Christmas Stocking
fleecefun.com
Your folders
 169 views
How to Make a Terri Bow using the E...
howtomakewreaths.com
Your folders
 10 views
How to make cherry truffles for Chr...
kidspot.com.au
5 minutes
Your folders
 186 views
How to Make a Quilted Christmas Sto...
papernstitchblog.com
Your folders
 276 views
How to Make a Scandinavian Christma...
thecountrychiccottage.net
Your folders
 205 views
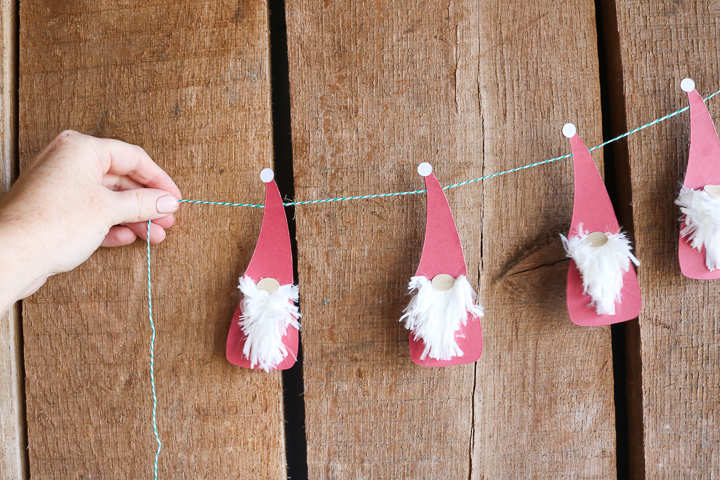
How to Make a Christmas Gnome Banne...
thecountrychiccottage.net
Your folders
244 viewsHow To Make a Sandwich for a Crowd
thekitchn.com
3.7
(3)
Your folders
 206 views
How to Make a Festive Pomegranate C...
goodhousekeeping.com
Your folders
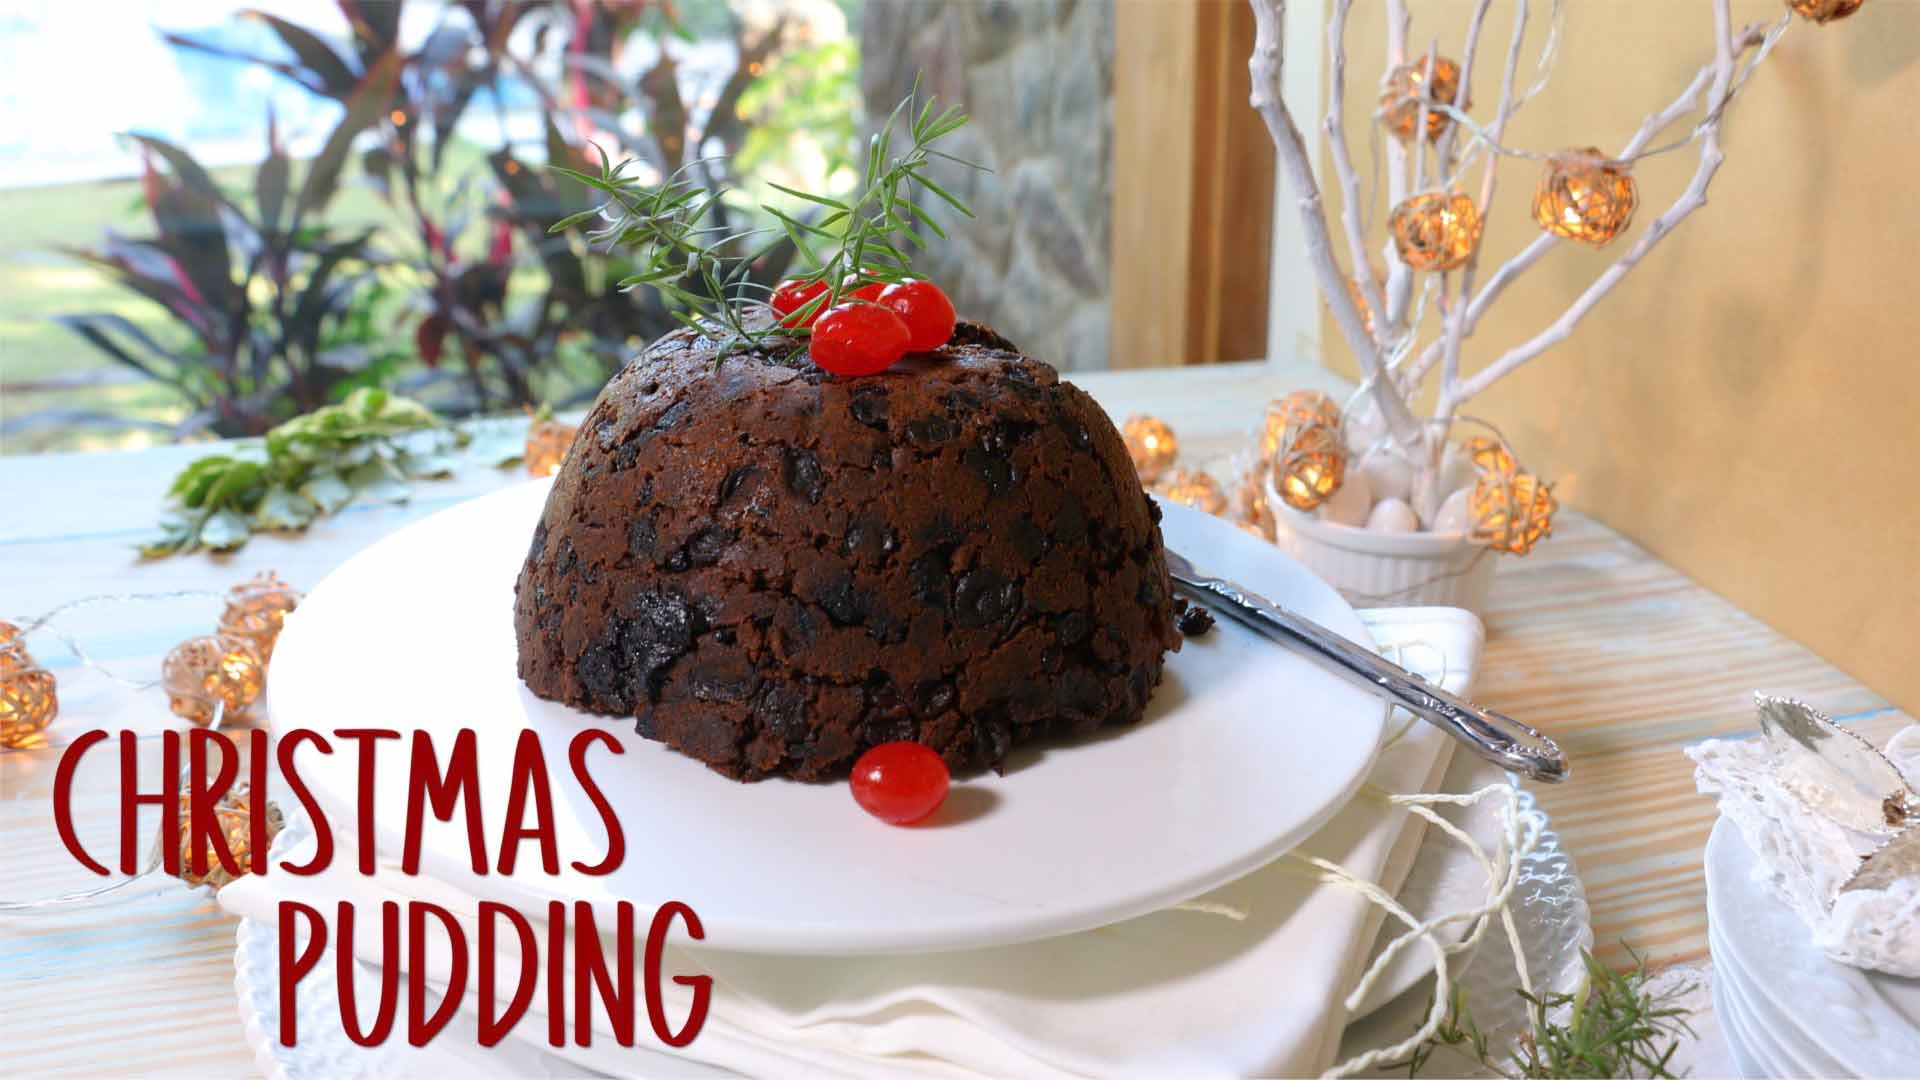 230 views
Christmas Pudding Recipe | How to m...
yummefy.com
4.4
(8)
360 minutes
Your folders
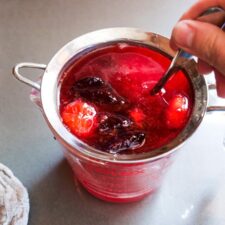 537 views
How to make a Shrub!
feastingathome.com
5.0
(2)
24 hours
Your folders
 1201 views
How To Make A Mojito
gimmesomeoven.com
Your folders
 582 views
How to Make a Highball
esquire.com
Your folders
 619 views
How to Make a Milkshake
spendwithpennies.com
5.0
(27)
Your folders
 655 views
How To Make a Frittata
thekitchn.com
4.3
(43)
Your folders
 356 views
How To Make A Cortado
roastycoffee.com
4.8
(6)
5 minutes
Your folders
 481 views
How to Make a Smoothie
delish.com
4.6
(44)
Your folders
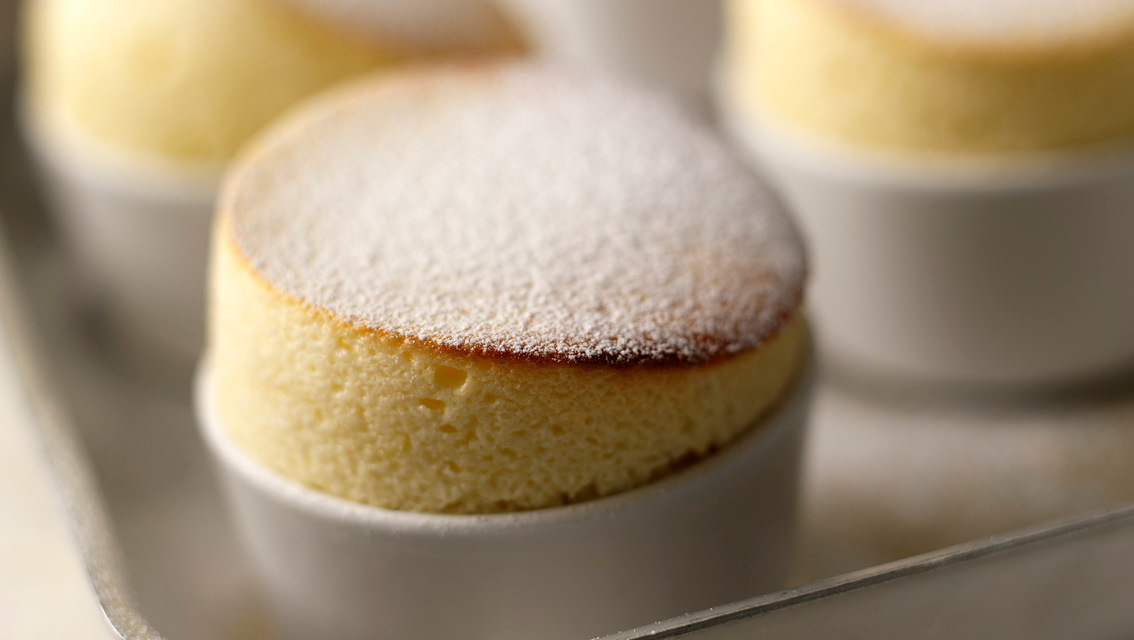 493 views
How to make a soufflé
bbc.co.uk
4.0
(11)
30 minutes