How to Make a Scandinavian Christmas Gnome
Your folders
Your folders
Total: 60

Ingredients
Export 6 ingredients for grocery delivery
Instructions
Step 1
First, roll the felt around your cone, pulling it tightly as you go and be sure to cover it completely and overlap a little.
Step 2
Add a generous bead of glue along one side of the seam where the felt overlaps. Press and hold until glue sets.
Step 3
Once your glue is secure cut off excess felt along the bottom keeping it as close to the edge as you can.
Step 4
You will also need to cut off excess at the top. This won’t show so you don’t have to keep it quite as neat and now our little Christmas gnome is dressed.
Step 5
Next, we are going to cut out the beard and mustache that makes up so much of his cute little face. Find where you want it to start on your cone, a little more than ⅔ of the way up is a good spot. Measure from there to 1”-2” beyond the bottom edge of the cone. You are going to cut a football shape that is flat along one end. The mustache is roughly the same shape, a little less than half of your length, a bit wider, and with a pie-shaped wedge cut out of the bottom.
Step 6
Then hot glue the beard in place on your Christmas gnome but leave the mustache as we will do that in a few steps.
Step 7
For his nose, we just need a bit of nylon. So an old pair works fine but if you don’t have any (I couldn’t find a single pair in my draweyou can grab a pair of cheap knee highs. Cut off a 3” piece of the toe and add a bit of fill, twist the end giving it a round shape. Add or take away filling until it is the size and shape you like.
Step 8
Hot glue the twist of nylon closed then add hot glue above the beard and press your nose into place. When your nose is in place you can add your mustache snugly above it, arranging it on either side.
Step 9
The last thing to be done is to add a big snuggly hat. To do this I cut a piece of flannel into a rectangle, how big yours is will depend on the size of your foam cone. Mine was a 10” cone so I cut my fabric to 10” by 22”. Lay your fabric lengthwise and fold each side over towards the middle so that one side just overlaps the other. Glue the overlapping pieces together to make a tidy seam. Leave 4” of one end unglued to size the hat to your gnomes head. Fold the other end into a point to create the tip of the hat, glue securely.
Step 10
Slip the hat over your gnomes head, right down to his nose. Then pull the fabric seam in back tightly until it fits snug and glue in place. Finally, arrange the hat down his back and around so the tip ends in front. Add glue here and there to keep it in place and to hide your seams. If you are really ambitious, you can sew your hat before placing it on instead of using hot glue.
Top similar recipes
Curated for youYour folders
 213 views
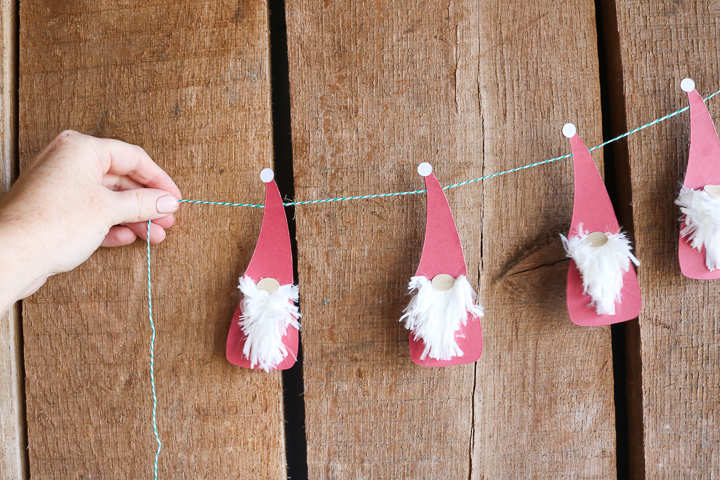
How to Make a Christmas Gnome Banne...
thecountrychiccottage.net
Your folders
 193 views
How to Make a Christmas Stocking
fleecefun.com
Your folders
 193 views
How to Make a Quilted Christmas Sto...
papernstitchblog.com
Your folders
 251 views
How to make a Christmas Funky Bow
howtomakewreaths.com
Your folders
 236 views
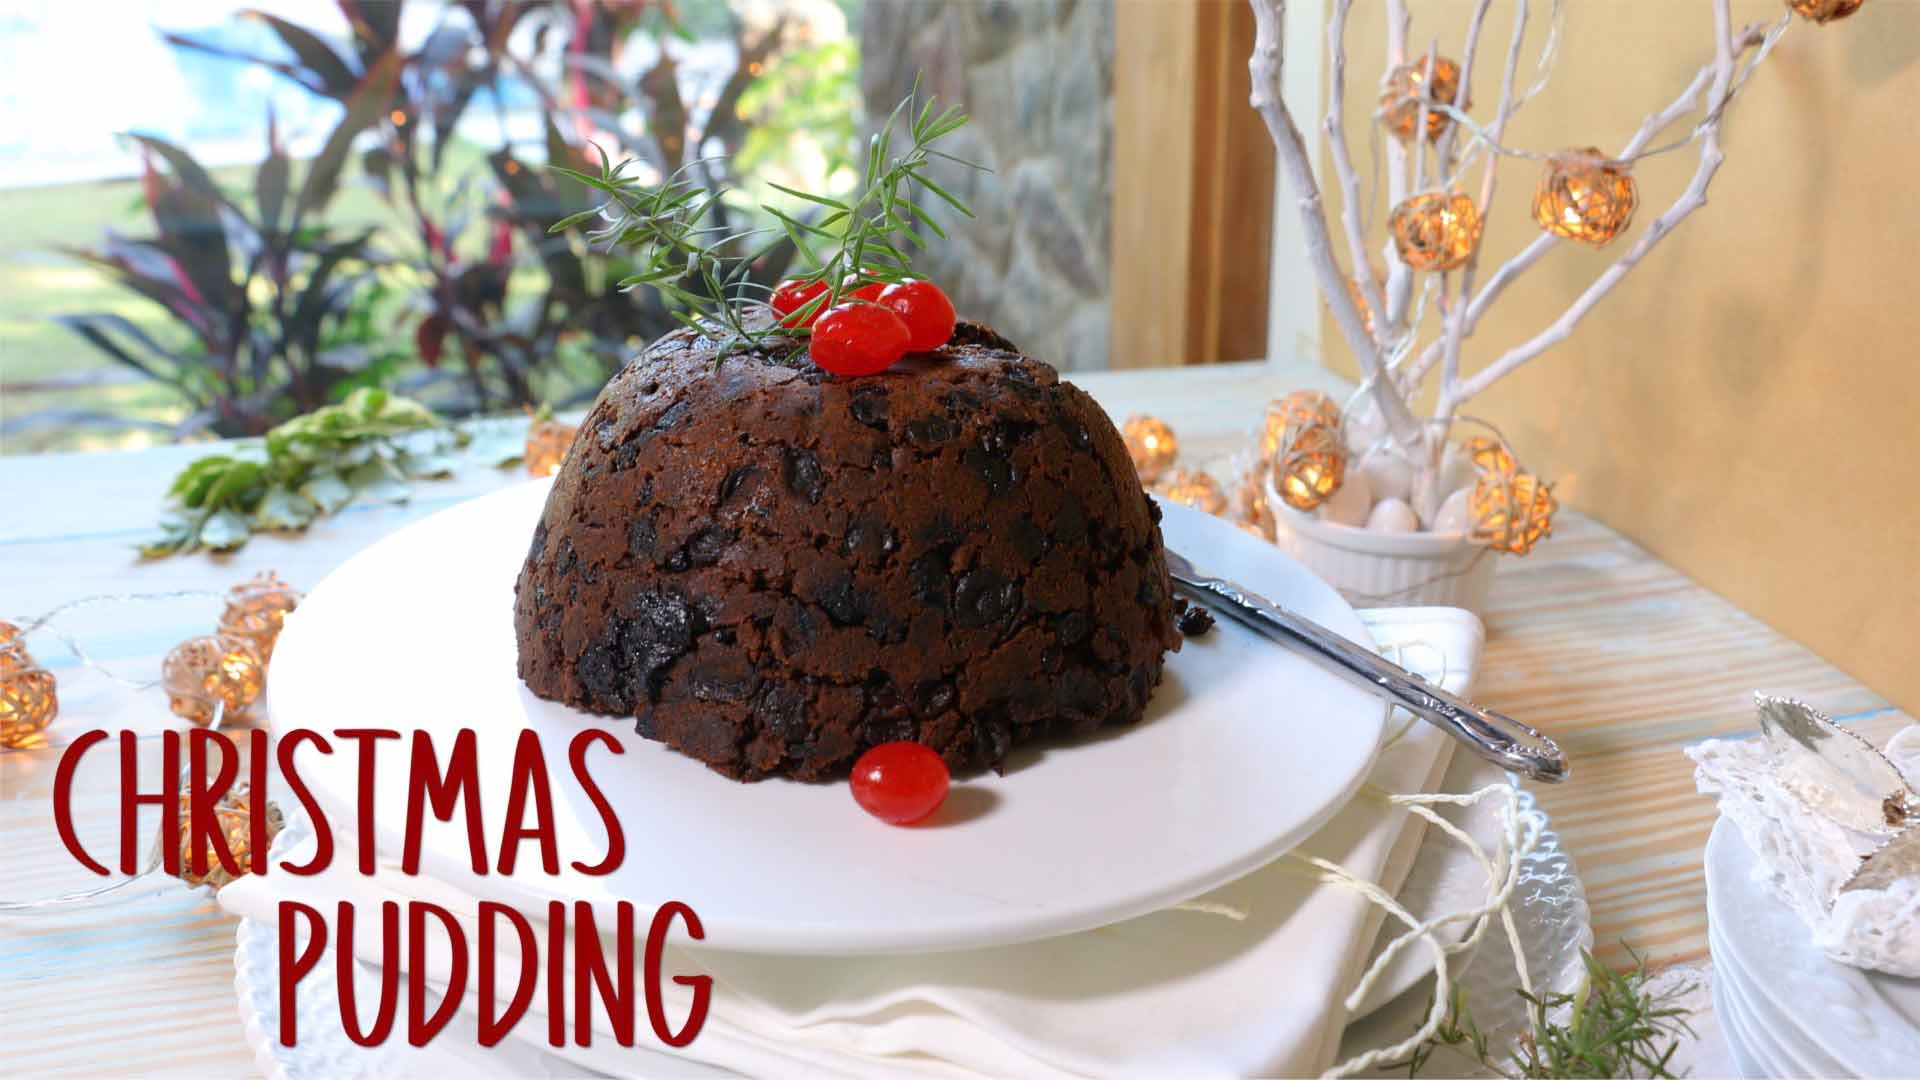
Christmas Pudding Recipe | How to m...
yummefy.com
4.4
(8)
360 minutes
Your folders
 226 views
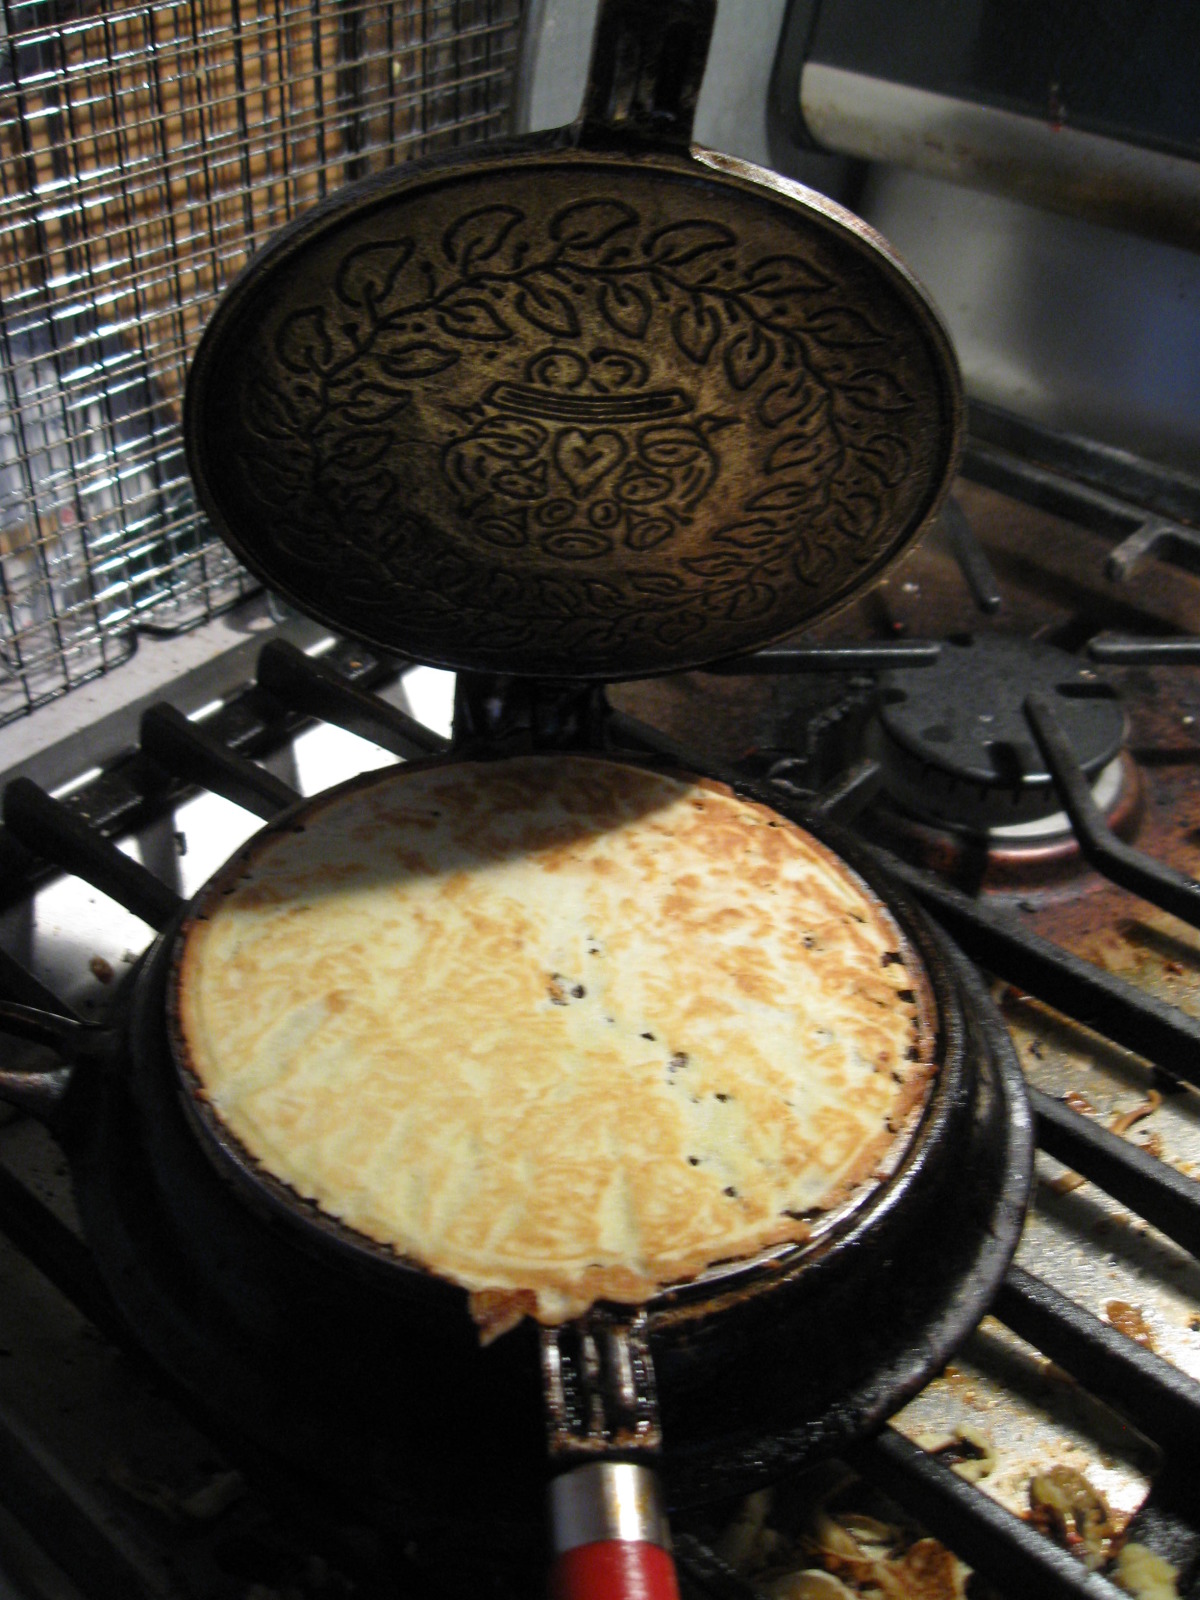
Scandinavian Christmas Crispy Krumk...
food.com
5.0
(1)
2 minutes
Your folders
 75 views
Foiling Christmas Ornaments on Phot...
thecountrychiccottage.net
Your folders
 64 views
How To Make A Funky Bow For Christm...
howtomakewreaths.com
Your folders
 545 views
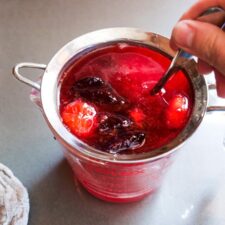
How to make a Shrub!
feastingathome.com
5.0
(2)
24 hours
Your folders
 1206 views
How To Make A Mojito
gimmesomeoven.com
Your folders
 586 views
How to Make a Highball
esquire.com
Your folders
 624 views
How to Make a Milkshake
spendwithpennies.com
5.0
(27)
Your folders
 660 views
How To Make a Frittata
thekitchn.com
4.3
(43)
Your folders
 358 views
How To Make A Cortado
roastycoffee.com
4.8
(6)
5 minutes
Your folders
 484 views
How to Make a Smoothie
delish.com
4.6
(44)
Your folders
 496 views
How to make a soufflé
bbc.co.uk
4.0
(11)
30 minutes
Your folders
 315 views
How To Make a Lanyard
blog.treasurie.com
Your folders
 219 views
How to make a shrub
greatbritishchefs.com
Your folders
 358 views
How to Make a Milkshake
preppykitchen.com
5.0
(45)