How to Make a Paper Plate Kite
Your folders
Your folders
Total: 30
Ingredients
Export 8 ingredients for grocery delivery
Instructions
Step 1
Start by tracing anything round in the center of your paper plate and cutting out a hole with scissors. Older children can definitely do this step themselves but younger ones might need a bit of help.
Step 2
Get out your hole punch and add some holes to the plate.
Step 3
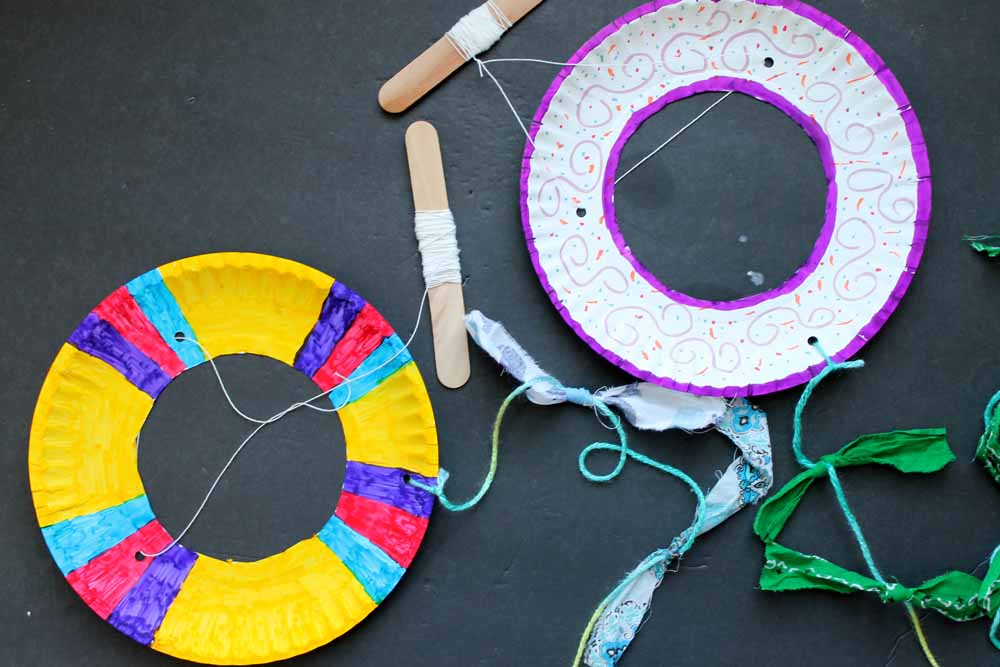
Now you can let the kids loose with the markers. Let them decorate their kites in any way that they want. Decorate one or both sides….this part is completely up to their imagination. After they are happy with their kite craft, add a long piece of yarn to the punched hole that is close to the outer edge. Tie on pieces of scrap fabric to make a fun kite tail. Any extra yarn and fabric will work for this part of the kite.
Step 4
Next you need to make it a kite! Add some kite string through the two remaining holes as shown below and tie.
Step 5
Unwind a long piece of string and cut. Then wrap around a craft stick. This will keep your string neat and give the kids something to hold onto when flying the kite. NOTE: Tie the very end of your kite string to the craft stick to prevent the kite from blowing away in heavy winds.
Step 6
Head out and give your new kite a test drive! This kite craft is fun for kids of all ages.
Top similar recipes
Curated for youYour folders

 161 views
How to Make a Cheese Plate
lifeasastrawberry.com
5.0
(14)
30 minutes
Your folders
 235 views
How to Make a Paper Hat.mov
onelittleproject.com
Your folders
 302 views
How to make a Paper Boat
onelittleproject.com
Your folders

 20 views
How to Make a Paper Chain
diycandy.com
Your folders

 232 views
How to Make Paper (Paper Making Rec...
onegoodthingbyjillee.com
Your folders

 273 views
How to make Paper Snowflakes
onelittleproject.com
Your folders
 253 views
How to Make Paper Feathers
thecountrychiccottage.net
Your folders
 340 views
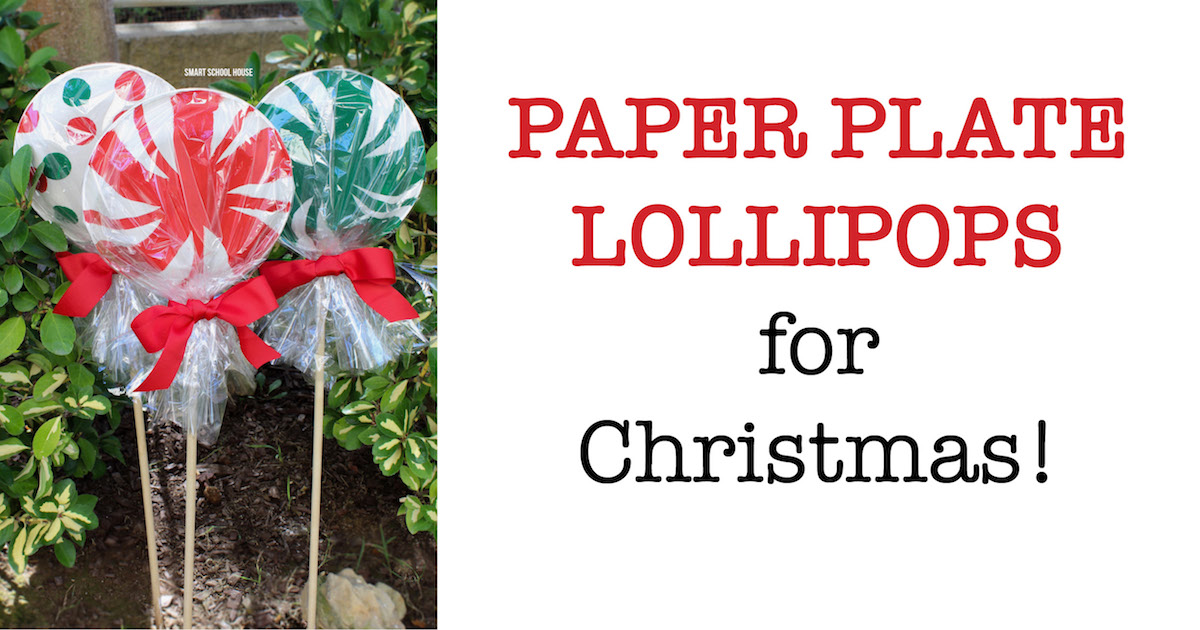
Paper Plate Lollipops
smartschoolhouse.com
Your folders

 252 views
How to Make 3D Paper Snowflakes
onegoodthingbyjillee.com
Your folders

 246 views
Paper Plate Tropical Fish
craftsbyamanda.com
Your folders
 81 views
How to make Paper-Thin Strudel Doug...
lilvienna.com
4.9
(157)
Your folders
 554 views
How to make a Shrub!
feastingathome.com
5.0
(2)
24 hours
Your folders

 1213 views
How To Make A Mojito
gimmesomeoven.com
Your folders

 590 views
How to Make a Highball
esquire.com
Your folders

 631 views
How to Make a Milkshake
spendwithpennies.com
5.0
(27)
Your folders

 672 views
How To Make a Frittata
thekitchn.com
4.3
(43)
Your folders

 364 views
How To Make A Cortado
roastycoffee.com
4.8
(6)
5 minutes
Your folders

 489 views
How to Make a Smoothie
delish.com
4.6
(44)
Your folders
 503 views
How to make a soufflé
bbc.co.uk
4.0
(11)
30 minutes