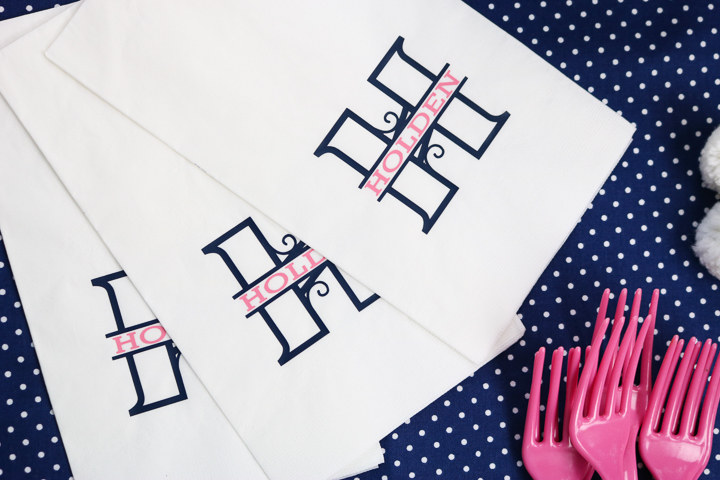
How To Make Custom Napkins Using Heat Transfer VinylHow To Make Custom Napkins Using Heat Transfer Vinyl
Your folders
Your folders
Ingredients
Export 7 ingredients for grocery delivery
Instructions
Step 1
Cut your split letter monogram (or another design) from heat transfer vinyl. Don't forget to mirror your design and cut with the shiny side of the heat transfer vinyl against the mat.
Step 2
Next, weed away all excess vinyl from the backing sheet. Follow the same process for both colors so that all you have left is what you want to be transferred to your napkin.
Step 3
Now locate your design on the napkin. Press both colors onto the napkin (either at the same time or separately.
Step 4
To press, add the napkin to your EasyPress mat (or use a rolled-up towel). Then add your first color of heat transfer vinyl on top.
Step 5
Protect the napkin from the heat with a Teflon sheet (or parchment paper).
Step 6
Place the EasyPress on top for the amount of time and temperature recommended for the paper.
Step 7
Allow it to completely cool before pulling back the backing sheet from the iron-on.
Step 8
Next, place your second color on top.
Step 9
Repeat the same procedure by adding the protective sheet over the top and pressing with the EasyPress.
Step 10
Then allow to cool completely and remove the carrier sheet.
Step 11
Cut your split letter monogram (or another design) from heat transfer vinyl. Don't forget to mirror your design and cut with the shiny side of the heat transfer vinyl against the mat.
Step 12
Next, weed away all excess vinyl from the backing sheet. Follow the same process for both colors so that all you have left is what you want to be transferred to your napkin.
Step 13
Now locate your design on the napkin. Press both colors onto the napkin (either at the same time or separately.
Step 14
To press, add the napkin to your EasyPress mat (or use a rolled-up towel). Then add your first color of heat transfer vinyl on top.
Step 15
Protect the napkin from the heat with a Teflon sheet (or parchment paper).
Step 16
Place the EasyPress on top for the amount of time and temperature recommended for the paper.
Step 17
Allow it to completely cool before pulling back the backing sheet from the iron-on.
Step 18
Next, place your second color on top.
Step 19
Repeat the same procedure by adding the protective sheet over the top and pressing with the EasyPress.
Step 20
Then allow to cool completely and remove the carrier sheet.
Top similar recipes
Curated for youYour folders
 208 views
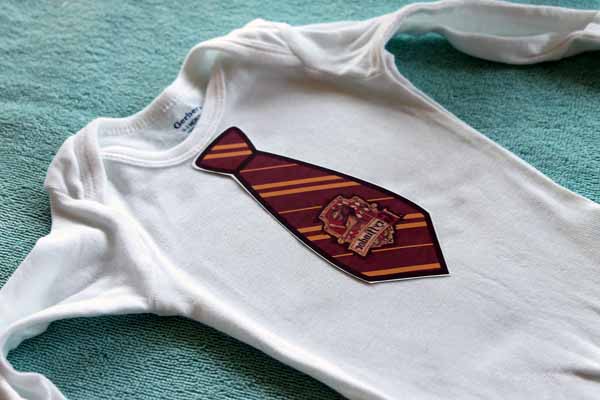
Heat Transfer Baby Onesies
thecountrychiccottage.net
Your folders
 185 views
How to Make a Custom Hat with Cricu...
prettyprovidence.com
Your folders
 66 views
DIY Baby Onesies with Iron-onRepair...
thecountrychiccottage.net
Your folders
 338 views
How to Heat Treat Flour
shugarysweets.com
5.0
(3)
5 minutes
Your folders
 104 views
Manhattan Transfer
diffordsguide.com
5.0
(27)
Your folders
 458 views
How to Make Sticky Rice Using Regul...
wikihow.com
73.0
(17)
Your folders
 271 views
How to make Roti Dough using Stand ...
pipingpotcurry.com
5.0
(13)
Your folders
 166 views
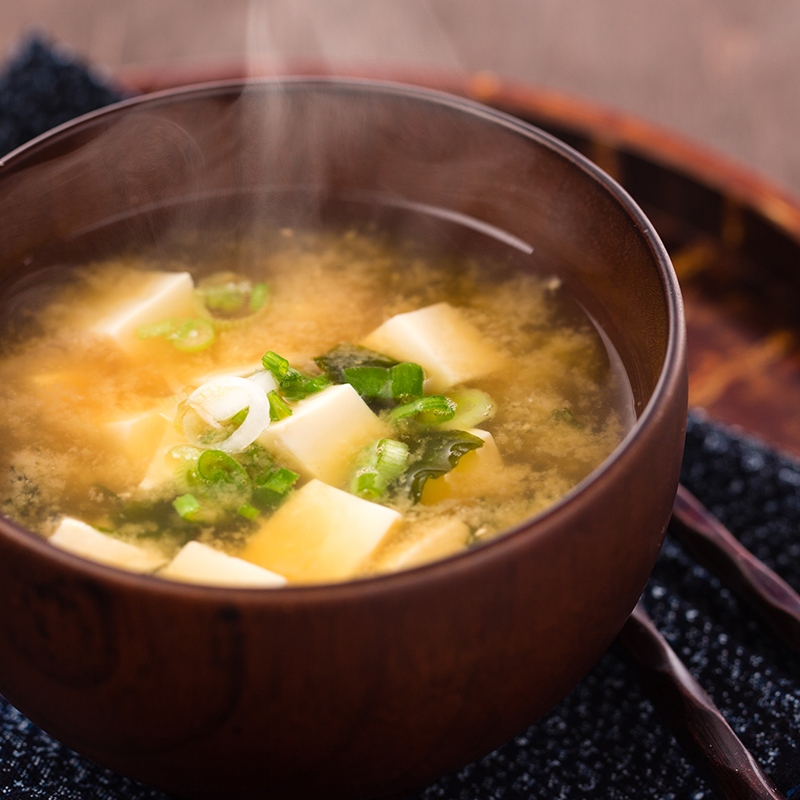
How to Make: Basic Miso Soup Using ...
hikarimiso.com
Your folders
 577 views
How to Make Easy Pot Brownies Using...
cannabisspatula.com
45 minutes
Your folders
 430 views
How to make Pastrami (using brisket...
jesspryles.com
Your folders
 243 views
How to Make Macaroni and Cheese Usi...
wikihow.com
75.0
(66)
Your folders
 92 views
How to make pastrami using store bo...
ninjacue.com
5.0
(1)
6 hours
Your folders
 283 views
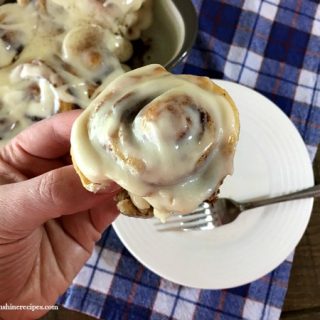
How to Make Easy Cinnamon Rolls usi...
walkingonsunshinerecipes.com
4.4
(174)
20 minutes
Your folders
225 viewsHow to Make Labneh Using Your Insta...
myjewishlearning.com
Your folders
 132 views
How to make easy garlic knots using...
ourlittlebluehomestead.com
Your folders
 40 views
How to Etch Glass with a CricutHow ...
thecountrychiccottage.net
Your folders
 136 views
How to Make Egg Salad Using the Ins...
tastythin.com
5.0
(6)
5 minutes
Your folders
 167 views
How to Make a Terri Bow using the E...
howtomakewreaths.com
Your folders
 316 views
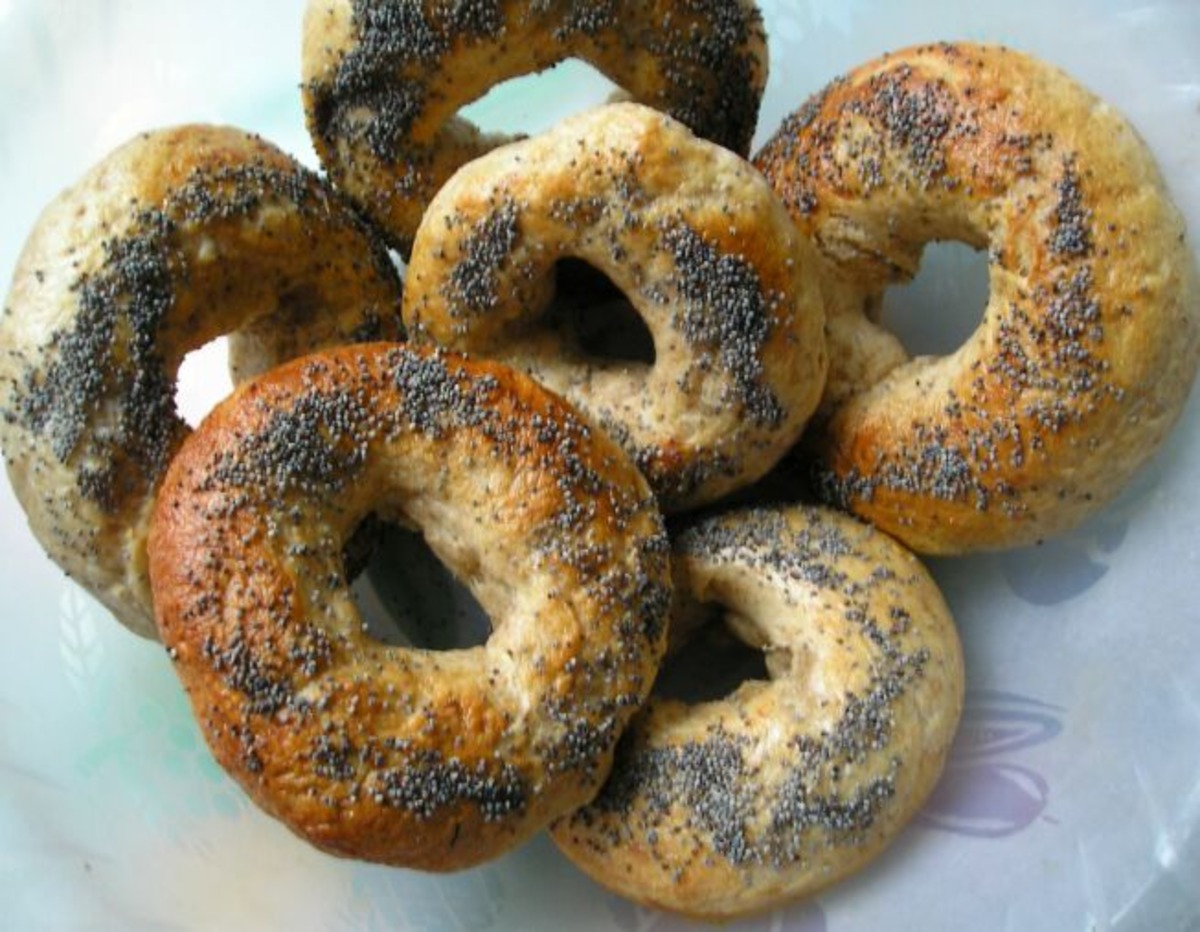
Beautiful Bagels - (using bread mac...
food.com
5.0
(22)