How to Make Kombucha at Home
Your folders
Your folders
/__opt__aboutcom__coeus__resources__content_migration__simply_recipes__uploads__2020__04__How-to-Make-Kombucha-LEAD-16-38f65524a57b4eed9fcacc4ea02d78b3.jpg)
Ingredients
Export 4 ingredients for grocery delivery
Instructions
Step 1
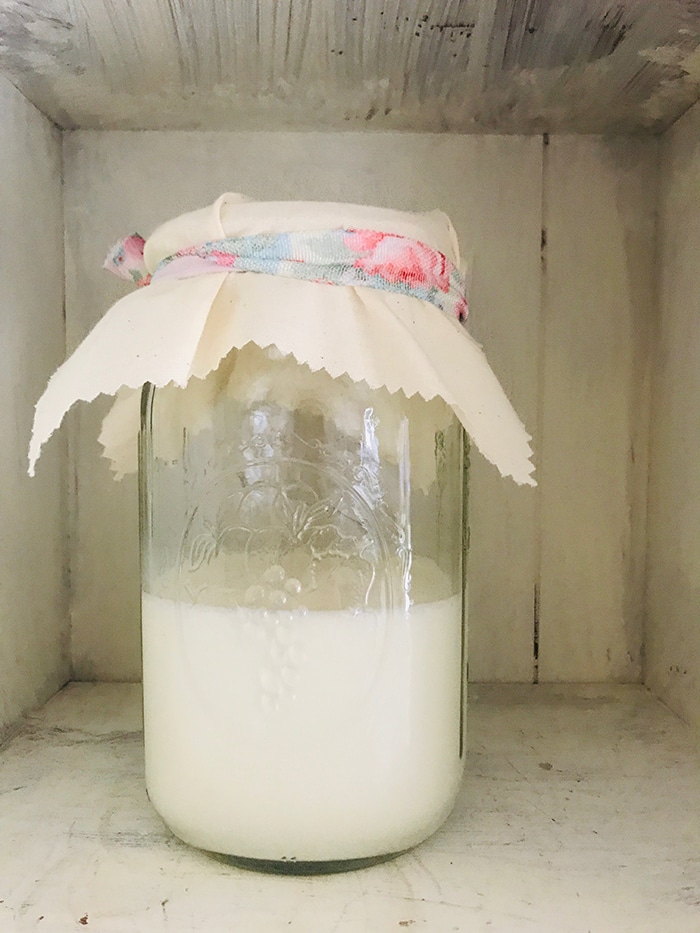
Prepare a half batch of the recipe below, but leave out the scoby (obviously!). Cover with a double layer of a tightly woven napkin or tea towel secured with a rubber band and leave the jar somewhere out of the way. Try not to move it or jostle it since this can make the scoby take longer to form.Let the jar sit for one to four weeks. Check it after one week and then every few days after that. If all is well, you'll see bubbles forming on the surface, which will eventually join together into a thin, transparent layer that looks and feels kind of like a contact lens. This layer will start to thicken and turn opaque.Once it's about 1/8- to 1/4-inch thick, it's ready. You can use it to make your first official batch of kombucha. You can also use the remaining liquid as your "prepared kombucha."
Step 2
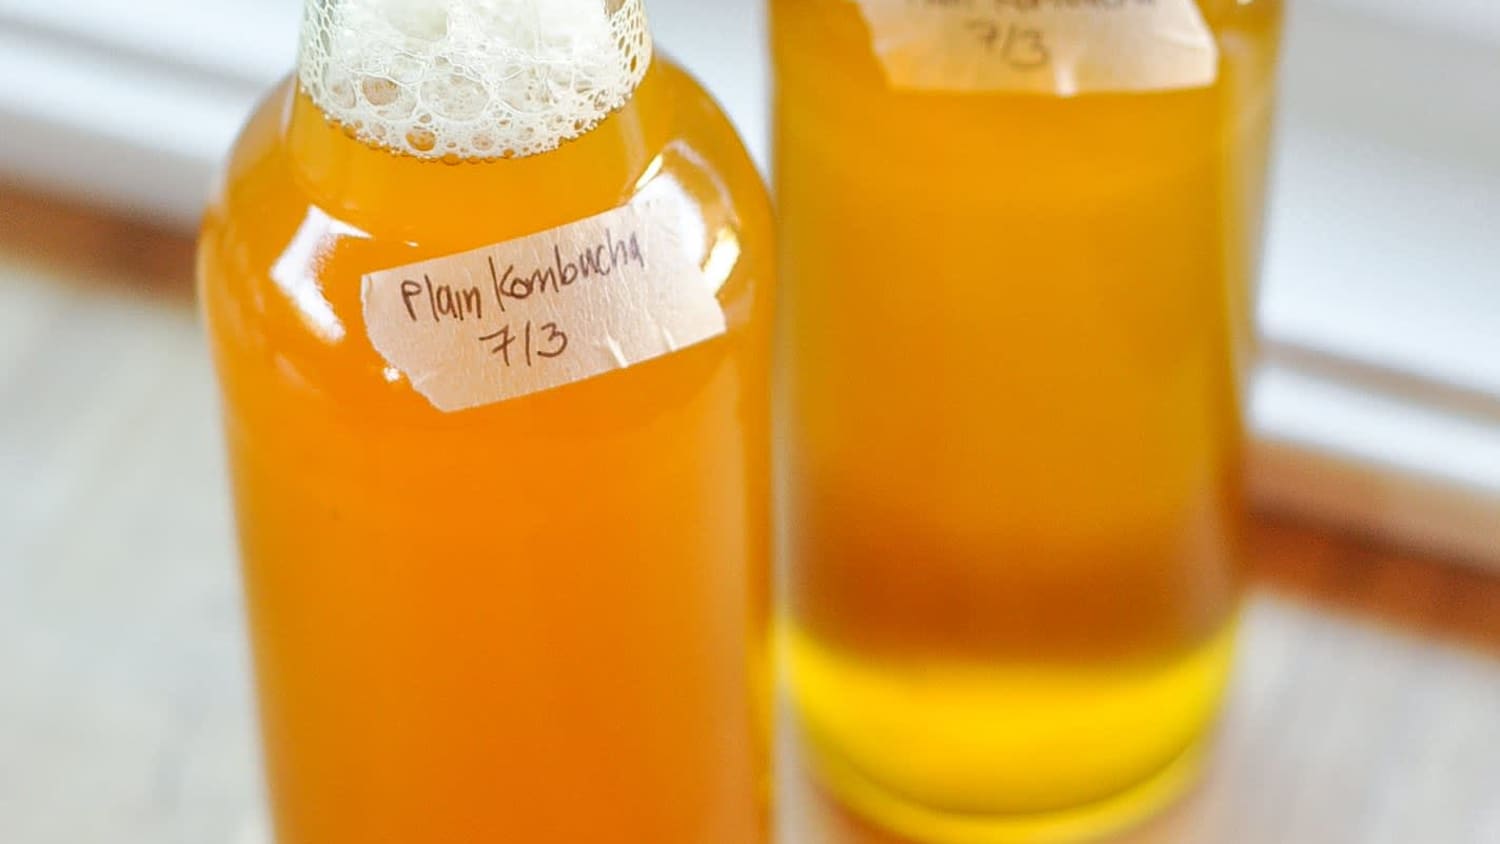
Make the sweet tea base: Bring 1 quart of the water to a rolling boil in the stockpot. Add the sugar and stir until the sugar has dissolved. Remove the pot from heat and add the tea (if you’re using loose leaf tea, put it in a tea ball first). Let stand for at least 10 minutes to steep the tea, though it’s also fine if you end up letting the tea sit for a few hours. Remove the tea before continuing. Emma Christensen Emma Christensen Emma Christensen Combine all the liquids in a 1-gallon glass jar: Pour the sweet tea into a 1-gallon jar and add the remaining 2 1/2 quarts of water. Check the diluted sweet tea mixture with a clean finger to make sure it has cooled sufficiently before adding the prepared kombucha or the scoby; it should be lukewarm (or cooler) to the touch. If it still feels hot, wait for it to cool before continuing. Stir the prepared kombucha into the diluted sweet tea. Be sure to include any blobs or floaty bits that are in the kombucha. Emma Christensen Emma Christensen Emma Christensen Emma Christensen Slip the scoby into the jar of liquid: The scoby might float on top of the liquid, sink to the bottom, or hover somewhere in the middle—wherever the scoby ends up resting is completely fine. Emma Christensen Cover the jar with a double-layer of cloth and secure with a rubber band: The cloth allows airflow in and out of the jar, which is necessary for fermentation, but the tightly-woven cloth and the tight rubber band will prevent dust and bugs from getting through. Emma Christensen Place the jar somewhere out of the way, away from direct sunlight, and at a steady room temperature: Ideally, you want the jar where you can check it every so often over the next week or two, but where you don’t have to constantly move it around. An unused corner of your countertop, a kitchen cupboard, or an out-of-the-way shelf is great. Complete darkness isn’t necessary; just make sure it won’t be exposed to direct sunlight. Kombucha ferments best between 70°F and 75°F. Warmer temperatures make it ferment more quickly and cooler temperatures make fermentation slow down. Avoid temperature extremes; move the jar of fermenting kombucha somewhere more moderate if the temperature rises above 90F or below 68F during the daytime. Let the kombucha ferment for 7 to 14 days, or until it tastes good to you: I recommend fermenting the kombucha for at least 7 days, but there really is no minimum or maximum time. Start tasting the kombucha after a few days—just pour a little into a glass. In the first few days of fermentation, the kombucha will taste very sweet – like sweetened tea – but then it will gradually become more tart and vinegary the longer it ferments. You will also start to notice a vinegary aroma around the jar. This is a sign of healthy fermentation. Continue tasting the kombucha every few days until it tastes good to you. Once it tastes good, it’s ready! Remove the scoby and set aside: When your kombucha tastes good to you and you’re ready to bottle it, move the jar to your countertop where you have some room to work. Have a bowl, a liquid measuring cup, a few clean glass or plastic bottles, and a small funnel nearby. (There is no need to sterilize your kombucha jars; just make sure they are clean and fully rinsed of any soap.) With clean hands, reach into the jar of kombucha and grab the scoby, including any new layers that have formed. Lift it out and transfer it to the bowl. As you transfer it, check it over to make sure there are no signs of fuzzy mold growth. Leave any wet brown clumps of yeast attached. If your scoby has formed a new layer, you can leave it attached, pull off and discard the older layer, or divide the layers and use each one to brew its own batch of kombucha. Pour out 2 cups of your kombucha and pour it over the scoby. Use this as your “prepared kombucha” for your next batch. At this point, you can either start a new batch of kombucha right now using this scoby and liquid, or you can cover the bowl and keep the scoby and liquid at room temperature until you’re ready to make another batch. (You can store your scoby this way for up to a month or two; add additional sweetened tea as needed to keep the scoby covered.) Emma Christensen Emma Christensen Emma Christensen Emma Christensen Bottle the remaining kombucha: Divide the remaining kombucha between your bottles. I find it easiest to pour the kombucha into a measuring cup, then pour it into the bottles using the small funnel. If you like, add some juice, chopped fruit, fresh herbs, or spices to each bottle to flavor the kombucha. Cap each bottle tightly. Emma Christensen Wait for your kombucha to carbonate: (Optional — i f you don’t really care if your kombucha is fizzy or not, you can refrigerate and drink your kombucha immediately.) Set your capped bottles of kombucha somewhere out of the way, away from direct sunlight, and at room temperature for 1 to 5 days to give them time to carbonate. Check each day by opening up one of the bottles. When you hear a soft pop! and see bubbles flowing to the surface of the liquid after you open it, it's ready! Refrigerate all bottles and drink within two weeks. Once the bottles are carbonated, refrigerate immediately. Do not leave bottles of kombucha unrefrigerated for longer than 5 days—otherwise, there is a risk that too much carbonation can build up inside and the bottles may shatter. Refrigerate all bottles of kombucha for 24 hours before drinking: Open bottles of kombucha slowly and carefully over a sink; over-carbonated bottles will sometimes gush up when you open them and cause a mess! Consume all bottles within two weeks. The kombucha will continue to very slowly ferment even in the fridge, and you may notice that it gradually becomes more vinegary over time. Emma Christensen
Top similar recipes
Curated for youYour folders

 313 views
How to Make Kombucha at Home
blog.mountainroseherbs.com
15 minutes
Your folders
 745 views
How To Make Kombucha Tea at Home
thekitchn.com
4.4
(11)
Your folders
 730 views
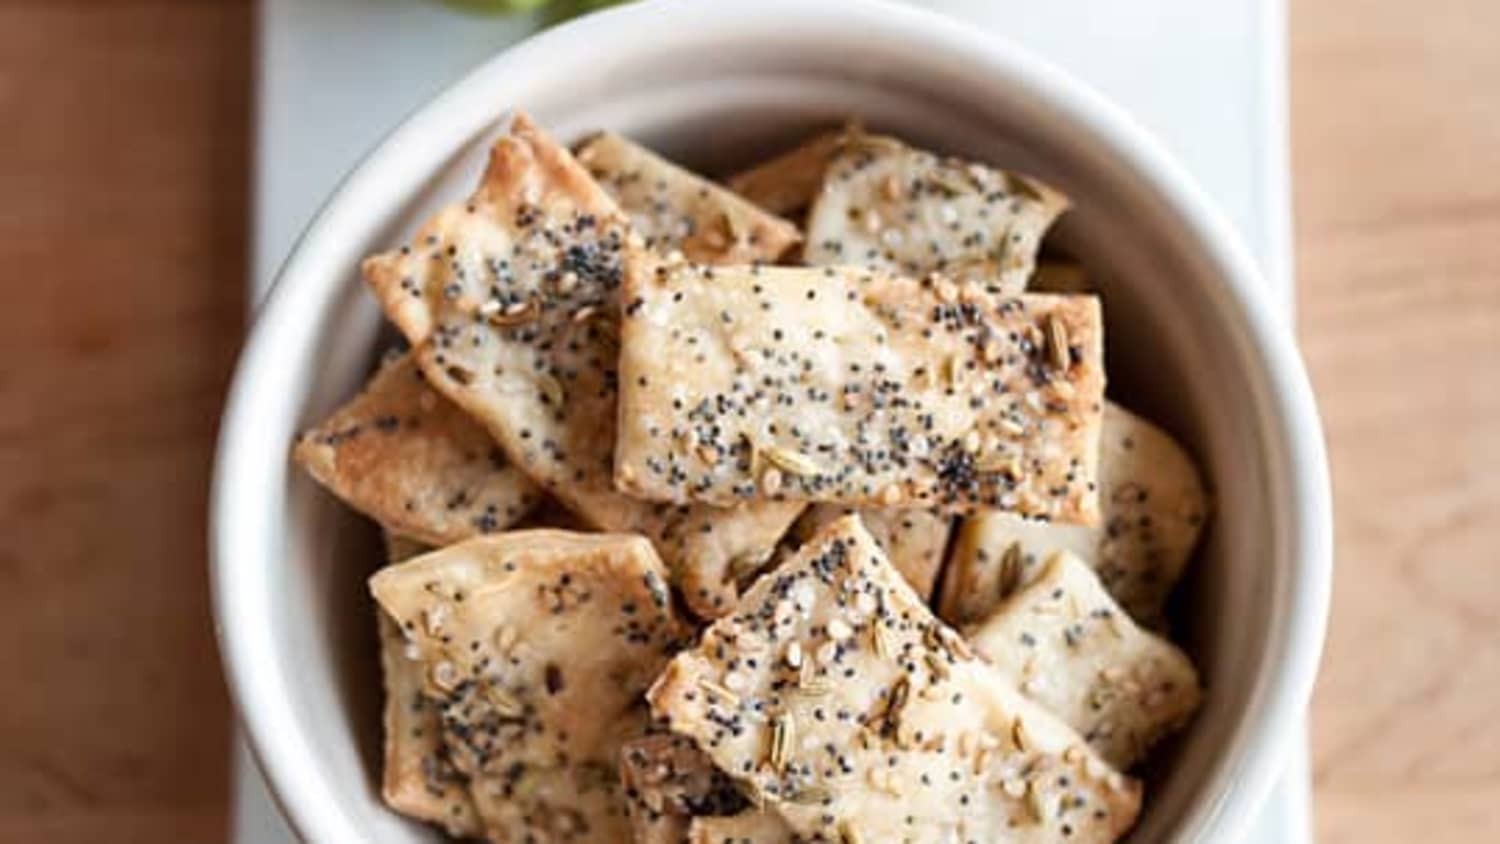
How to Make Crackers at Home
thekitchn.com
4.8
(20)
Your folders
 725 views
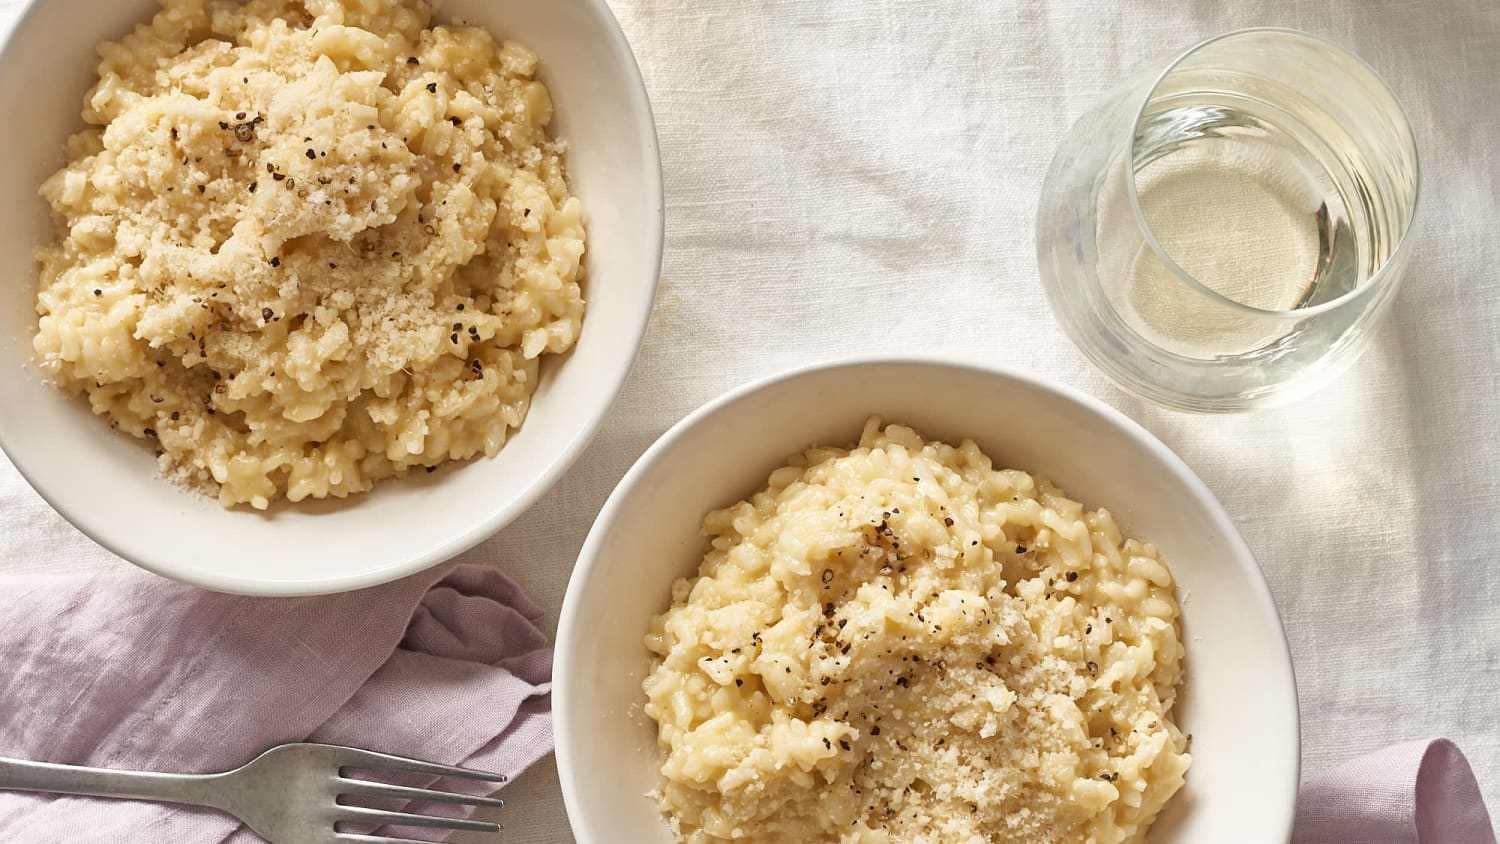
How To Make Risotto at Home
thekitchn.com
4.0
(13)
Your folders
 694 views
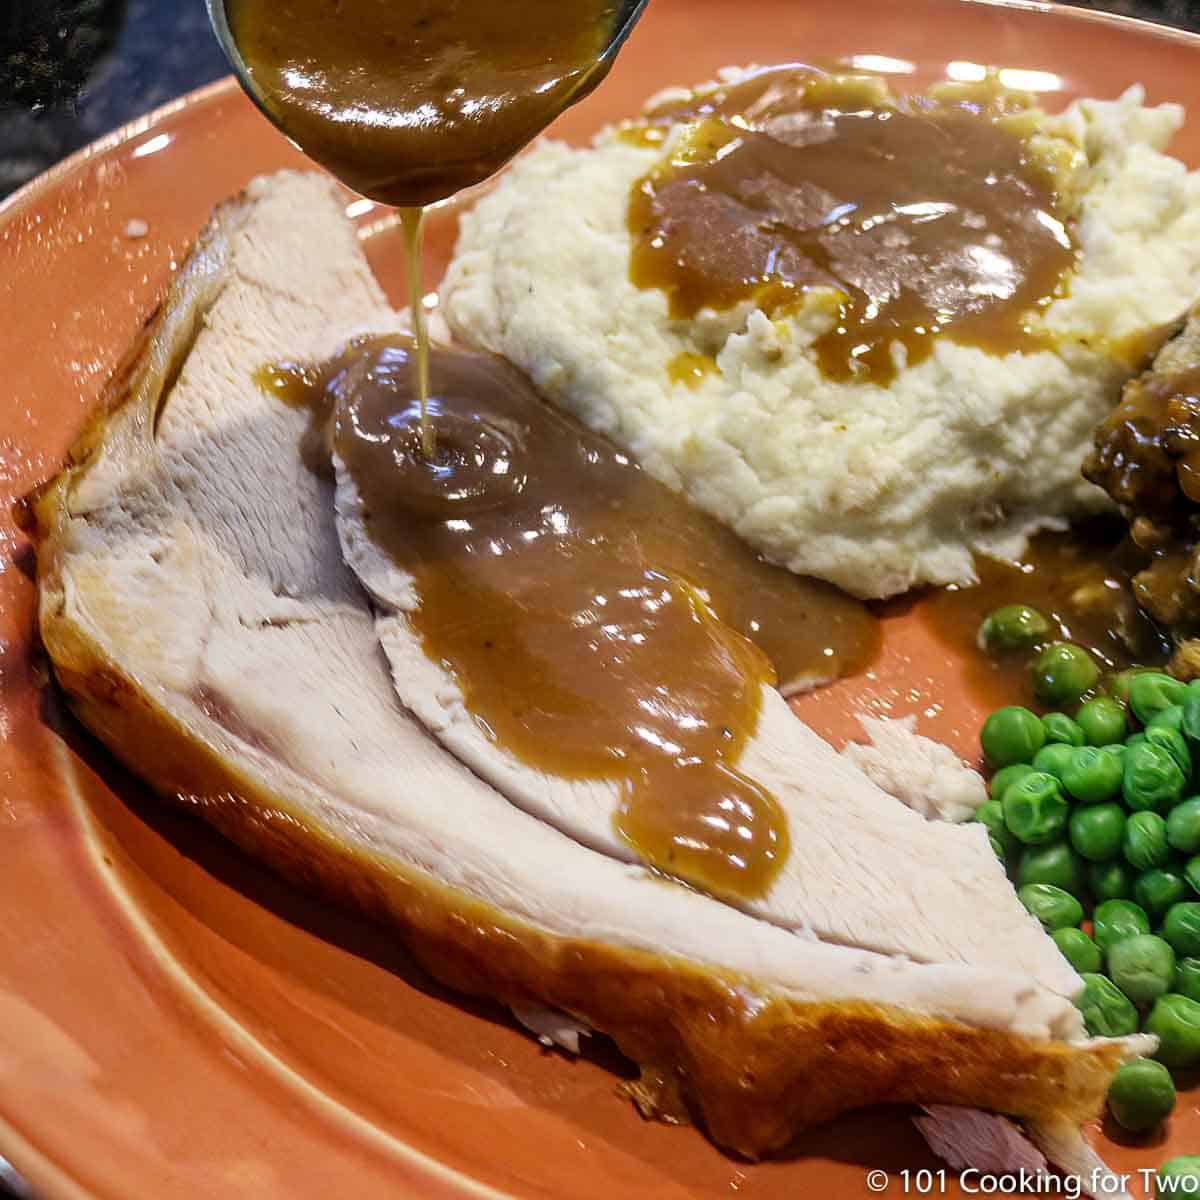
How To Make Gravy at Home
101cookingfortwo.com
4.4
(12)
10 minutes
Your folders
 557 views
How To Make Gochujang At Home
kimchimari.com
4.8
(26)
360 minutes
Your folders
 549 views
How To Make Yogurt At Home
thekitchn.com
3.6
(10)
Your folders
 370 views
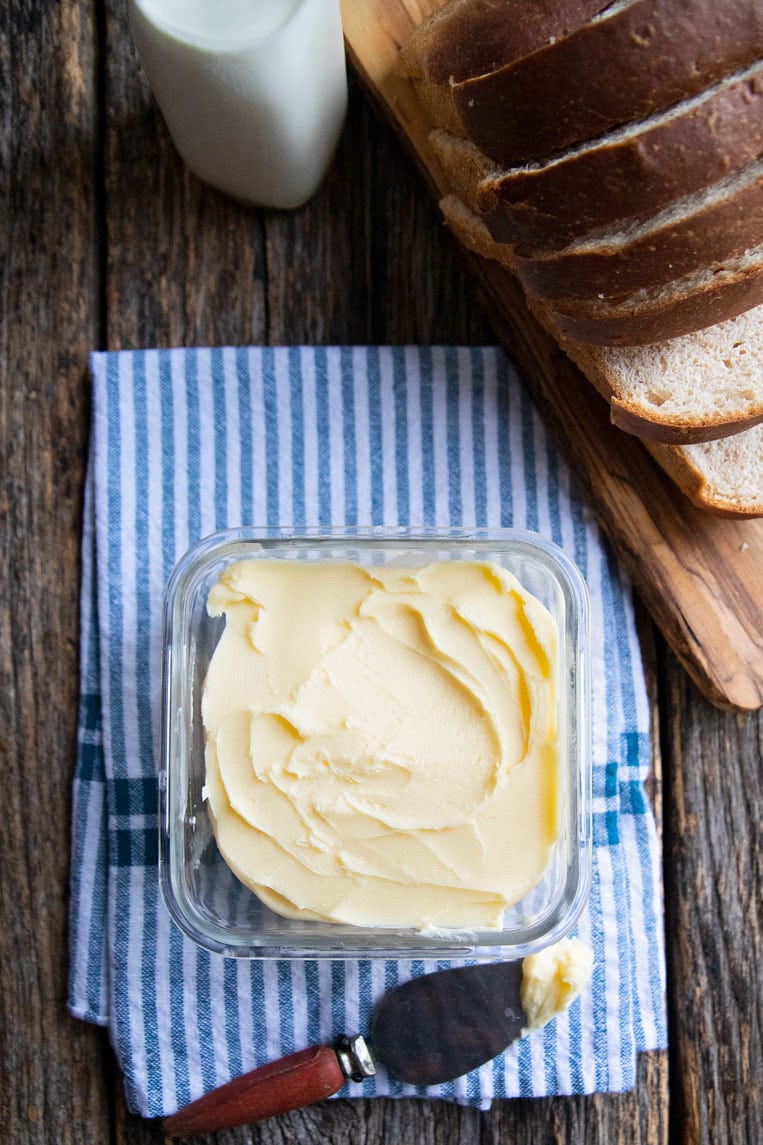
How to make butter at home
spatuladesserts.com
5.0
(5)
Your folders
 549 views
How To Make Pizza at Home
thekitchn.com
4.4
(18)
Your folders
 505 views
How to Make Subway at Home
maritimeglutton.com
5.0
(2)
Your folders
 404 views
How to Make Hibachi at Home
healthylittlepeach.com
5.0
(5)
20 minutes
Your folders
 412 views
How To Make Chocolate At Home
chefcynthialouise.com
5.0
(5)
5 minutes
Your folders
 407 views
How to Make Butter at Home
feastandfarm.com
5.0
(1)
Your folders
 218 views
How to Make Kefir at Home
rainbowdelicious.com
5.0
(15)
Your folders
:max_bytes(150000):strip_icc()/20221205-AmandaSuarez-Kombucha-01-077195247edf49b2a63b0133a12cad6f.JPG) 287 views
287 viewsHow to Make Kombucha
seriouseats.com
Your folders
 407 views
How To Make Kettle Corn at Home
thekitchn.com
2.8
(24)
Your folders
 569 views
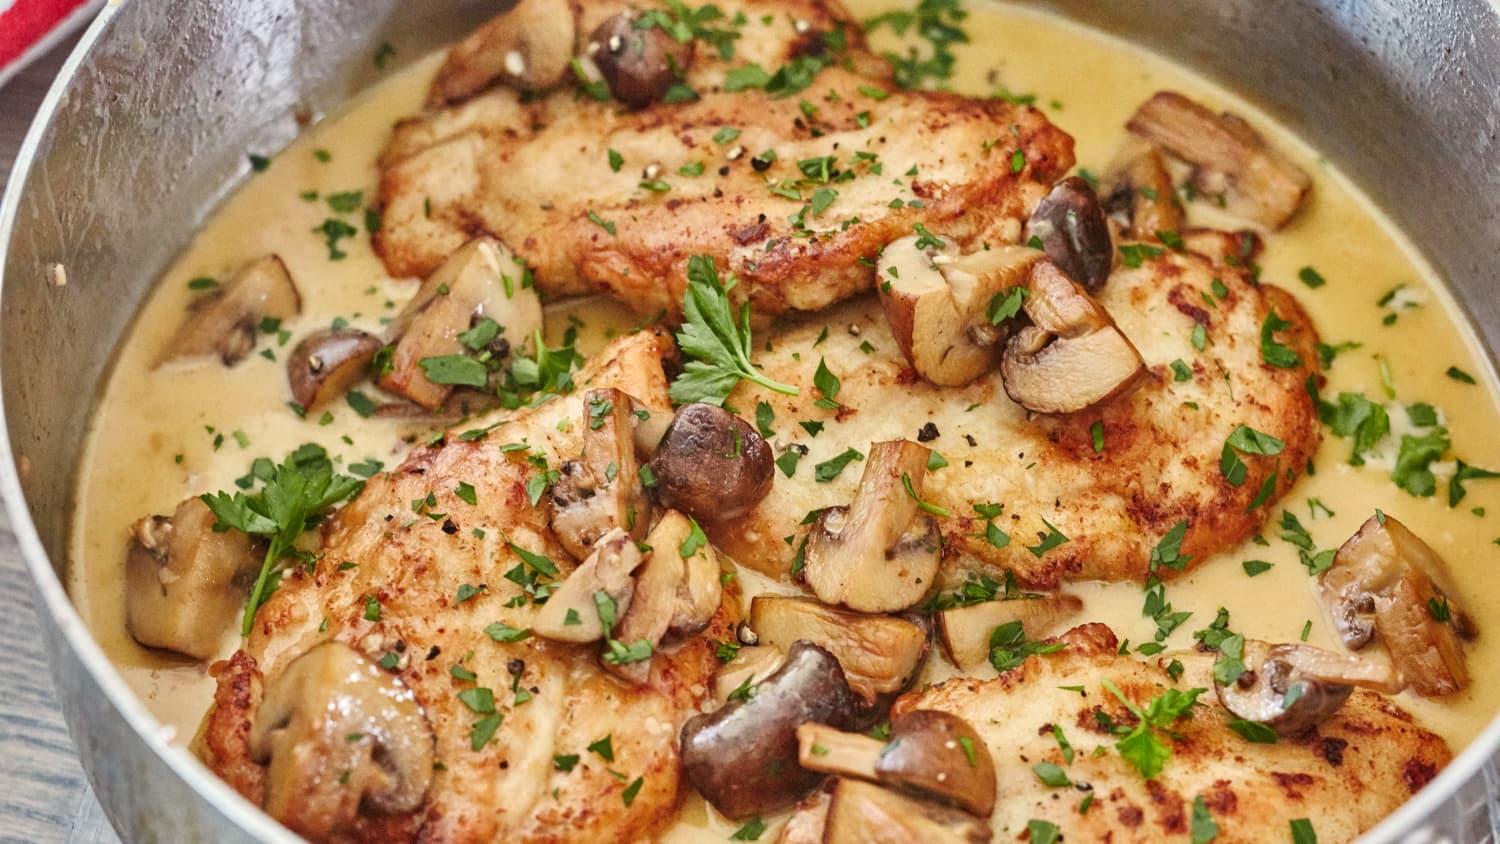
How To Make Chicken Marsala At Home
thekitchn.com
4.7
(3)
33 minutes
Your folders
 621 views
How to Make Soy Milk at Home
thewoksoflife.com
4.5
(4)
20 minutes
Your folders
 632 views
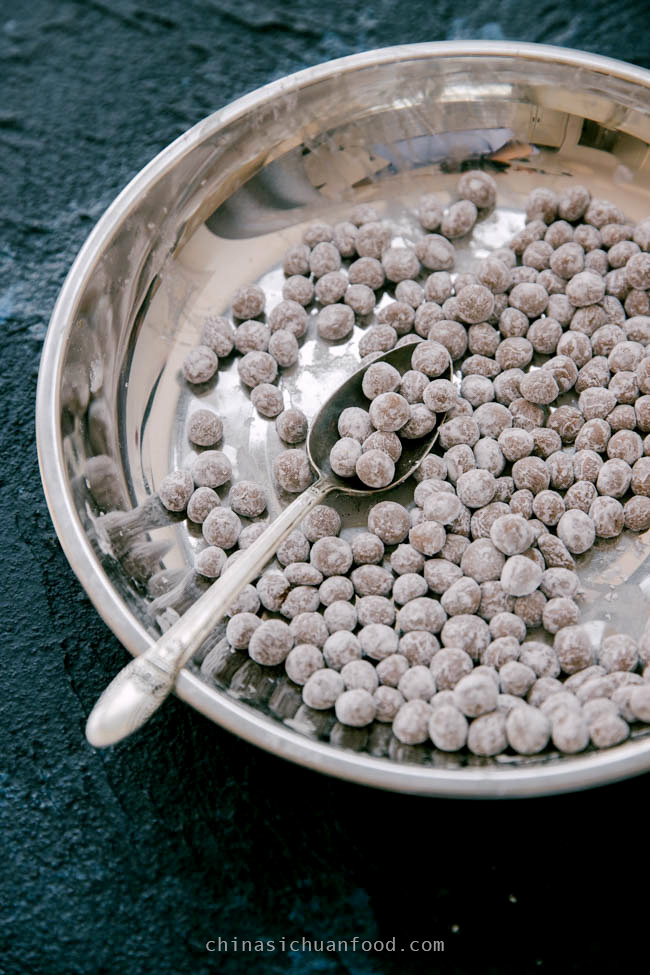
How to Make Boba Pearls at Home
chinasichuanfood.com
5.0
(10)
30 minutes