How to Make Vital Wheat Gluten (and Wheat Flour Starch)
4.9
(13)
Your folders
Your folders
Prep Time: 30 minutes
Total: 270 minutes
Servings: 12

Ingredients
Export 1 ingredients for grocery delivery
Instructions
Step 1
Combine the flour and water into a dough either by hand or with a stand mixer – until it’s a stiff dough.
Step 2
Allow the dough to rest for 30-60 minutes for the gluten strands to develop. The dough will be very sticky – this is normal.
Step 3
Fill a large container 2/3 way with cold water and add the dough to it.
Step 4
Work the dough, stretching, folding, and squeezing it to release as much of the starch from the dough as possible. During this time, the water will become white as the starch leaches into it.Some methods ask you to let the dough stand for several hours before kneading the dough (3-4 hours at least to allow the gluten to develop). If you test both ways and find that you prefer one over the other, please use whatever you prefer.
Step 5
As the starch releases, the amount of dough will reduce and go through several changes: becoming spongy and stringy, falling apart, before eventually coming back together as a single mass. The water will become a very murky white, too, as the starches release into the water.When making the VWG powder you want to get rid of as much of the starch as possible. For washed flour seitan, you don't need to get rid of it all (check the notes below).
Step 6
At this point, you need to rinse the dough to get rid of all the remaining starch. To do this, it’s easiest to place the dough (which may still be a little stringy and possibly not all in one piece) into a sieve or fine colander when rinsing, continuing to knead, until it comes together as a single stretchy mass of gluten.Leave the container with the starchy water to one side (don’t drain it!)
Step 7
At this point, you can either go on to make seitan by flavoring and cooking the VWG (it will be the vegan "chicken" in your recipes) OR follow the instructions below to make the vital wheat gluten flour.Note: you can allow the dough to rest in the colander for 15-20 minutes to allow the excess water to strain (this isn’t necessary as much when dehydrating – though it will speed up the process. However, when making seitan, it will help the gluten relax, so it becomes stretchier to shape/twist/knot).
Step 8
Cut the dough into smaller slices and lay them in a single layer across a dehydrating tray.
Step 9
Dehydrate the dough at 125ºF/50ºC until the vital wheat gluten is completely dry. During this time, it will darken and shrivel up – looking a little like jerky.The time it will take to fully dry the gluten will vary depending on the size and thickness of your dough pieces.
Step 10
Once dried, add the pieces of dried vital wheat gluten to a coffee/spice grinder (or a high-powered blender/food processor).
Step 11
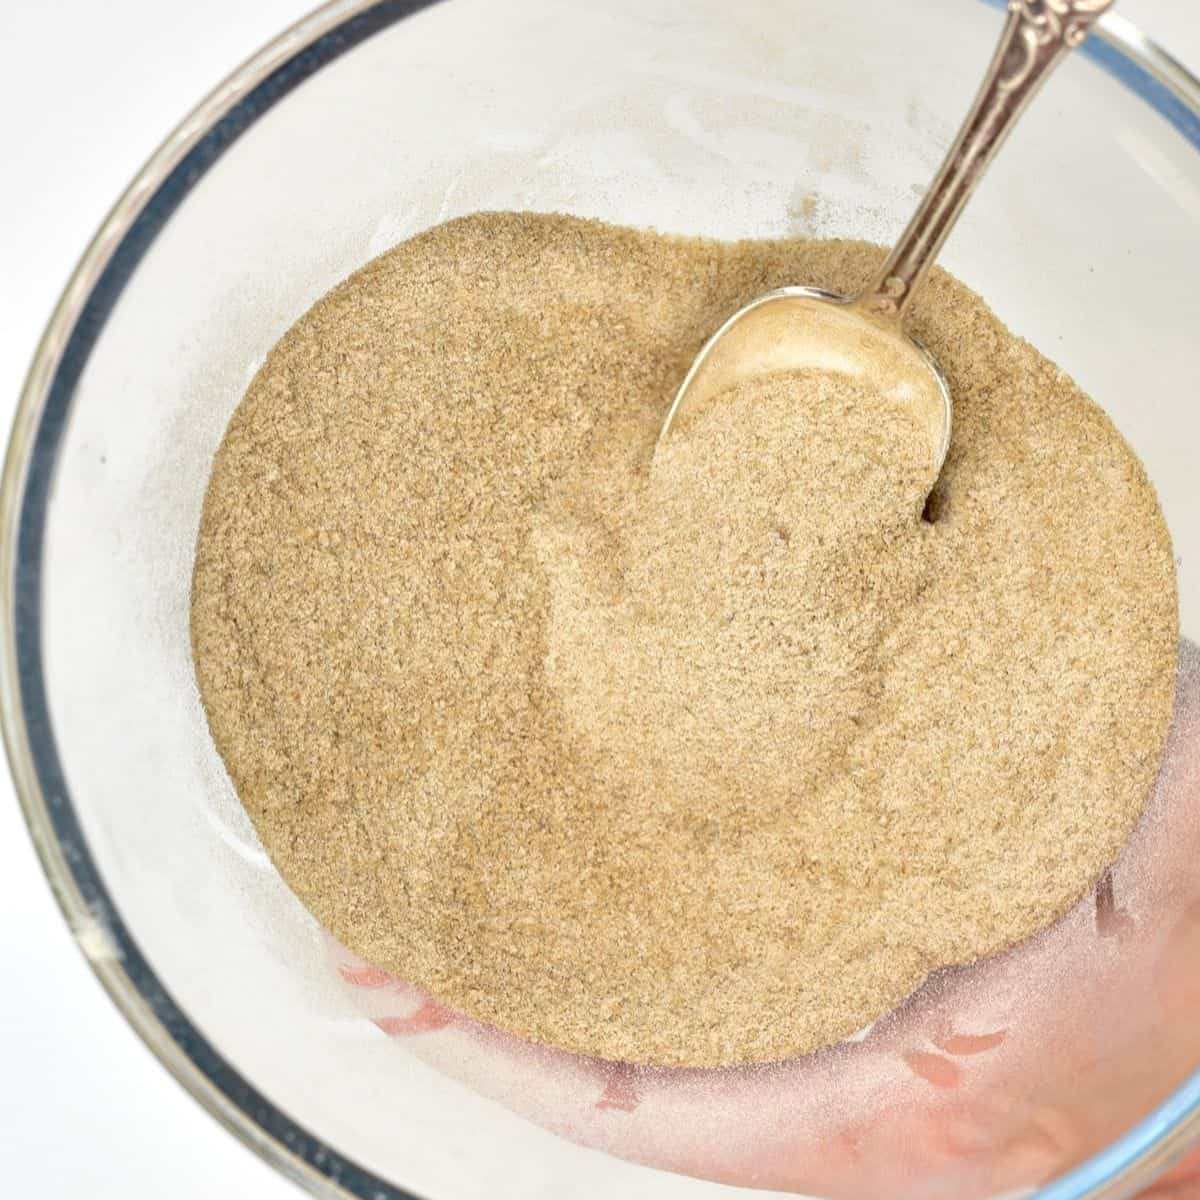
Grind into a powder, sieve it into a bowl, and re-grind the larger pieces – until you have a uniform powder. This is your vital wheat gluten flour.
Step 12
With the remaining starchy water, set it to one side – you can leave it in this container or transfer it to another, lidded, one and place it in the refrigerator to rest.As it sits, the starch will fall to the bottom of the container while the water remains on top.
Step 13
You can then drain the water off the top and use the liquid starchy water to help thicken sauces. Alternatively, allow the starch to dry first.To do this, drain the water from the top of the container and leave the remaining wet starch mixture behind. Leave this to one side, and it will dry out over time.
Step 14
Once dry, you can gather the starch and process it in the spice grinder (or blender) into a powder.
Step 15
Finally, sieve the powder, and then the starch is ready to be stored ready to use later for recipes like Liang pi noodles, etc.
Step 16
Store both the vital wheat gluten and wheat starch flour in clean, airtight containers in a cool, dry location for up to 6 months, for the best results.You may be able to store the VWG powder in the freezer to further extend its shelf life (up to 12 months likely), though it isn’t something I’ve tried.