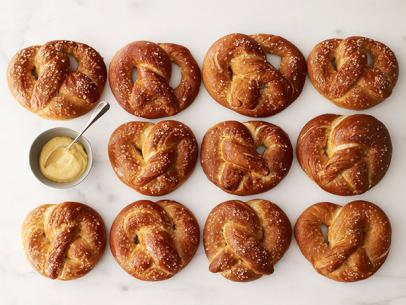
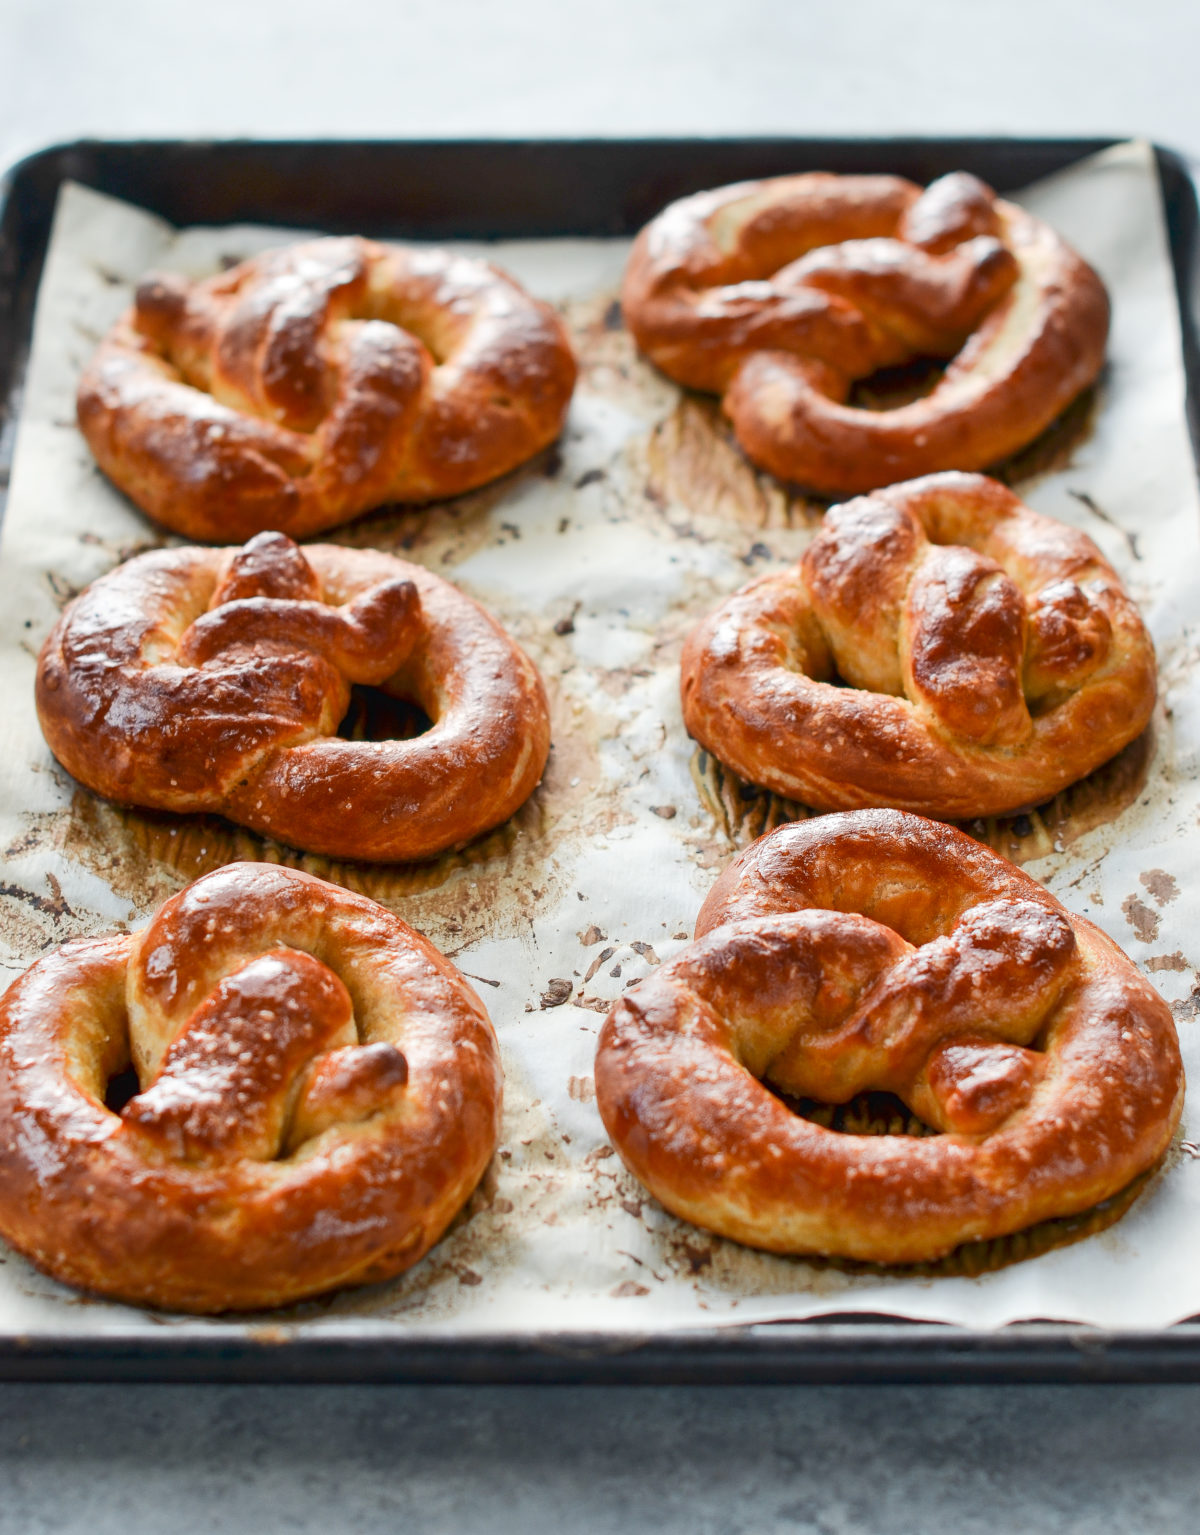
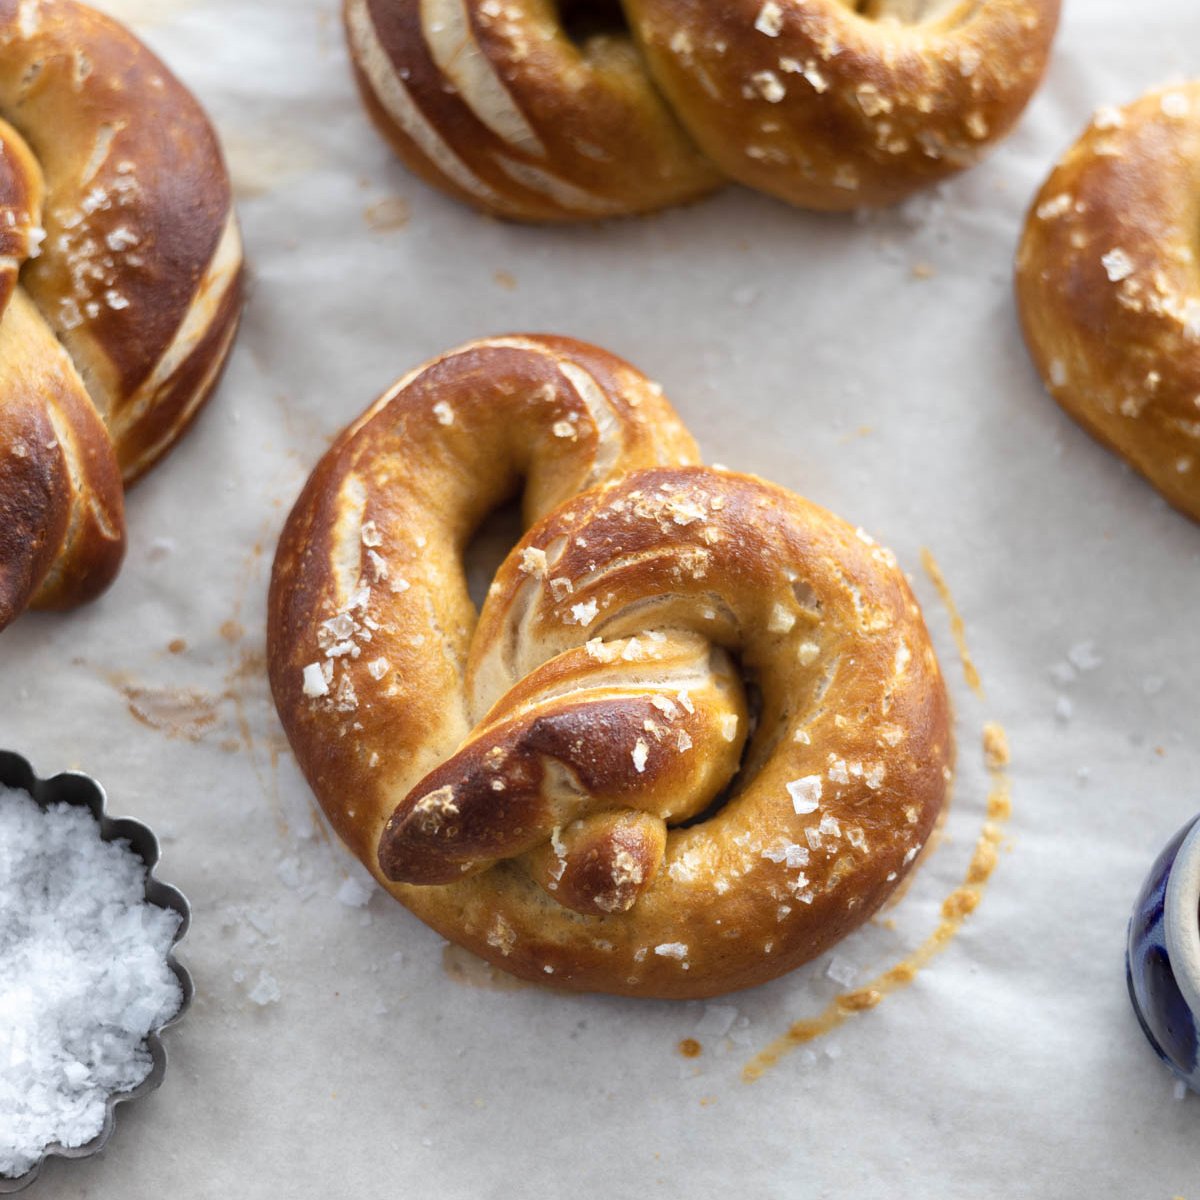
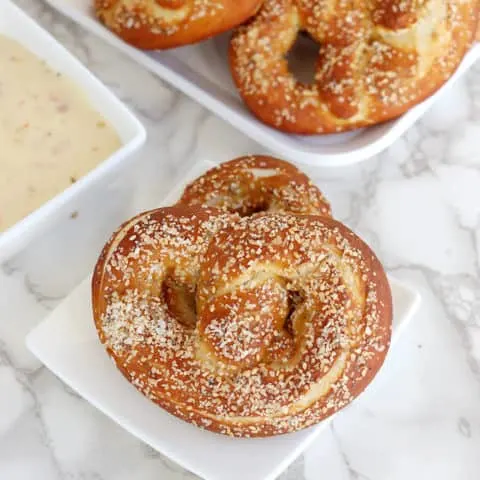
Jalapeño Cheddar Soft Pretzels
4.9
(12)
Your folders
Your folders
Prep Time: 35 minutes
Cook Time: 20 minutes
Total: 1 hours
Servings: 12
Author : Sally

Ingredients
Export 6 ingredients for grocery delivery
Instructions
Step 1
In a large bowl or in the bowl of a stand mixer, whisk the yeast into the warm water. Cover and allow to sit for 1 minute.
Step 2
Whisk in salt, garlic powder, sugar, and melted butter. Add 3 cups of flour, 1 cup (125g) at a time. Mix with a wooden spoon or silicone spatula, or use a dough hook attachment, until combined. Add 3/4 cup more flour and mix for 1 minute. If the dough is still sticky, add 1/4–1/2 cup more, as needed.
Step 3
Keep the dough in the mixer and beat for an additional 5 full minutes, or knead by hand on a lightly floured surface for 5 full minutes. (If you’re new to bread-baking, my How to Knead Dough video tutorial can help here.) If the dough becomes too sticky during the kneading process, sprinkle 1 teaspoon of flour at a time on the dough or on the work surface/in the bowl to make a soft, slightly tacky dough. Do not add more flour than you need because you do not want a dry dough. After kneading, the dough should still feel a little soft. Poke it with your finger—if it slowly bounces back, your dough is ready to rise. You can also do a “windowpane test” to see if your dough has been kneaded long enough: tear off a small (roughly golfball-size) piece of dough and gently stretch it out until it’s thin enough for light to pass through it. Hold it up to a window or light. Does light pass through the stretched dough without the dough tearing first? If so, your dough has been kneaded long enough and is ready to rise. If not, keep kneading until it passes the windowpane test.
Step 4
Shape the dough into a ball. Cover lightly with a clean kitchen towel and allow to rest for 10 minutes, or cover tightly and refrigerate for up to 1 day. To freeze, see freezing instructions in recipe Notes. (Meanwhile, I like to get the water + baking soda boiling as instructed in step 7.)
Step 5
Preheat oven to 400°F (204°C). Line 2 baking sheets with greased parchment paper or silicone baking mats. Silicone baking mats are highly recommended over parchment paper. Set aside.
Step 6
With a sharp knife, bench scraper, or pizza cutter, cut dough into 1/3-cup sections (about 75g each). Roll a piece of dough into a 20–22-inch rope. Form a circle with the dough by bringing the two ends together at the top of the circle. Twist the ends together. Bring the twisted ends back down towards yourself and press them down to form a pretzel shape.
Step 7
Bring baking soda and 9 cups of water to a boil in a large pot.
Step 8
Drop 1 or 2 pretzels into the boiling water for 20–30 seconds. Any longer than that and your pretzels will have a metallic taste. Using a slotted spatula, lift the pretzel out of the water and allow excess water to drip off. Place pretzel onto prepared baking sheet. Brush with melted butter. Place several jalapeño slices on each, pressing down lightly to get them to stick. Sprinkle each with coarse sea salt. Repeat with remaining pretzels. If desired, you can cover and refrigerate the boiled/unbaked pretzels for up to 24 hours before baking in step 9.
Step 9
Bake for 10 minutes, remove pretzels from the oven, and sprinkle 2–3 Tablespoons of shredded cheese on top of each. Return to the oven for 8–12 more minutes, until the pretzels are golden brown and the cheese is melted.
Step 10
Remove from the oven and serve warm.
Step 11
Cover and store leftover pretzels at room temperature for up to 1 day or in the refrigerator for up to 1 week. They lose a little softness over time. To reheat, microwave for a few seconds, or bake at 350°F (177°C) for 5 minutes.
Top similar recipes
Curated for youYour folders

 708 views
Jalapeno Cheddar Cheese Soft Pretze...
chefdehome.com
15 minutes
Your folders
 432 views
Soft Pretzels
realsimple.com
3.5
(98)
Your folders
 351 views
Soft Pretzels
foodnetwork.com
4.1
(8)
20 minutes
Your folders
 113 views
Soft Pretzels
fleischmannsyeast.com
Your folders
 192 views
Soft Pretzels
bettycrocker.com
4.5
(9)
Your folders
 429 views
Soft Pretzels
jocooks.com
4.6
(105)
30 minutes
Your folders
357 viewsSoft Pretzels
jocooks.com
Your folders
 350 views
Soft Pretzels
leitesculinaria.com
5.0
(4)
Your folders
 330 views
Soft Pretzels
onceuponachef.com
5.0
(116)
10 minutes
Your folders
 344 views
Soft Pretzels
salon.com
40 minutes
Your folders
273 viewsSoft Pretzels
foodnetwork.com
5.0
(3)
30 minutes
Your folders
 287 views
Soft Beer Pretzels
tasteofhome.com
4.7
(24)
10 minutes
Your folders
 535 views
Homemade Soft Pretzels
foodnetwork.com
4.8
(716)
25 minutes
Your folders
 586 views
Homemade Soft Pretzels
altonbrown.com
4.5
(18)
Your folders
 206 views
Vegan Soft Pretzels
veganhuggs.com
5.0
(4)
14 minutes
Your folders
 169 views
Soft Homemade Pretzels
anitalianinmykitchen.com
5.0
(2)
15 minutes
Your folders
 473 views
Basic Soft Pretzels
pinchofyum.com
5.0
(19)
15 minutes
Your folders
 456 views
Sourdough Soft Pretzels
goodthingsbaking.com
Your folders
 475 views
Sourdough Soft Pretzels
baking-sense.com
4.5
(420)
14 minutes