Make a Mosaic Pet Portrait with Dishes
Your folders
Your folders

Ingredients
Export 5 ingredients for grocery delivery
Instructions
Step 1
Collect supplies to plan size of image
Step 2
Choose image with good contrasts and shapes
Step 3
Transfer image onto substrate (see post for methods)
Step 4
Break dishes with a hammer
Step 5
Cut smaller shards of dishes
Step 6
Mix Thinset Grout according to manufacturers instructions
Step 7
Place thinset in a plastic bag
Step 8
Cut corner of bag and squeeze thinset onto small areas
Step 9
Arrange shards of china and push into the grout to about 1/3 – 1/2 depth
Step 10
Work across entire mosaic keeping in mind the direction of the fur
Step 11
Let grout cure for suggested time
Step 12
Mix thinset for grout stage
Step 13
Spread grout across entire piece with the spatula or gloved hands
Step 14
Let sit for about 20 minutes
Step 15
With damp sponge wipe excess grout and rinse in a bucket of water
Step 16
Buff off grout haze with folded soft rag
Step 17
(optional) Adjust grout colour where needed with acrylic paint wash, let dry
Step 18
Apply grout sealer if desired
Top similar recipes
Curated for youYour folders

 152 views
How to Make Mosaic Substrates
madebybarb.com
Your folders
 48 views
Mosaic Sushi
justonecookbook.com
4.9
(8)
Your folders
 302 views
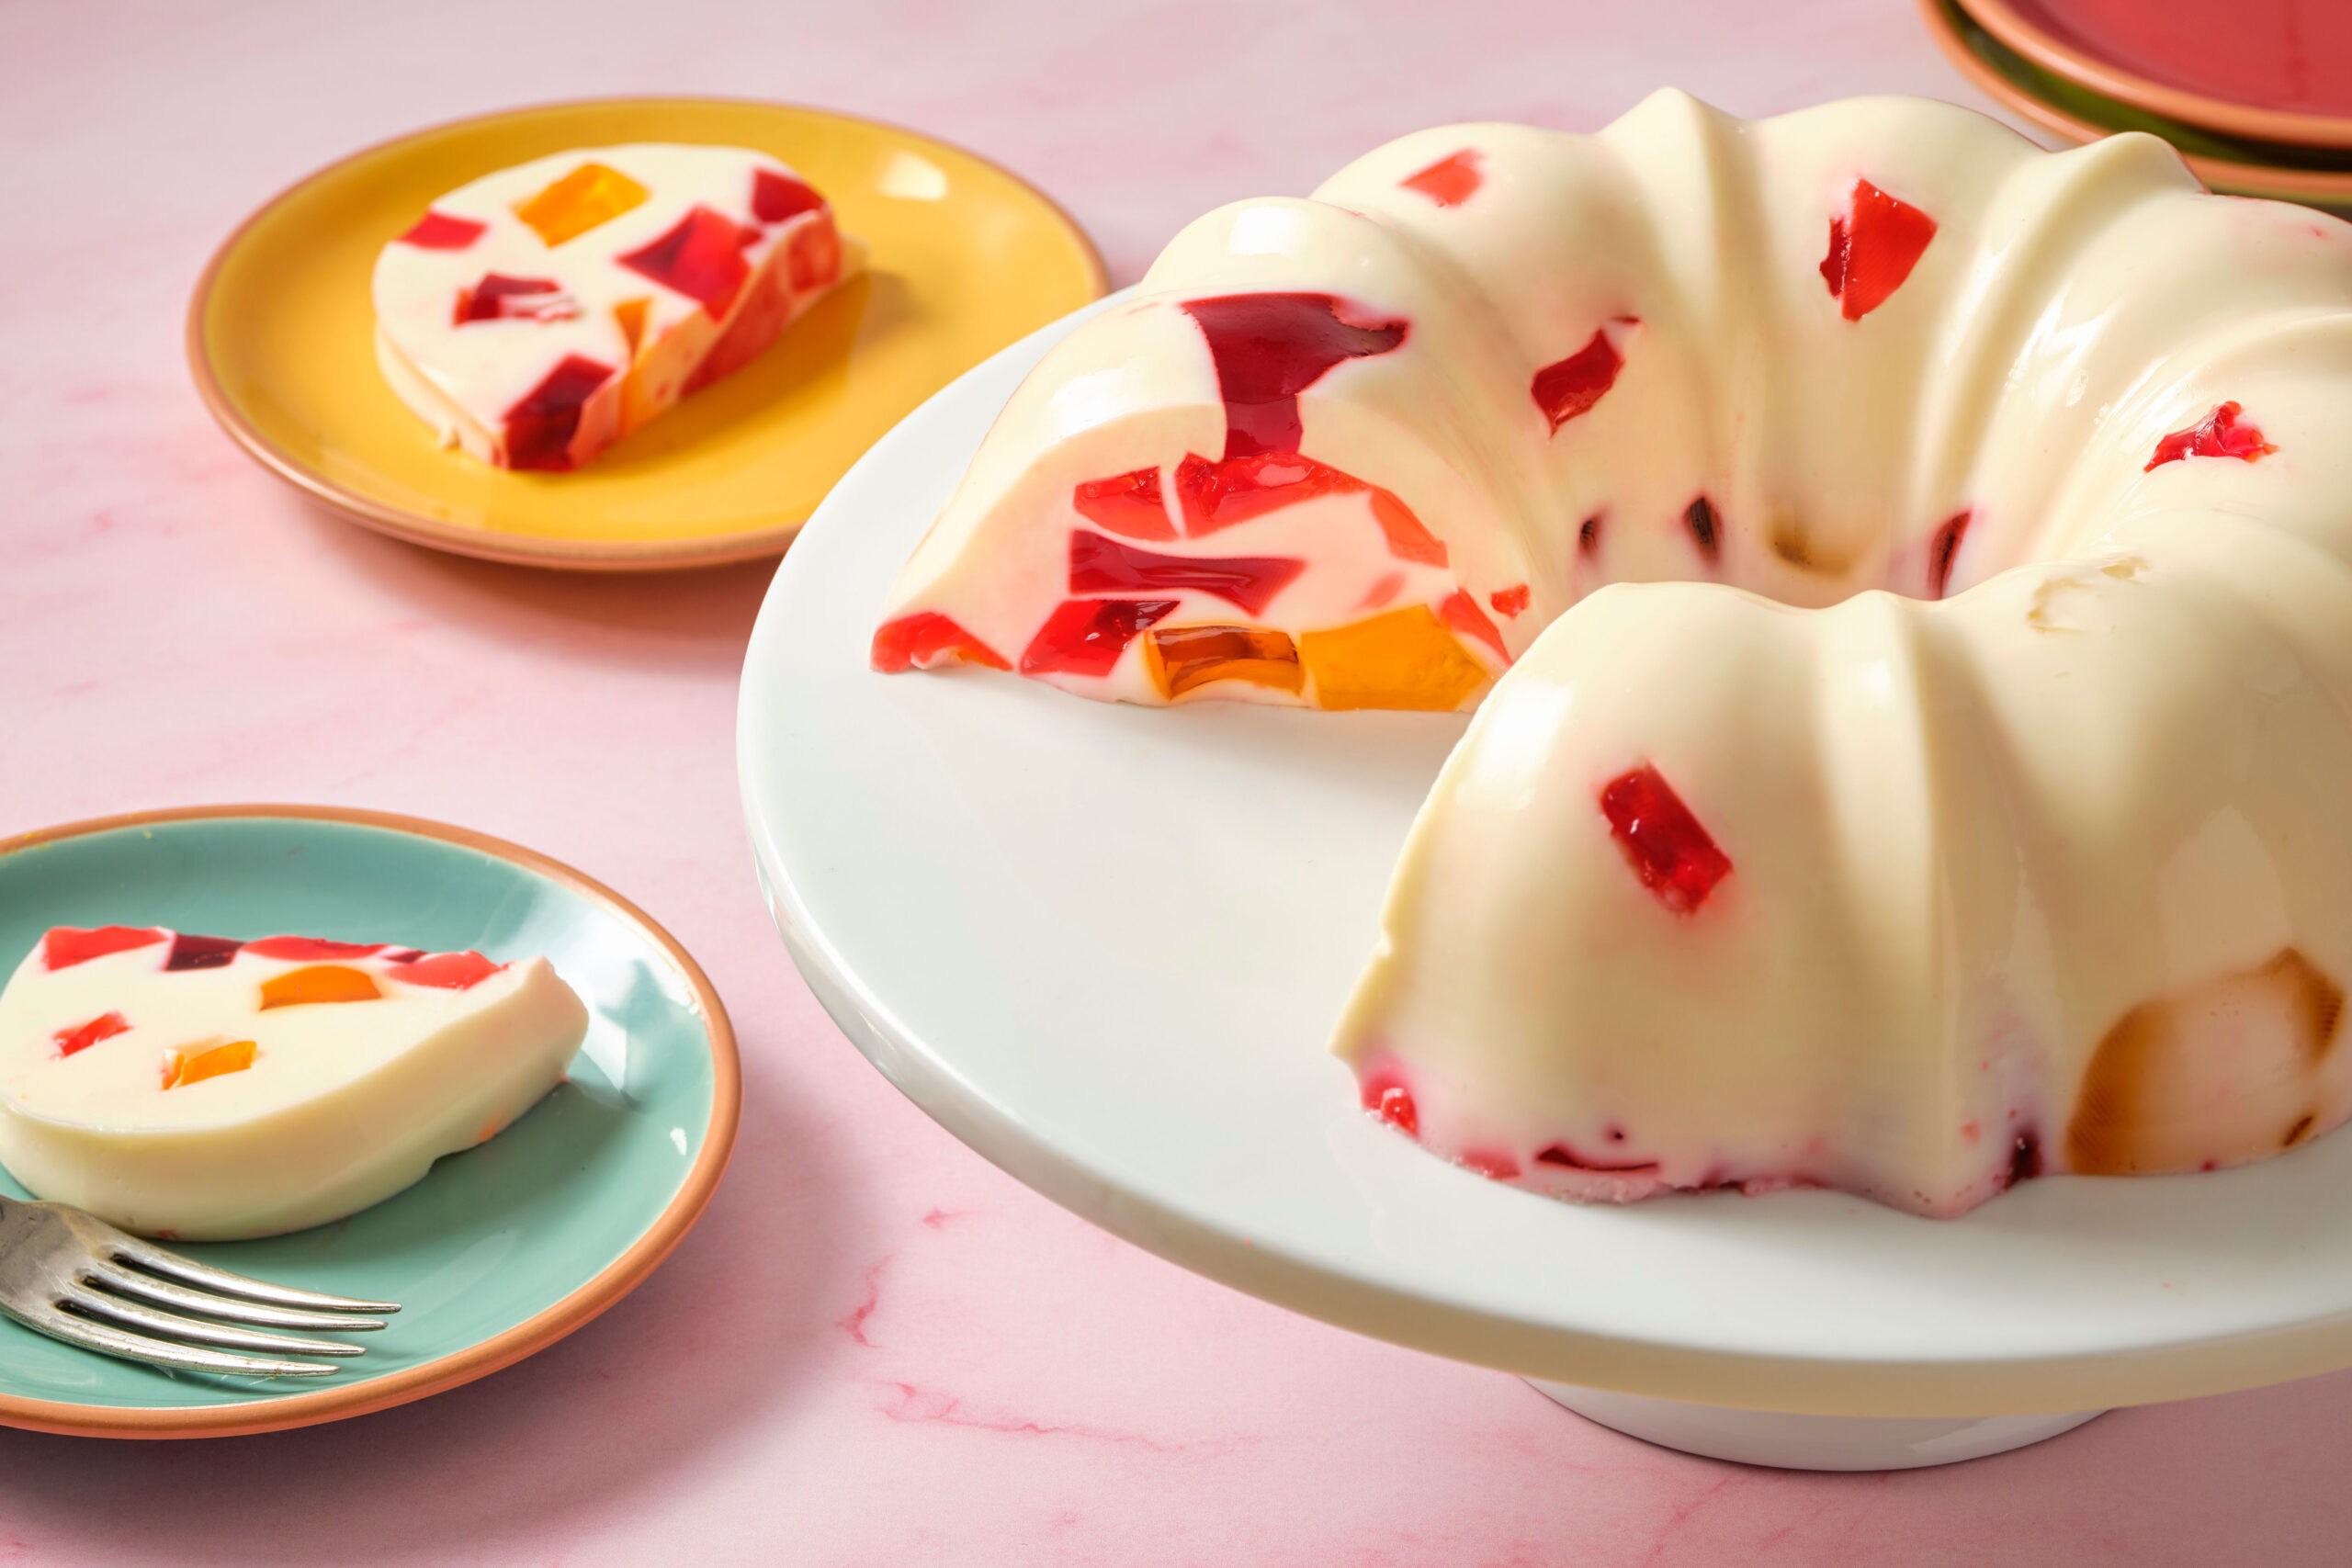
Mosaic Jell-O
patijinich.com
4.5
(6)
20 minutes
Your folders
 210 views
Turkish Mosaic Cake Recipe
turkeysforlife.com
5 minutes
Your folders
 212 views
Mosaic Glazed Sugar Cookies
myfoodandfamily.com
42 minutes
Your folders
 156 views
Pet Cookies
allrecipes.com
4.4
(83)
Your folders
 37 views
How to Make a DIY Scrap Wood Home S...
thecountrychiccottage.net
Your folders
 237 views
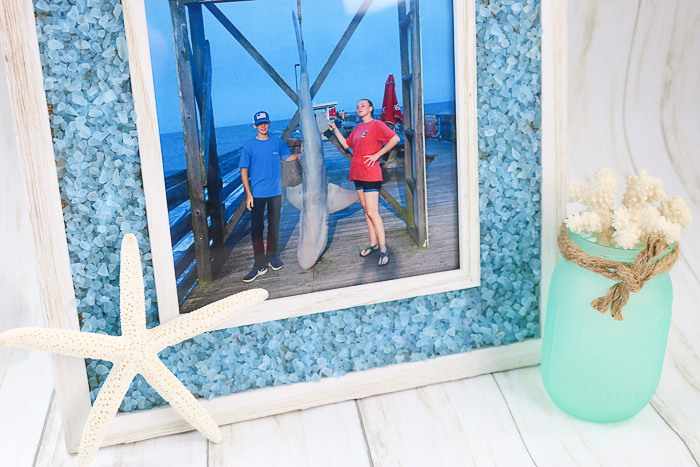
Broken Glass Mosaic Frame with Mod ...
thecountrychiccottage.net
Your folders
 519 views
How To Make a Slushie With a Blende...
busylittlekiddies.com
5.0
(7)
Your folders
 226 views
Make Ice Cream with a Machine
wikihow.com
66.0
(38)
Your folders
 82 views
OriginalChampion Pet Foods footer l...
orijenpetfoods.com
Your folders
 102 views
Surefeed Microchip Pet Feeder
animates.co.nz
Your folders
 77 views
Make a Marshmallow Snowman
kidsactivitiesblog.com
4.3
(10)
20 minutes
Your folders
/GettyImages-1134945696-ccc0598823374666a128570e6c327070.jpg) 103 views
103 viewsMake Szechuan Peppercorn Oil for St...
thespruceeats.com
Your folders
 113 views
Simply Pet Red Devil Wing Harness D...
petsupermarket.com
Your folders
 192 views
How to Make A Cushion CoverHow to M...
blog.treasurie.com
Your folders
 54 views
How to Make a Kid’s ApronHow to Mak...
fleecefun.com
Your folders
 142 views
How To Make A Corner BookmarkHow To...
thecountrychiccottage.net
Your folders
 49 views
Side Dishes To Serve With Bratwurst
savoringthegood.com