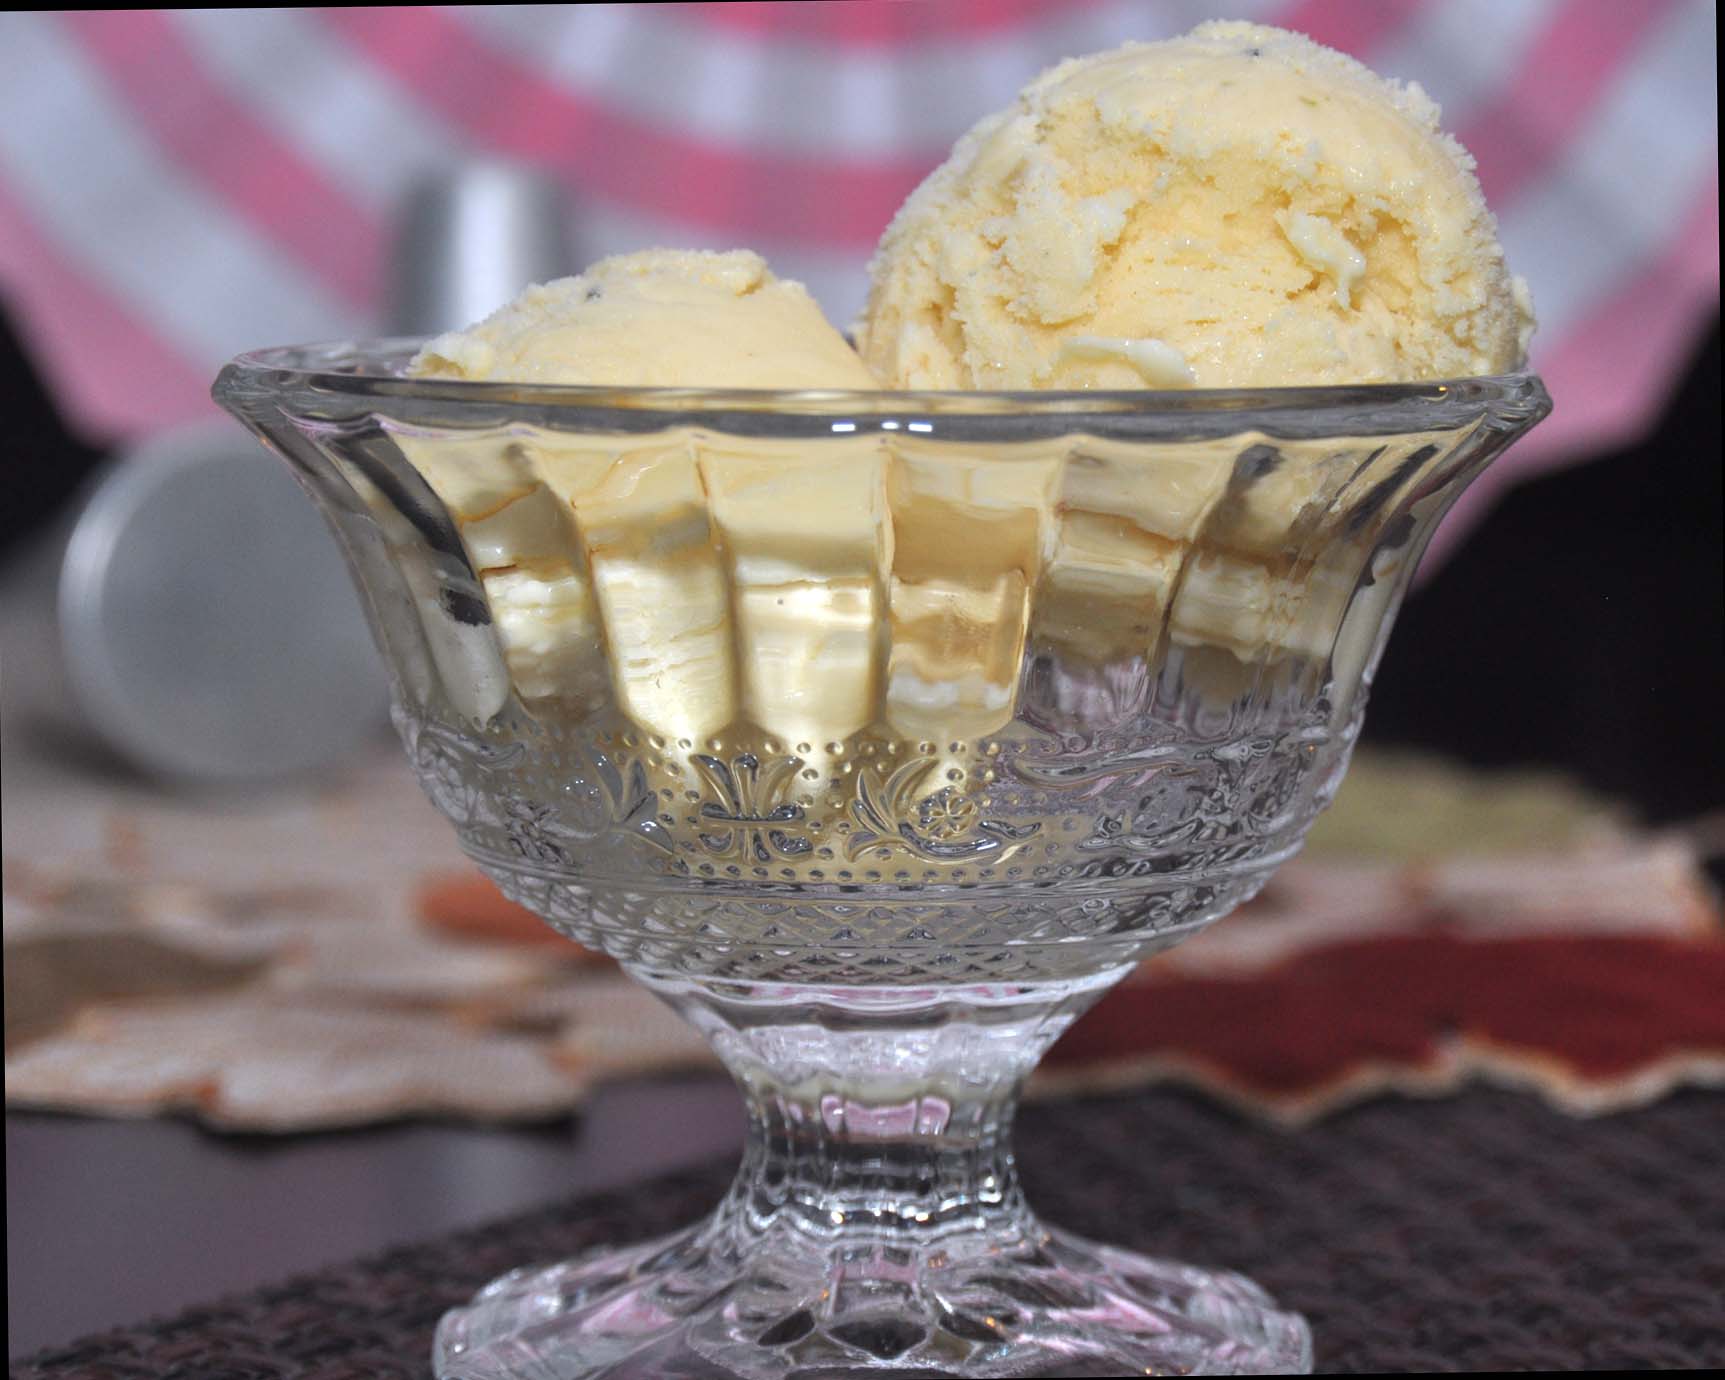
Mexican Flan Ice Cream
5.0
(2)
Your folders
Your folders
Servings: 1
Cost: $44.50 /serving
Author : onlinepastrychef

Ingredients
Export 6 ingredients for grocery delivery
Instructions
Step 1
Combine all the ingredients except for the vanilla in a medium, heavy-bottomed sauce pan.
Step 2
*You can leave out the corn starch if you want to. You will need to make sure that you remove the custard from the heat before it comes to a boil though. The starch buys you some time if it does boil. Using the cornstarch will also give you an extremely thick base. You may have to check your ice cream maker and stir with a spatula a few times during churning to make sure it freezes evenly.
Step 3
Cook, whisking constantly, over medium to medium-high heat, until the mixture thickens. If not using cornstarch, shoot for 185F. If using corn starch, allow to boil (still whisking constantly) for about 10 seconds. Evaporated milk tends to stick and scald very easily since it has a relatively low water constant. You really will need to whisk constantly and regulate your heat if you feel it sticking on the bottom of the pan. I normally cook all my custards over high heat, but even I dialed it back to a dull roar to be on the safe side.
Step 4
Immediately strain through a fine mesh strainer into a bowl with the vanilla. You will need to push the thick custard through with a silicone spatula.
Step 5
Stir well to incorporate the vanilla.
Step 6
Chill in an ice bath or cover with plastic wrap (press it directly on the surface of the custard) and put in the freezer to chill quickly or refrigerate for 8-12 hours. Make sure your base is very cold, no more than 40F, before churning.
Step 7
Line a rimmed baking sheet with Silpat or parchment that you've lightly coated with pan spray. (Silpat is preferred here)
Step 8
Place the baking sheet on two trivets or a folded towel to protect your counter.
Step 9
In a small, heavy-bottomed sauce pan, heat the sugar and water over medium heat. Stir to dissolve the sugar, and bring to a boil.
Step 10
Cover the pan with a lid and let boil for a minute or two to wash down any sugar crystals that might be clinging to the side of the pan.
Step 11
Remove the lid and allow to boil until the caramel starts to turn golden. Swirl the pan gently to make sure the sugar caramelizes evenly.
Step 12
Continue to heat until the sugar is a dark amber color and has started to smoke just a bit. I know mine is ready when it starts to sting my eyes. Make sure to take it this dark. If you don't, it will be too sweet and not provide a slight bitterness in contrast to the sweet, creamy flan base.
Step 13
Immediately pour the caramel onto the prepared pan.
Step 14
Holding the pan with a towel or oven mitts, tilt the pan to allow the caramel to flow into a thin sheet. You have about 1-2 minutes to get it as thin as you can by tilting before it becomes too hard to flow.
Step 15
Allow to cool until hardened.
Step 16
Churn the ice cream base according to manufacturer's instructions. Especially if you used corn starch in your base, you'll want to keep an eye on it and make sure the base is being churned evenly. I stirred every couple of minutes with a spatula.
Step 17
While the ice cream is churning, break up the caramelized sugar with a rolling pin or whatever hard thing is handy. Break it into fairly small pieces, no more than 1/2" or so.
Step 18
Once the ice cream is at soft-serve consistency, stir in the caramel "shards."
Step 19
Pack into a container and press plastic wrap directly on the surface of the ice cream. Put a lid on your container (if it has one).
Step 20
Freeze for several hours or overnight before scooping and serving.
Step 21
Enjoy in small portions--this is rich stuff!
Step 22
Once the base is frozen into the consistency of soft serve
Top similar recipes
Curated for youYour folders

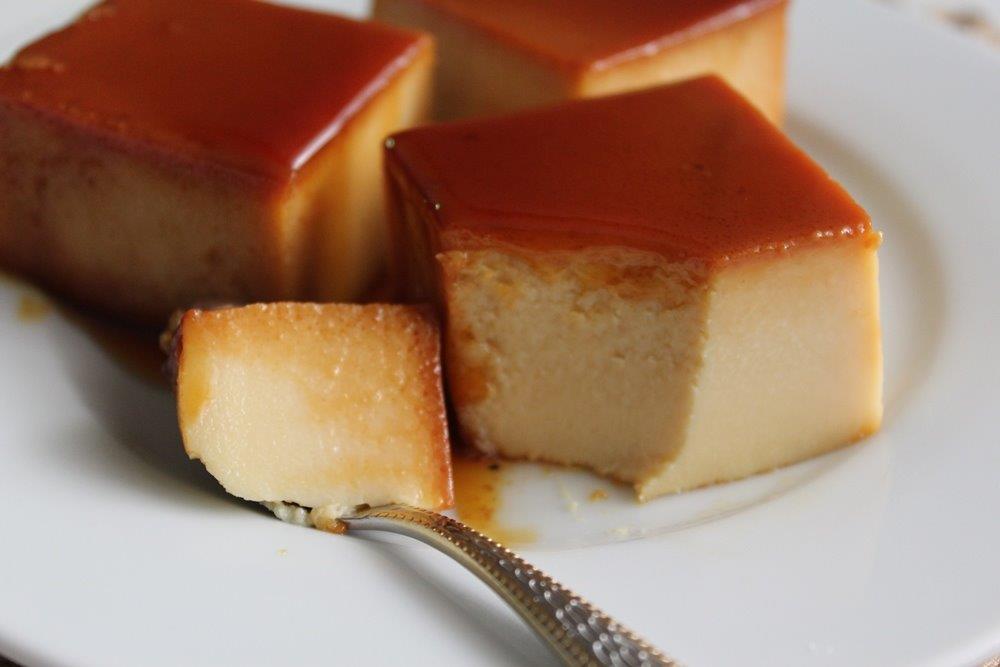
 672 views
Vanilla leche flan ice cream
casaveneracion.com
50 minutes
Your folders
 138 views
Flan | Flan Recipe | Mexican Flan R...
yummytummyaarthi.com
4.4
(24)
70 minutes
Your folders
 102 views
Flan | Flan Recipe | Mexican Flan R...
yummytummyaarthi.com
Your folders
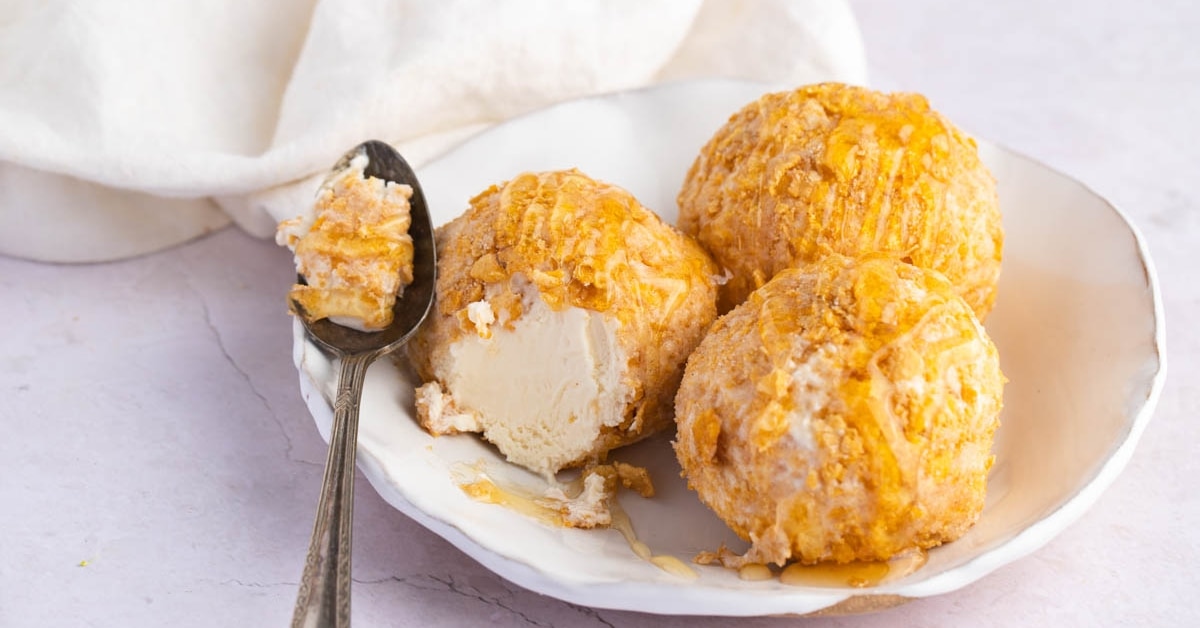
 243 views
Mexican Fried Ice Cream
momfoodie.com
5.0
(3)
5 minutes
Your folders
 184 views
Mexican Ice Cream (Easy Recipe)
insanelygoodrecipes.com
5.0
(1)
Your folders
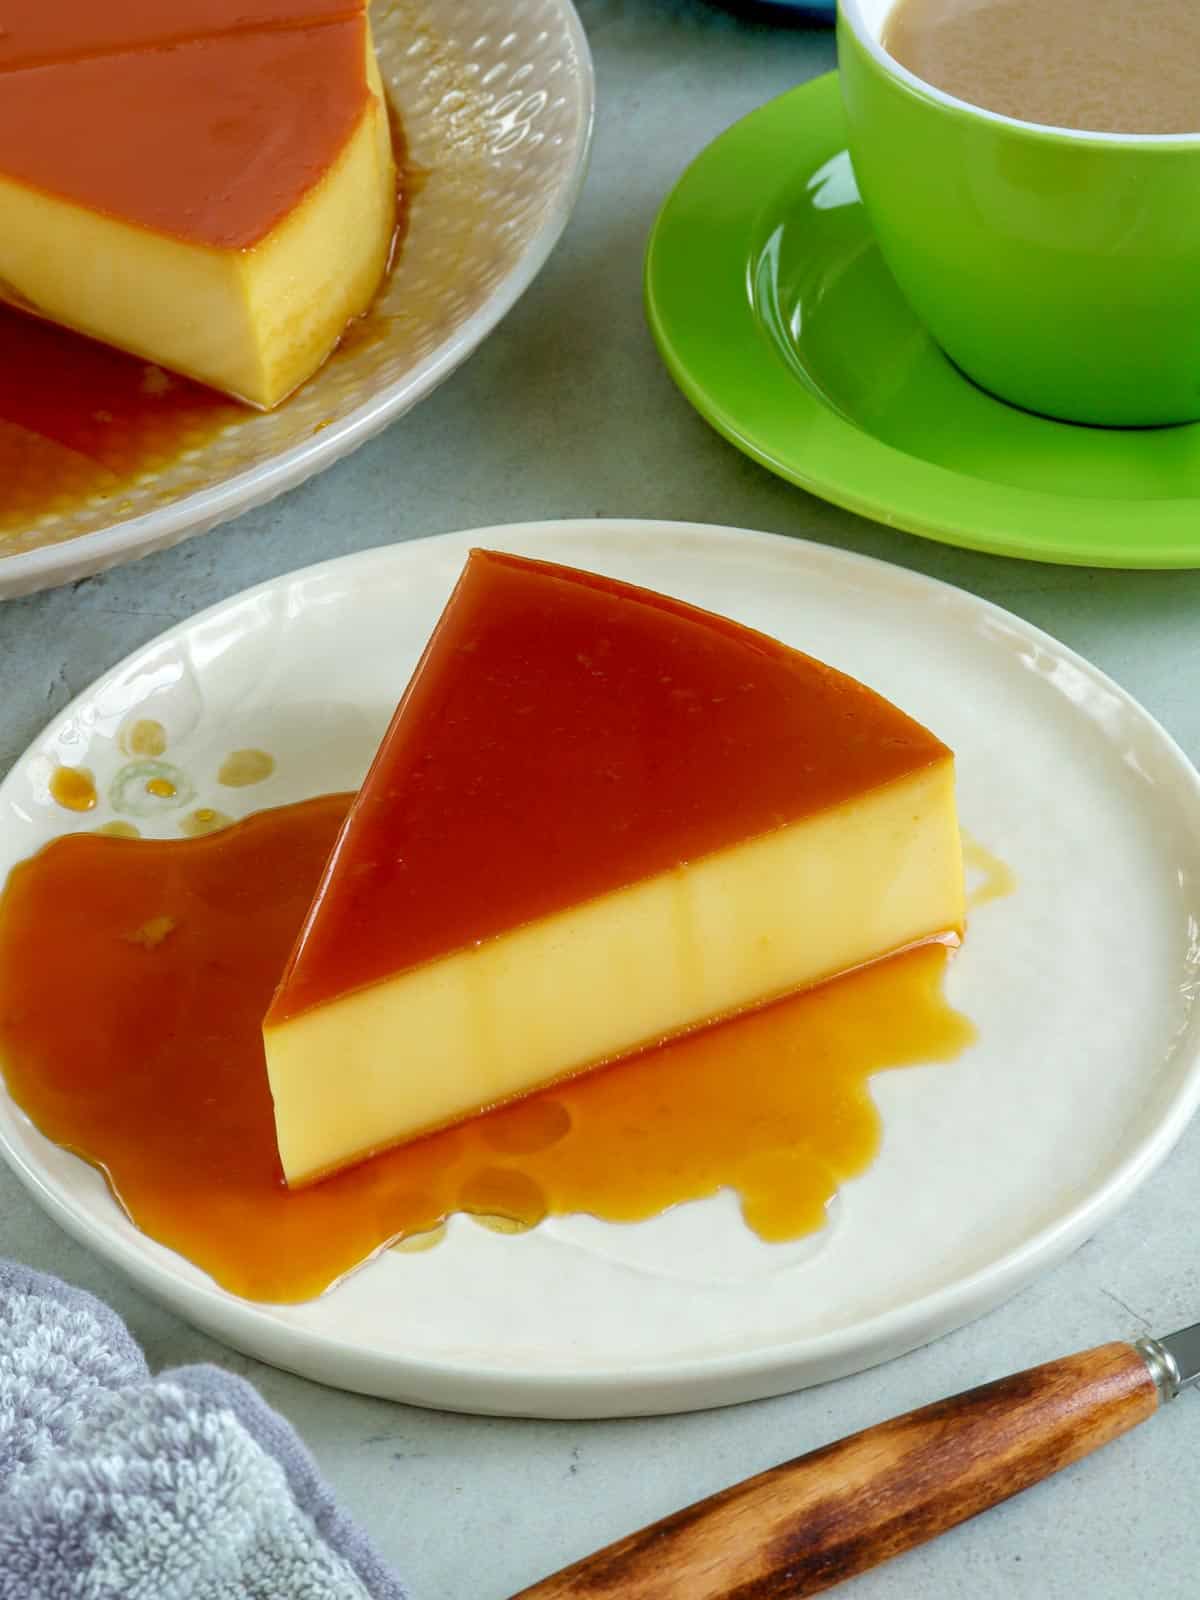
 463 views
CREAM CHEESE FLAN
highlandsranchfoodie.com
5.0
(1)
54 minutes
Your folders
 190 views
Cream Cheese Flan
food.com
5.0
(59)
1 hours, 20 minutes
Your folders
 130 views
Cream Cheese Flan
kawalingpinoy.com
4.2
(54)
60 minutes
Your folders
71 viewsCream Cheese Flan
kawalingpinoy.com
Your folders
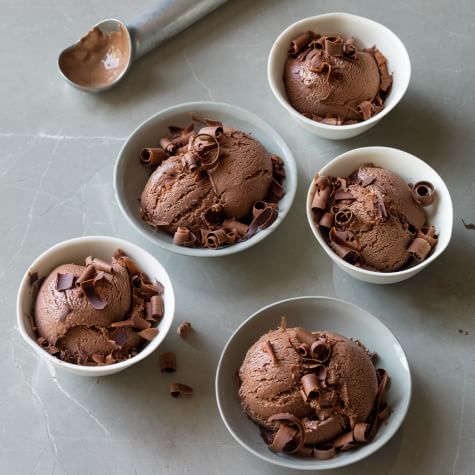 190 views
Sous Vide Mexican Chocolate Ice Cre...
williams-sonoma.com
45 minutes
Your folders
 318 views
Blueberry Sour Cream Flan
rockrecipes.com
4.7
(9)
1 hours
Your folders
 233 views
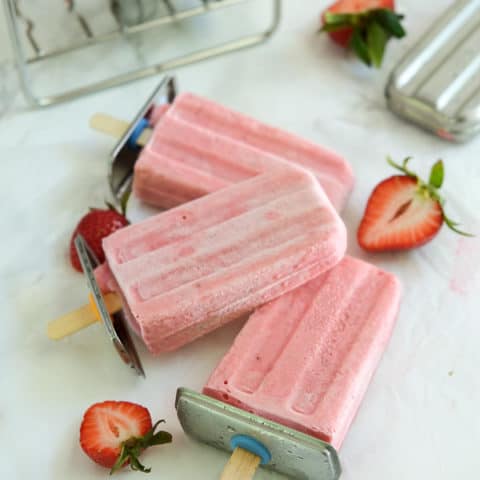
Strawberry Cream Paletas (Healthy M...
internationaldessertsblog.com
4.5
(48)
Your folders
 297 views
Ninja Creami Mexican Hot Chocolate ...
theicecreamconfectionals.com
5.0
(2)
5 minutes
Your folders
 316 views
Ice Cream
prettypetunias.com
Your folders
 392 views
Indian Ice Cream (Ice Cream Maker)
culinaryshades.com
4.9
(20)
35 minutes
Your folders
92 viewsIndian Ice Cream (Ice Cream Maker)
culinaryshades.com
Your folders
 231 views
Vegan Ice Cream | Oatmilk Ice Cream
culinaryshades.com
5.0
(4)
25 minutes
Your folders
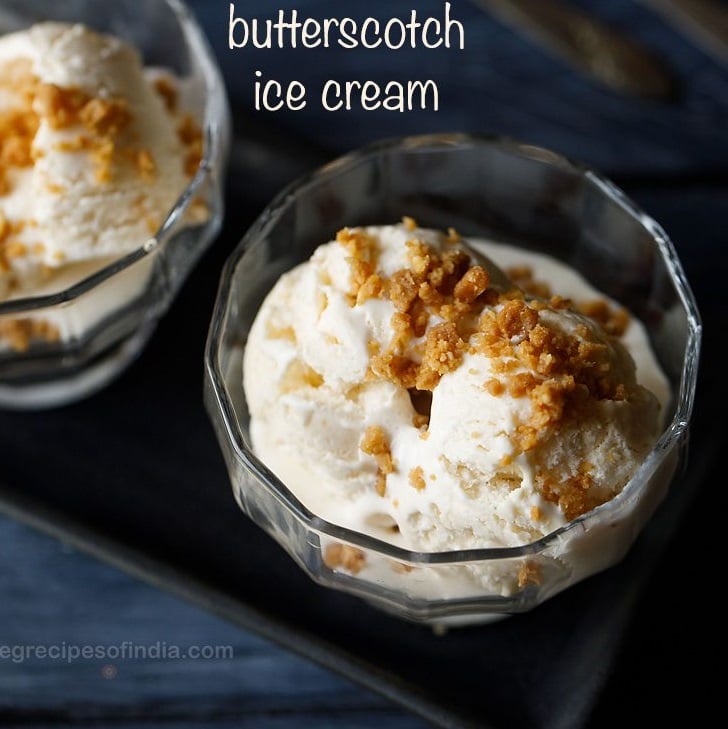 323 views
Butterscotch Ice Cream | Praline Ic...
vegrecipesofindia.com
5.0
(11)
10 minutes
Your folders
 524 views
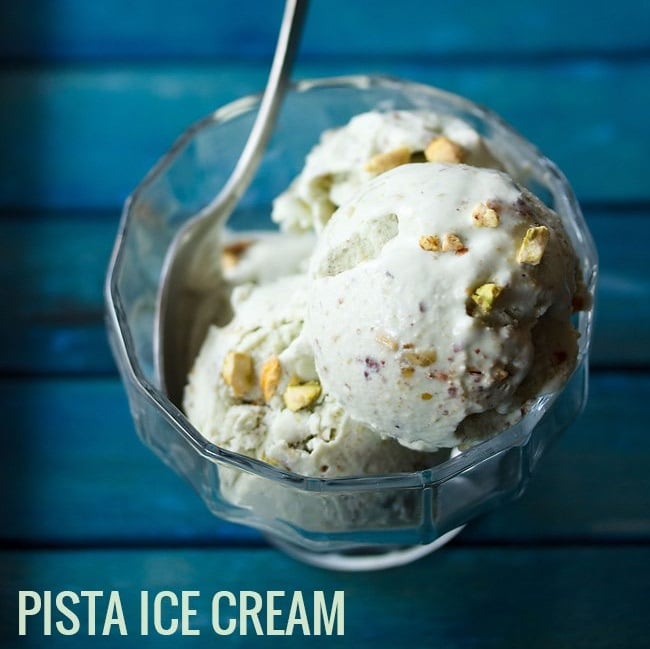
Pistachio Ice Cream (Pista Ice Crea...
vegrecipesofindia.com
5.0
(6)