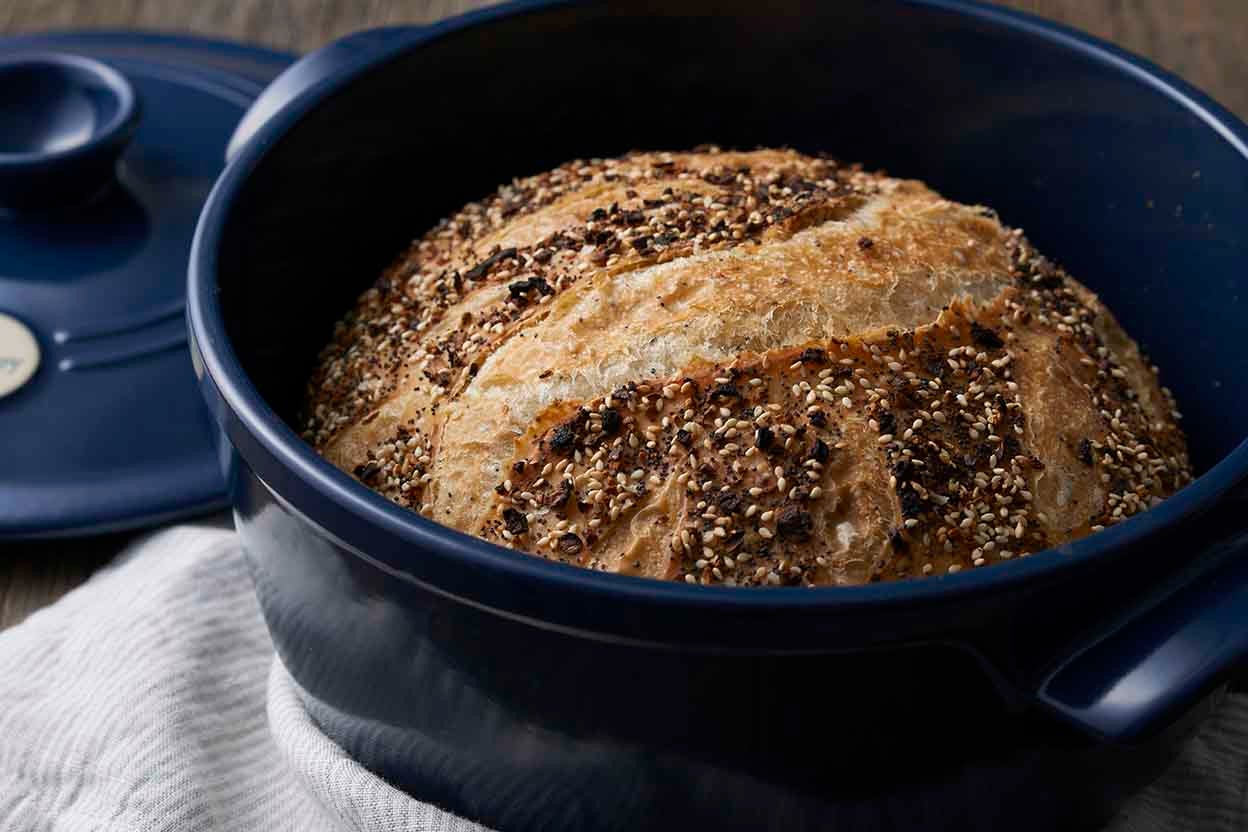
No-Knead Everything Bagel Bread
5.0
(5)
Your folders
Your folders
Author : Geoff Marshall

Ingredients
Export 3 ingredients for grocery delivery
Instructions
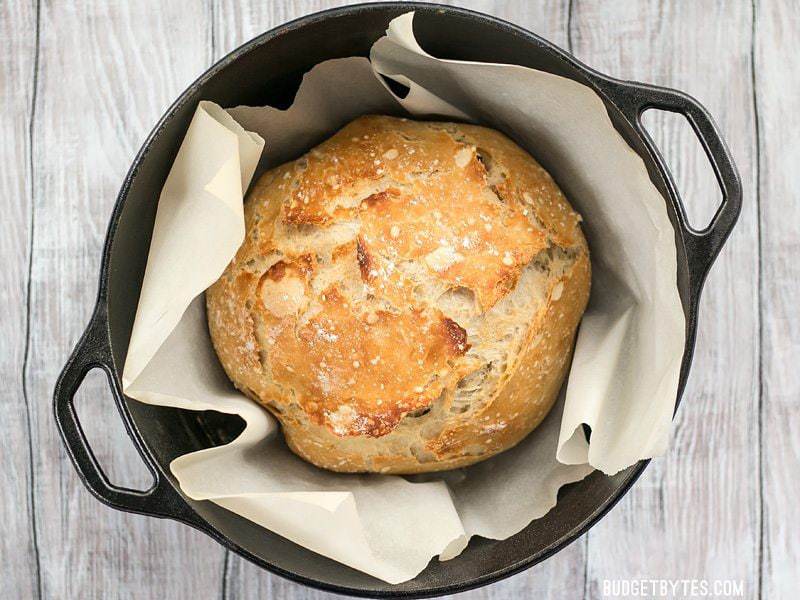
Step One: Forming the DoughCombine the dry ingredients in a mixing bowl. Whisk to evenly distribute the yeast, salt, and optional spices throughout the flour.Form a well in the middle of the flour and add water. Using a clean hand or spatula, combine ingredients until they are formed together. Remember not to knead, as you just want a rough ball of dough.Step Two: Proofing the DoughCover the mixing bowl tightly with plastic wrap. We like to use plastic wrap and a dinner plate as a lid for the bowl to ensure a better seal.Leave the covered bowl out at room temperature for 8-12 hours. (The yeast is happiest around 70F.) After 8-12 hours, the dough will have risen sufficiently for baking. You can also let it rise for a little longer. We let our dough rise for roughly 22 hours and had excellent results.Step Three: Shaping the DoughPrepare a floured surface. A large cutting board or sanitized kitchen counter works perfectly. Tear a piece of parchment paper and keep it next to your workspace.Gently flour the surface of the dough in the mixing bowl. Using your fingers, carefully and quickly pull the dough away from the walls of the bowl to free it loose onto your workspace. (You don’t want to handle the dough too much as it will be sticky.) With floured hands, gently fold the dough together at four opposing points.Pinch your folds together and then flip the dough over so it is sitting on the sealed seam you just created.Gently spin and form the dough into a round or oval shape depending on the style of your dutch oven. Carefully lift the formed dough and place it onto your piece of parchment paper.Step Four: Final RiseCoat the top of the dough with a generous dusting of flour so it does not dry out or stick to the towel. Cover the dough with the kitchen towel. (You can even rub some flour into the clean towel to prevent sticking.) Make sure the towel is loose, but flush with the dough to prevent it from drying out as it rises one last time.While the dough rises, place your Dutch oven on the middle-to-lower rack of your oven, and preheat to 450F. The dough will need another hour to rise and the Dutch oven will need at least an hour to properly preheat inside and out.Step Five: Decorating and Baking Your BreadHere comes the fun part! Once an hour has passed, use a clean razor blade or very sharp knife to create a few slashes on the surface of the dough. These slashes allow the bread to expand evenly while baking. They are also a chance to let your artistic talents shine. One slash down the middle will suffice, but where is the fun in that?While wearing oven mitts, carefully remove the Dutch oven from the preheated oven. Place the hot Dutch oven on a stovetop burner or trivet. Remove the lid and place it on another heat-tolerant area. Gently lift the parchment paper with the dough and place it into the Dutch oven. Return the hot lid on top and place it back in the oven.Bake bread with the lid on for 20 minutes. Remove the lid and bake the bread for another 15-20 minutes. (Removing the lid allows the hot air to form that beautiful, rustic crust.) The bread will be thoroughly cooked when the center of the loaf has an internal temperature of 210F.Step Six: Cooling and Resting the DoughLet the dough cool and rest for roughly an hour on an elevated cooling rack so air can flow around the entire loaf. This step is important so you can achieve that perfectly crunchy crust, and deliciously springy center. Once the dough has cooled to about 90 degrees, it will be perfect to eat.
Top similar recipes
Curated for youYour folders
 280 views
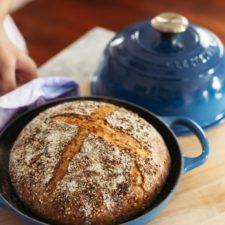
No-Knead Everything Bread
kingarthurbaking.com
4.7
(83)
1 hours
Your folders
 269 views
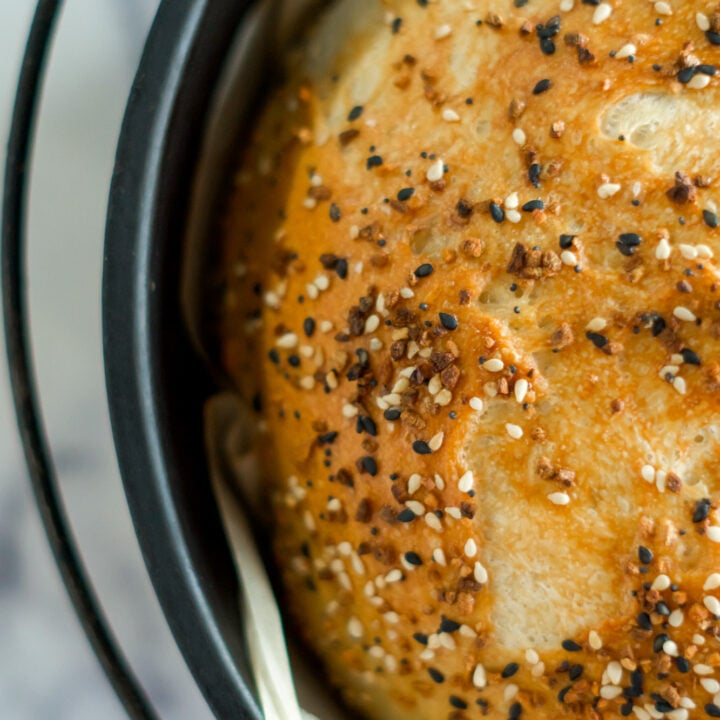
Everything Bagel Bread
cravethegood.com
4.3
(9)
45 minutes
Your folders
 82 views
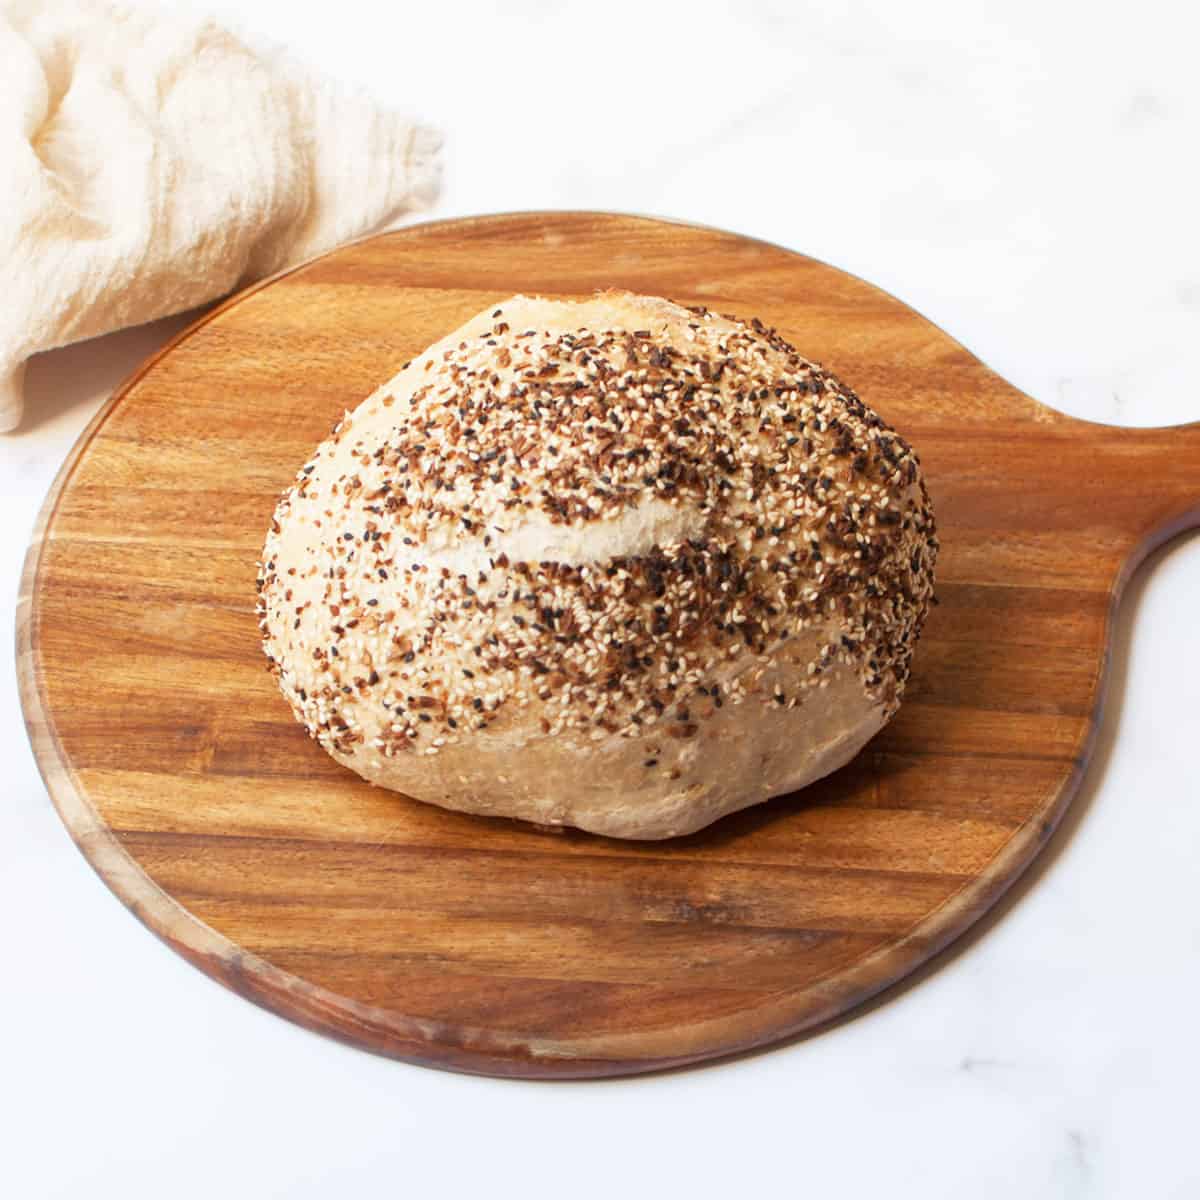
Everything Bagel Bread
tasteofhome.com
4.9
(93)
25 minutes
Your folders
 51 views
No Knead Focaccia Recipe with Every...
thesubversivetable.com
5.0
(1)
24 minutes
Your folders
 183 views
Easy No-Knead Everything Rye Bread
joythebaker.com
4.8
(10)
Your folders
 388 views
Keto Everything Bagel Bread
alldayidreamaboutfood.com
5.0
(5)
30 minutes
Your folders
 146 views
Everything Bagel Sourdough Bread
cravethegood.com
5.0
(3)
45 minutes
Your folders
 163 views
Everything Bagel Sourdough Bread
twopinkpeonies.com
5.0
(34)
40 minutes
Your folders
 66 views
Everything Bagel Sourdough Bread
twopinkpeonies.com
Your folders
 329 views
Everything Bagel Pull Apart Bread
sallysbakingaddiction.com
5.0
(12)
45 minutes
Your folders
 319 views
Everything Bagel BRIOCHE Bread RECI...
thesuburbansoapbox.com
4.8
(5)
60 minutes
Your folders
 1051 views
No-Knead Bread
cooking.nytimes.com
5.0
(12.7k)
Your folders
 817 views
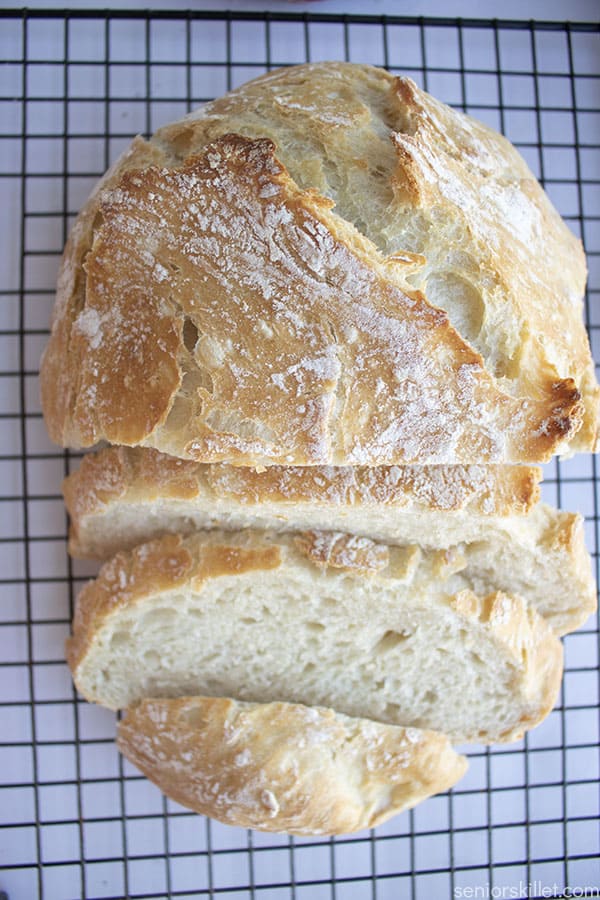
No Knead Bread
seniorskillet.com
40 minutes
Your folders
 599 views
No-Knead Bread
loveandlemons.com
4.9
(13)
45 minutes
Your folders
 897 views
No Knead Bread
tastesbetterfromscratch.com
5.0
(28)
75 minutes
Your folders
 882 views
No Knead Bread
jocooks.com
4.6
(1.4k)
45 minutes
Your folders
 421 views
No Knead Bread
bluejeanchef.com
4.6
(12)
1380 minutes
Your folders
 358 views
No-Knead Bread
budgetbytes.com
4.9
(44)
45 minutes
Your folders
 506 views
No Knead Bread
savorynothings.com
4.7
(17)
120 minutes