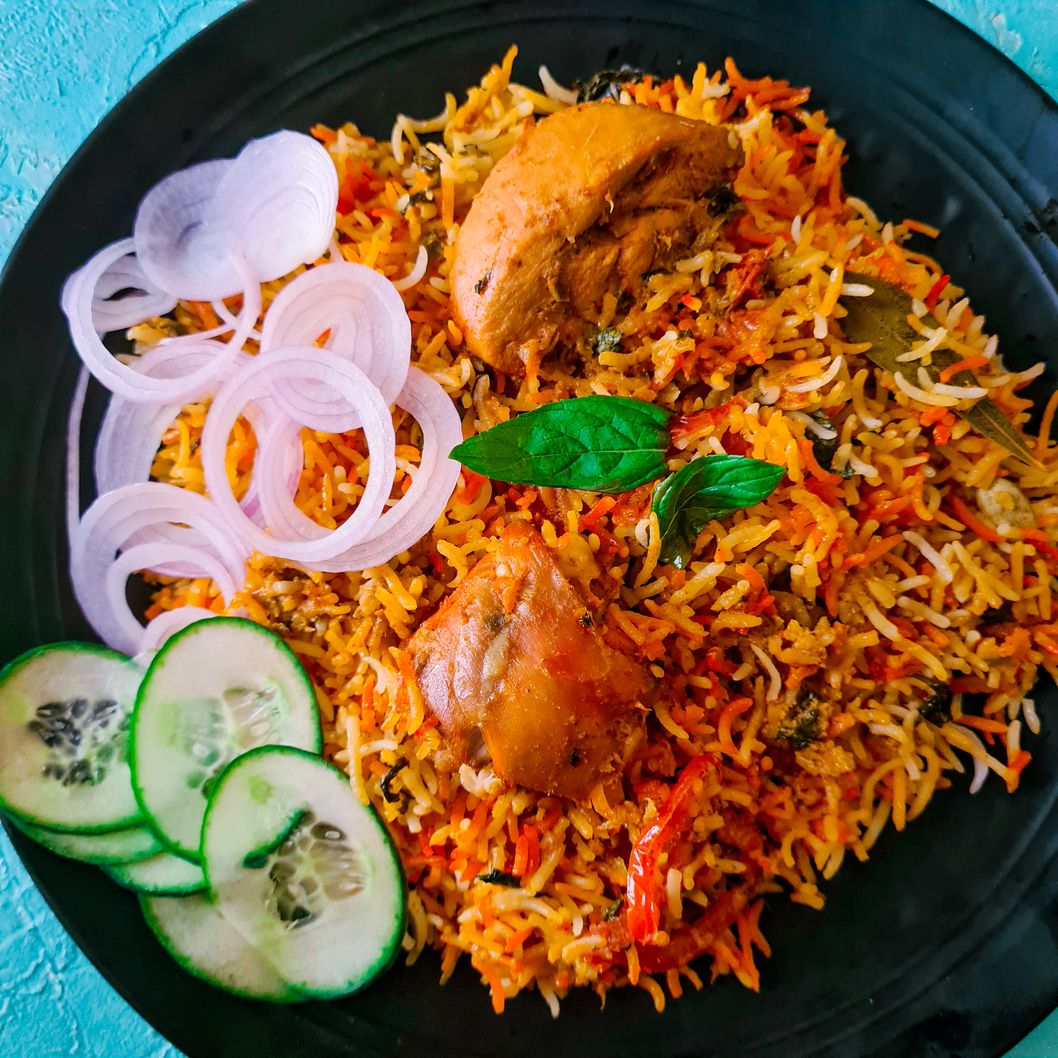
Pakistani Chicken Biryani
4.7
(69)
Your folders
Your folders
Prep Time: 20 minutes
Cook Time: 50 minutes
Total: 70 minutes
Servings: 6
Author : Wajiha
Ingredients
Export 27 ingredients for grocery delivery
Instructions
Step 1
Blend the green chilies with the yogurt to form a smooth paste and set aside.
Step 2
Add oil in a pot along with sliced onion and mint leaves. Fry them at medium flame till the onions turn golden brown. Reduce the flame to low and remove roughly about 1/2 cup of brown onions for garnish.
Step 3
Add 1/4th cup of water in the onions to stop frying. Add all the spices (except nutmeg and mace powder) and tomatoes. Saute for a minute and add 3/4th cup of water and cover the pot to allow the tomatoes soften up for 5 mins.
Step 4
Use a hand blender to blend the tomatoes and onions together.
Step 5
Now add the chicken, garlic ginger paste, dried plums, chicken cube and the yogurt chili mix. Mix everything well.
Step 6
Cover the pot and let the qorma simmer for 15 to 20 mins at medium to low flame.
Step 7
Remove the lid and check if the chicken is cooked. Turn off flame and add kewra water and mace nutmeg powder and simply mix.
Step 8
You can also remove extra oil at this point if your want
Step 9
In a large pot, boil water for the rice at high flame. Add all whole spices, vinegar, salt and bay leaves.
Step 10
Once the water starts bubbling, add in the pre-soaked basmati rice.
Step 11
Boil the rice for 5 mins and check a grain of rice. You should be able to break the grain of rice with fingers but the grain should still be hard and in-edible. That's the perfect rice for Biryani layering.
Step 12
Strain the rice in a large strainer and set aside for layer.
Step 13
Use a large pot for assembling the rice. Usually this is the pot used to boil the rice.
Step 14
Add 1/3 of the rice to layer the bottom of the pot.
Step 15
Garnish the rice with mint, chopped coriander, slices of tomatoes, 1 green chili. Sprinkle a little maze nutmeg powder.
Step 16
Add 1/2 of the chicken qorma on the rice spreading it out as evenly as possible.
Step 17
Add another 1/3 of the rice on top of qorma
Step 18
Repeat same garnish.
Step 19
Layer with the remaining chicken qorma
Step 20
Finish off with the remaining rice.
Step 21
Drizzle the rice with milk and color mix in the form of a cross.
Step 22
Garnish the top layer as well, this time including fried onions as well.
Step 23
Cover the pot with foil and then add the lid to make a strong seal.
Step 24
Place an insulator below the pot on the stove, like an old pan, a tawa or a a flat griddle pan.
Step 25
Turn on the flame at high for 5 to 6 mins, then reduce to medium low for another 10 mins.
Step 26
Remove the lid and open the foil slightly to check if you can see steam (be careful to not burn yourself. If you can see steam, that means your biryani is done. Cover the foil again and place the lid back on. Let the biryani rest for another 10 mins before serving.
Step 27
If you don't see steam, increase the flame for 2 to 3 mins.
Step 28
Serve with raita and salad.