Peppermint SoapEasy Pumpkin Spice SoapEasy Gingerbread SoapEasy Basic Beginner Soap
Your folders
Your folders
Total: 86450
Servings: 10
Ingredients
Export 6 ingredients for grocery delivery
Instructions
Step 1
Mix the lye into the water (Not the other way around!) in a recipient that can handle heat. (See safety tips below!) The mixture will heat up and become cloudy.
Step 2
Once the lye has dissolved, leave the mix to cool in an area where no kids or pets have access to it while you go measure out your oils! It will clear up as it cools down.
Step 3
Meanwhile, weigh out the olive oil and coconut oil and mix them together in a large bowl. (Make sure it's large enough to add the other ingredients and safely mix them together.)If the coconut oil is in a solid state (in cooler room temperatures), melt the coconut oil. Otherwise, there is no need to heat your oils.
Step 4
After the lye mixture has cooled enough to easily handle the container, pour the warm lye solution into the oil mixture. Mix them together gently at first.Note: You do not need to wait very long. The residual heat of the lye solution reaction can help speed the process along. I normally just have it cooling while I measure out the oils and then immediately proceed to mix everything together.
Step 5
Once the lye solution has been incorporated into the oils, you can start to blend them with an immersion blender. Be careful not to spray the mixture all over! You can do this step by hand, but it supposedly will take a very long time. (I'm not patient enough to have ever tried myself.)
Step 6
When the mixture starts to thicken and look like a thin mayonnaise (after a few minutes), you are at the stage that is called "trace." That is what you want!
Step 7
Now is the time to customize your soap and make it fun! You can add fragrances, colorants, exfoliants, etc. I use essential oils to naturally add a fragrance, but the scent doesn't last as long as synthetic fragrances.
Step 8
Pour into soap molds. Silicone loaf pans work great as a soap mold. I also have successfully used plastic kitchen containers. Some people even recycle tetra briks and other food packaging. (Avoid using metals as they may react with the lye in the soap.)
Step 9
Set aside for at least 24 hours. It will probably get warm. If it will be in a cold environment, consider covering the soap with a towel.
Step 10
After 24 hours, uncover and gently press on it to determine if you can easily unmold it. If it is too soft, wait a few more hours/days and unmold. If you are having a hard time unmolding the soap, you can freeze it for a short time to help shrink it a little and slightly harden. If you have used a loaf pan, don't wait too long to unmold the soap or it will be too hard to easily cut it into bars.
Step 11
If you've used a loaf pan, cut the soap into bars. I like the look of big, chunky square-ish bars. The nice thing about making your own, is that you can decide how you want to cut them.
Step 12
Let the soap cure/set for around a month. Separate the soaps so that each one has air circulating around it. At first, turn the soap every couple of days. This helps the soap dry out and harden evenly.
Step 13
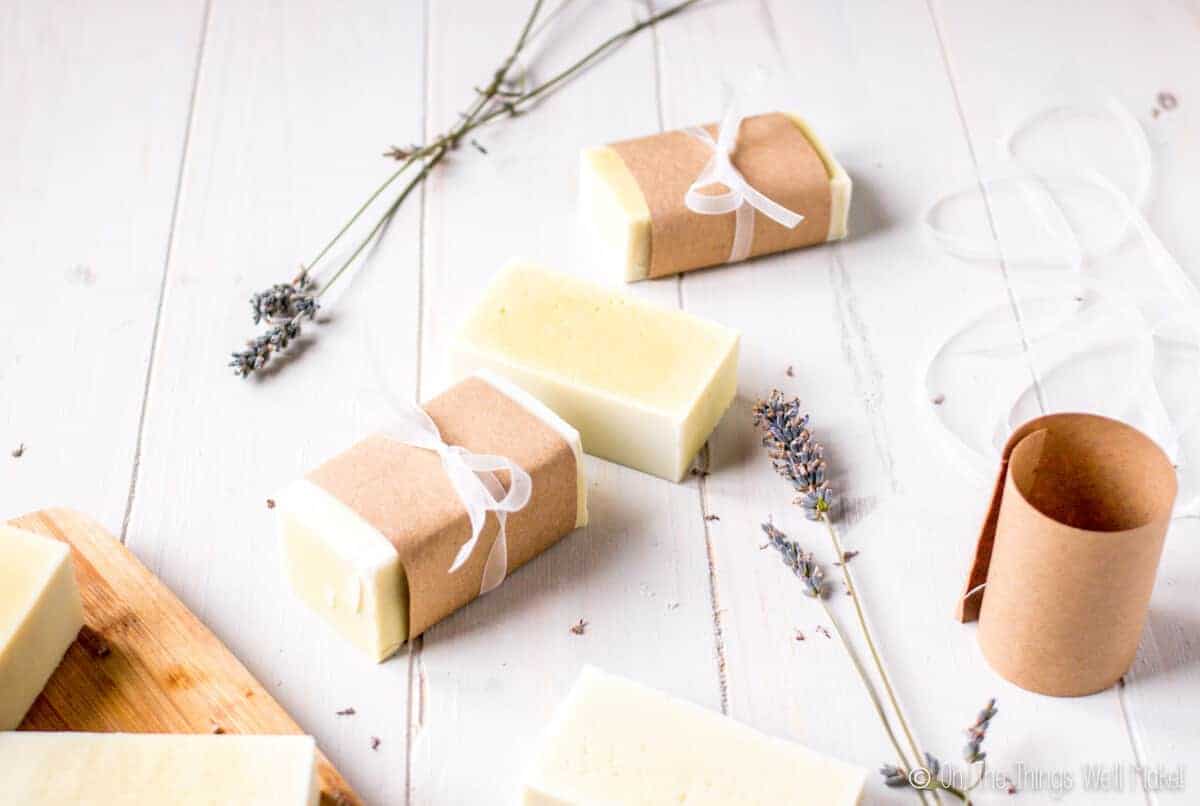
Enjoy your soap!!