Perfect Yellow Cake with Chocolate Frosting and Peanut Butter Filling
5.0
(1)
Your folders
Your folders
Servings: 10
Author : Dorothy Kern
Ingredients
Export 11 ingredients for grocery delivery
Instructions
Step 1
Preheat oven to 350°F. Grease two 8” cake rounds. Line them with parchment paper and then grease the pans again, then flour them. (See note)
Step 2
Whisk flour, baking powder, and salt in a medium bowl.
Step 3
Add melted butter to a large bowl and mix in sugar with a hand mixer for 30 seconds until thick and yellow. Add eggs one at at time, beating after each addition. Beat in vanilla bean paste.
Step 4
Add the flour mixture and buttermilk alternately, starting and ending with the flour. Don’t over mix! Divide batter among cake pans. Bake for 24-28 minutes, until a toothpick comes out clean. Cool completely before removing from pans to frost.
Step 5
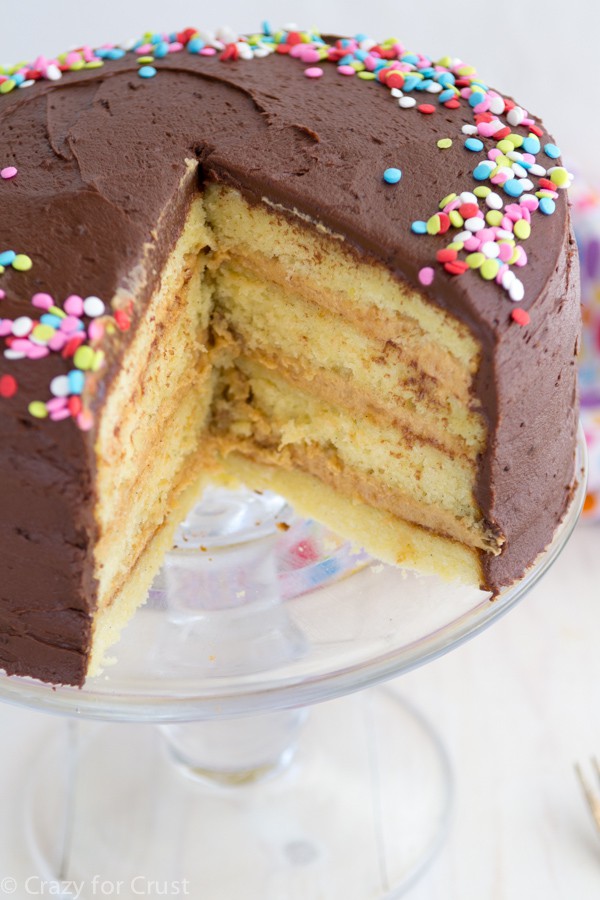
At this point, you can decide how you want to fill the cake. You can use the two layers as-is or you can torte them for a 4-layer cake. Note: if you do not torte the layers, you can cut the recipe for the peanut butter filling in half.
Step 6
Make the filling: beat peanut butter with 1 cup of powdered sugar (using a hand or a stand mixer). Add the second cup of powdered sugar and mix, the mixture will be crumbly. Add vanilla and 1/4 cup of heavy whipping cream. Mix until smooth. Add another 1/4 cup of heavy whipping cream and mix until smooth. Add the rest of the heavy whipping cream a little bit at a time and beat until the mixture becomes a frosting like texture. (You’ll notice a change - it will go from thick like a peanut butter cup to smooth like frosting during that last addition of the cream.)
Step 7
Place the bottom cake layer on serving plate. Divide your filling and fill between each layer.
Step 8
Make the frosting: mix cocoa and melted butter with a hand mixer. Add powdered sugar (1 cup at a time) and optional salt, if using. Mix between powdered sugar additions - the mixture will be clumpy. Add the vanilla and 1 ounce of the heavy whipping cream. Mix until smooth. Continue adding the heavy whipping cream until your desired thickness has formed - about 3 ounces (just over 1/4 cup).
Step 9
Use a small amount of frosting to create a “crumb coat” on the outside of the cake. This will ensure that you will not have cake crumbs in your final frosting layer. The crumb coat just uses a very small amount of frosting and is very thin all over the cake. Then frost as normal using the remaining frosting. Top with sprinkles, if desired.
Step 10
The cake is best served at room temperature but I would store it in the refrigerator if you make it ahead of time, then let it come to room temperature before serving. Can be made up to 1 day ahead.
Top similar recipes
Curated for youYour folders
 314 views
Yellow Cake with Chocolate Frosting
grandbaby-cakes.com
4.1
(122)
30 minutes
Your folders
 71 views
Yellow Cake with Chocolate Frosting
grandbaby-cakes.com
Your folders

 1038 views
Yellow Cake with chocolate frosting
tastesbetterfromscratch.com
4.7
(122)
30 minutes
Your folders
 76 views
Yellow Cake with Chocolate Frosting
sugarandsparrow.com
4.8
(11)
30 minutes
Your folders

 57 views
Yellow Cake With Chocolate Frosting
cooking.nytimes.com
5.0
(20)
45 minutes
Your folders
 296 views
Chocolate Cake With Peanut Butter F...
bunnyswarmoven.net
5.0
(25)
60 minutes
Your folders
 55 views
Chocolate Cake With Peanut Butter F...
bunnyswarmoven.net
Your folders

 941 views
Yellow Sheet Cake With Chocolate Fr...
cooking.nytimes.com
4.0
(918)
Your folders

 209 views
Yellow Layer Cake With Chocolate Fr...
cooking.nytimes.com
4.0
(197)
Your folders
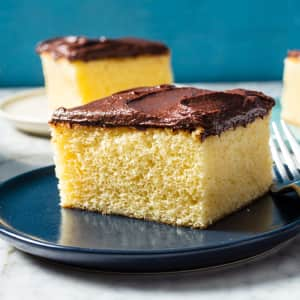
 122 views
Yellow Sheet Cake with Chocolate Fr...
americastestkitchen.com
4.5
(104)
Your folders

 492 views
Chocolate Cake Bites with Peanut Bu...
twosisterscrafting.com
4.0
(2)
20 minutes
Your folders
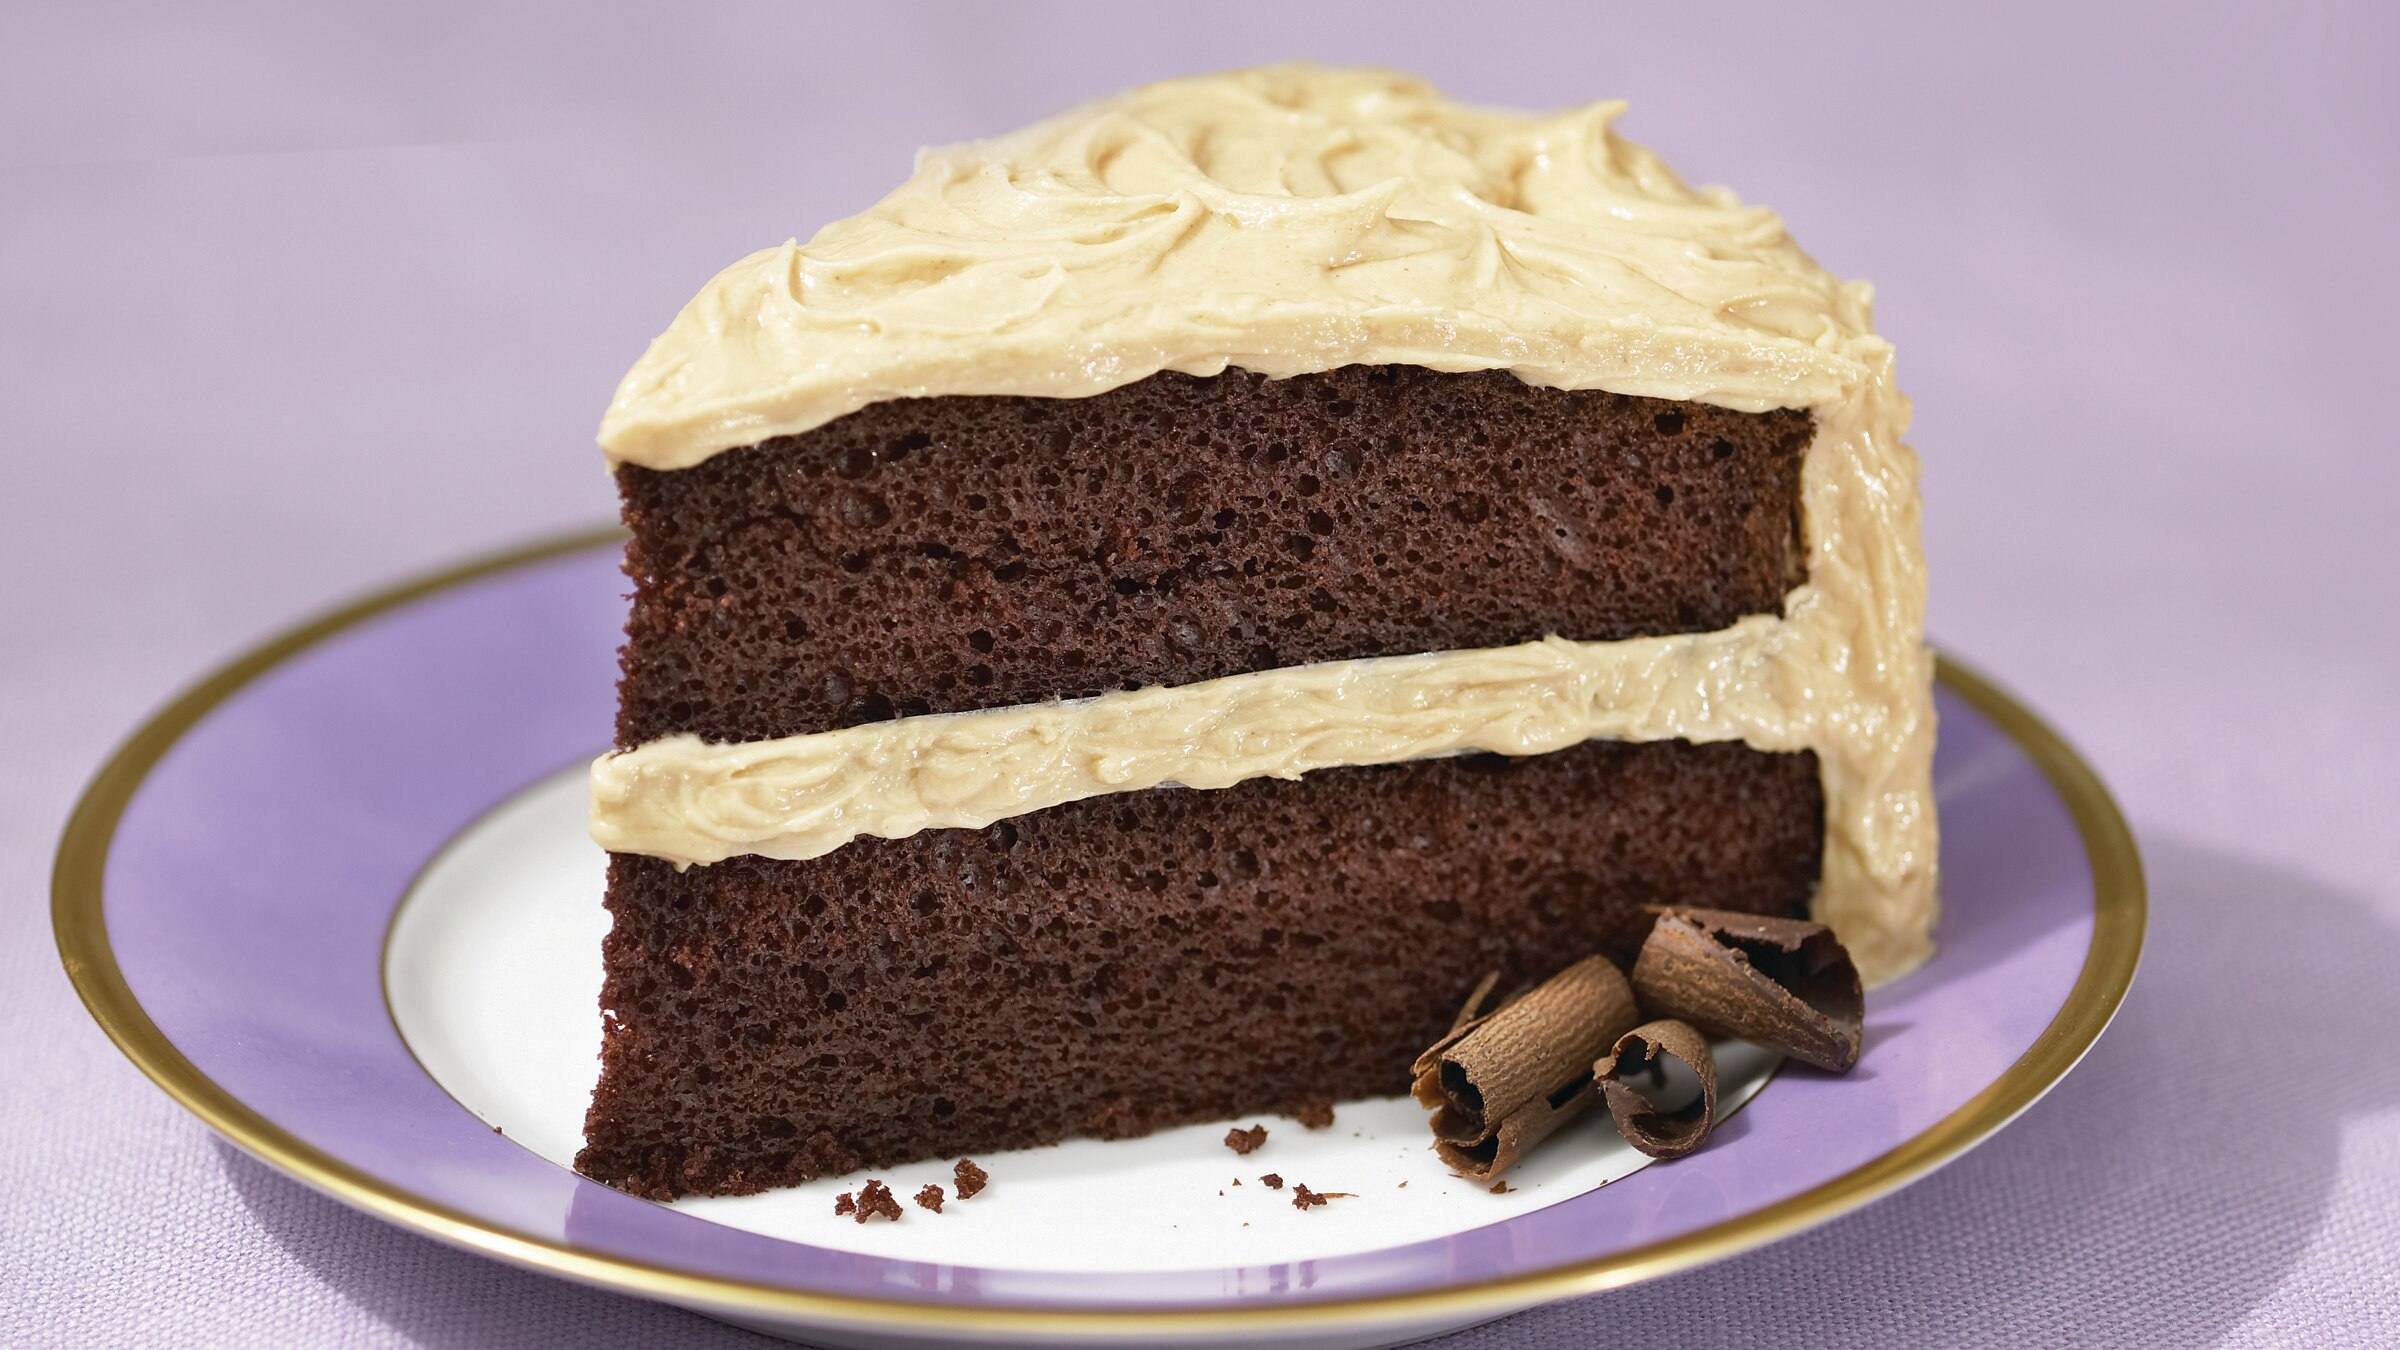
 151 views
Chocolate Cake with Fluffy Peanut B...
hellmanns.com
40 minutes
Your folders
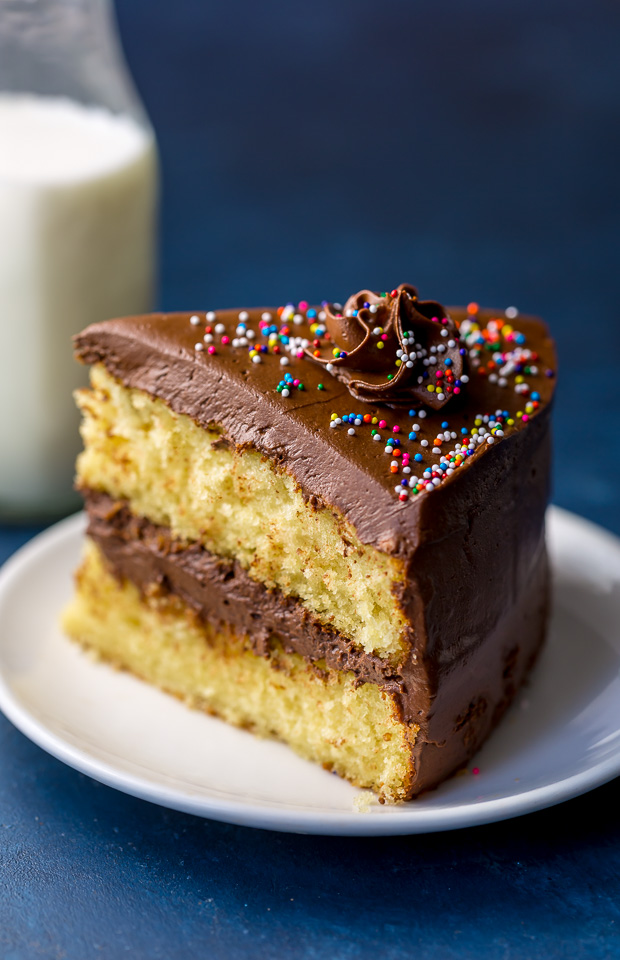
 393 views
Classic Yellow Cake with Creamy Cho...
bakerbynature.com
5.0
(6)
25 minutes
Your folders

 548 views
Yellow Sheet Cake with Chocolate Fu...
sallysbakingaddiction.com
4.9
(22)
22 minutes
Your folders

 203 views
Yellow Sheet Cake with Chocolate Fu...
sallysbakingaddiction.com
4.9
(41)
22 minutes
Your folders

 271 views
Yellow Vanilla Cake With Chocolate ...
domesticgothess.com
5.0
(2)
40 minutes
Your folders
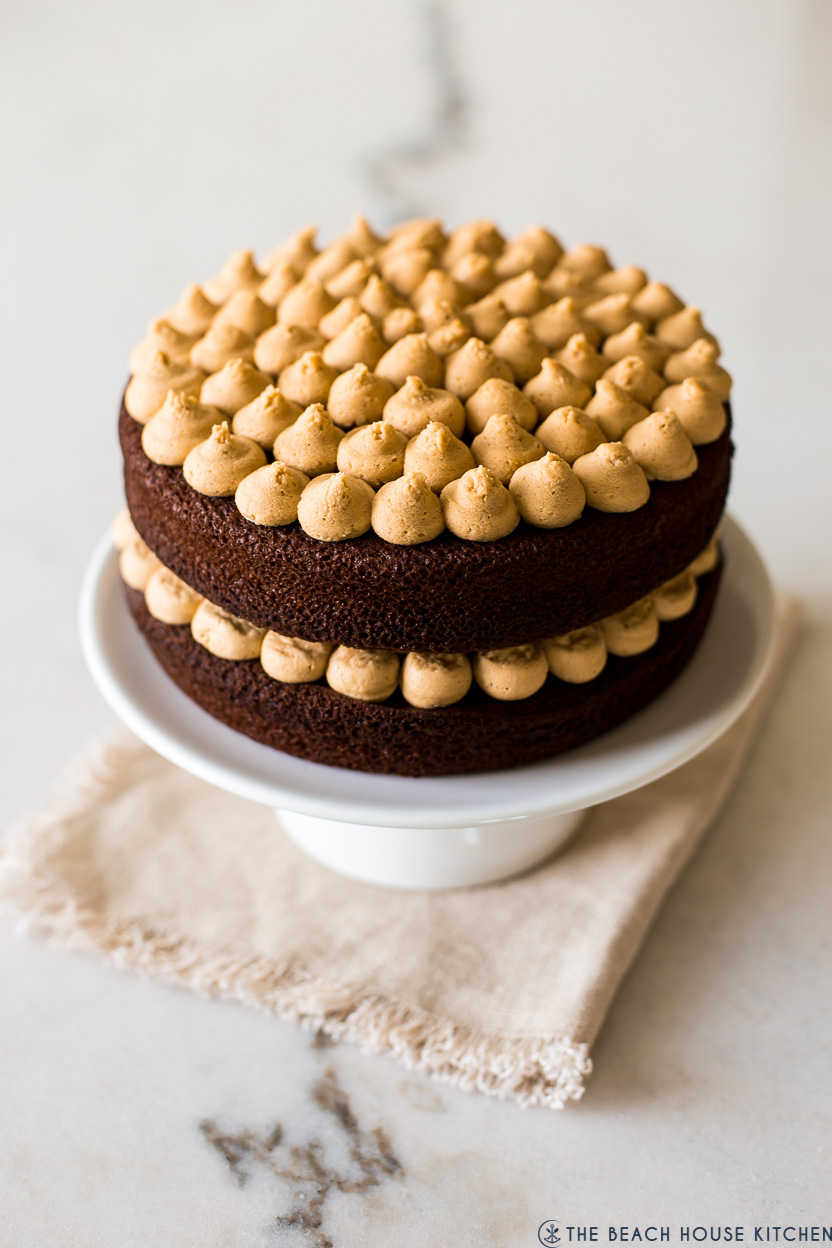
 146 views
Chocolate Layer Cake with Creamy Pe...
thebeachhousekitchen.com
5.0
(6)
35 minutes
Your folders
 329 views
Banana-Chocolate Chip Cake with Pea...
bonappetit.com
4.3
(125)
Your folders
 261 views
Banana Chocolate Chip Cake with Pea...
handletheheat.com
4.7
(33)
40 minutes