Quick Russian Dill Pickles
5.0
(10)
Your folders
Your folders
Prep Time: 5 minutes
Total: 2885 minutes
Servings: 10
Ingredients
Export 5 ingredients for grocery delivery
Instructions
Step 1
Boil 4 cups of water and dissolve 1.5 tablespoons of sea salt in the water. Set aside to cool.
Step 2
Wash the cucumbers. Optionally: trim the ends off. I don't usually do that.
Step 3
Peel the garlic. Cut bigger garlic cloves in half.
Step 4
If using, cut about 2 inches off the fresh horseradish root (about 60 g). Peel using a potato peeler. Cut into small pieces similar to the size of garlic cloves.
Step 5
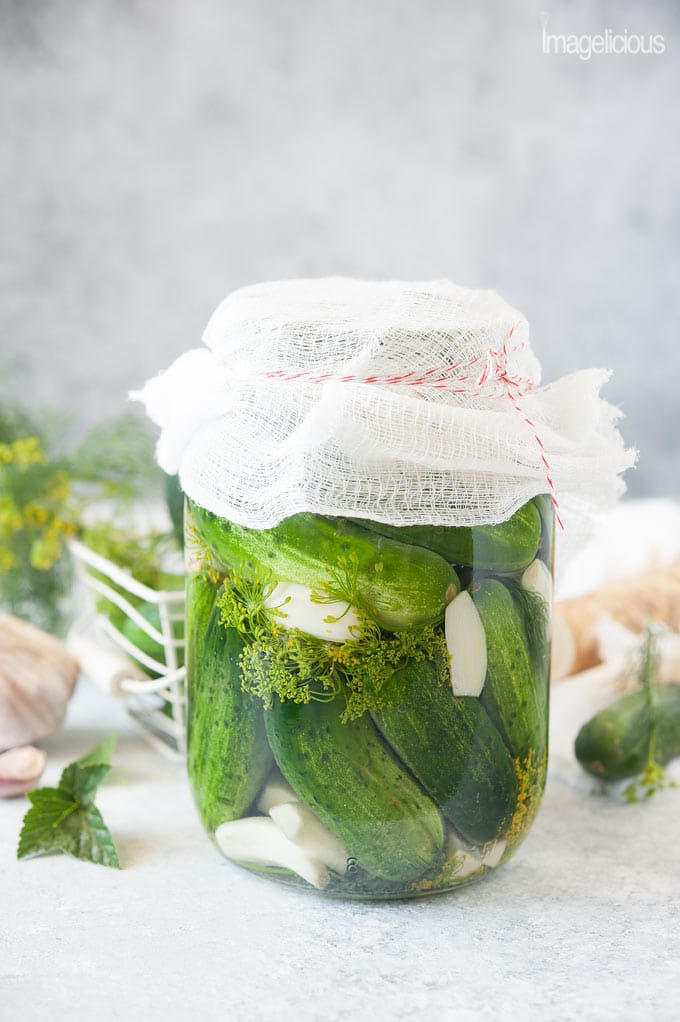
In a clean 1.5 litre jar, lay a couple flowering dill heads, a couple black currant leaves, if using, drop a few pieces of garlic and horseradish. Add the cucumbers standing vertically.
Step 6
Add a couple more flowering dills, black currant leaves, a few pieces of garlic and horseradish and another layer of cucumbers.
Step 7
Scatter the rest of the cloves and horseradish around and cover the cucumbers with the remaining flowering dill and black currant leaves.
Step 8
Pour the brine over the cucumbers making sure that all the ingredients are fully covered.
Step 9
Place the jar on a plate to catch spills if the jar is very full.Cover the jar with cheesecloth and keep on the counter to ferment for 48 hours.
Step 10
After 48 hours the brine will start turning cloudy and there will be a bit of foam at the top. It is exactly what you are looking for. It does NOT mean that there's anything wrong. The pickles are NOT spoiled.
Step 11
The Low-Salted Quick Russian Dill Pickles are now ready to eat. Cover the jar with a lid and keep in the fridge for 7 to 10 days.