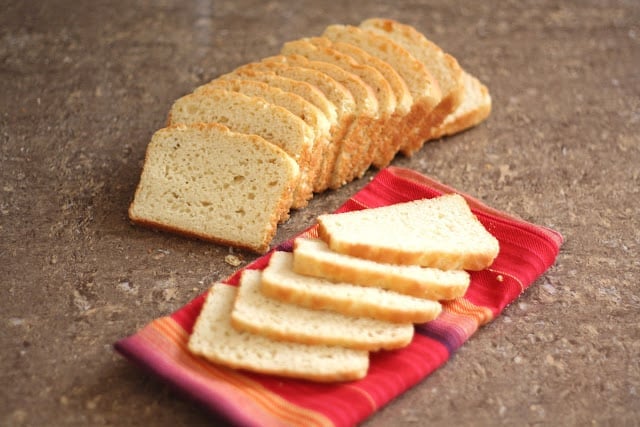
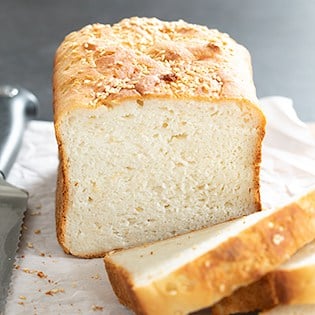
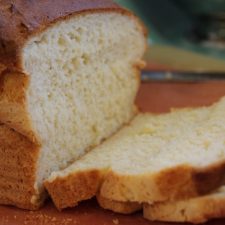
Tender High Rising Gluten Free Sandwich Bread
4.8
(33)
Your folders
Your folders
Prep Time: 30 minutes
Cook Time: 25 minutes
Total: 235 minutes
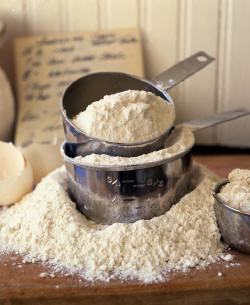
Ingredients
Export 8 ingredients for grocery delivery
Instructions
Step 1
Combine all of the dry ingredients in a mixing bowl, or the bowl of your stand mixer. I've made this using both the KitchenAid and a hand mixer. Both methods work well, admittedly the stand mixer is much easier.
Step 2
While using an electric mixer (hand mixer, or stand), slowly pour in the warm milk. The mixture will be mostly crumbs at first, but once all the milk is added, it will begin to come together. Add 4 tablespoons of softened butter and beat until thoroughly blended.
Step 3
Add the eggs, one at a time. Beat the mixture after each egg is added, until it is thoroughly integrated before adding the next one. Once you’ve added all the eggs, beat the mixture at high speed for 3 minutes. This adds air to the thick batter, which helps take the place of the missing gluten as far as structure is concerned. It will create a much fluffier loaf of bread, similar to store bought varieties.
Step 4
At the end of 3 minutes, the batter will look like thick, heavy buttercream icing: smooth and silky. It should not look at all like a typical yeast dough. The dough will be very sticky, and feel a bit gritty if you rub some between your fingers. Scrape the sides of the mixing bowl and leave the batter right in the bowl to rise for the first time.
Step 5
Cover the bowl with a light towel or loose plastic wrap and let the thick batter rise for 90 minutes. This batter might not completely double in size, but it will puff up considerably.
Step 6
Lightly grease a 8 1/2” x 4 1/2” loaf pan with butter. Gently stir the batter down. Scrape it into the prepared pan. The dough should still be wet and not at all knead-able. It reminds me of a very thick brownie batter at this stage. Using dampened fingers, or a wet spatula or bowl scraper; smooth the top, eliminating as many wrinkles, bubbles or creases as possible. The smoother your loaf is before this final rise, the smoother it will be once it’s baked. After the dough rises and bakes, the top of the loaf will look very much the same as it looks when you finish smoothing it out. It is worth a minute or two of effort to make it as smooth as possible now.
Step 7
Loosely cover the pan with a towel (or a lightly greased piece of plastic wrap) and let the dough rise until it barely crowns over the rim of the pan. This will take 45 – 60 minutes, or possibly as much as 90 minutes, depending on the temperature of your kitchen. Towards the end of the rising time, preheat the oven to 350°F.
Step 8
This dough is fairly delicate. Try not to touch it again at all. Any finger touch or bump will be visible after the bread is baked.
Step 9
Bake the bread for 25 minutes, until golden brown. Remove it from the oven, and using hotpads for both hands, immediately turn it out of the pan onto a rack. Brush with a very small amount of melted butter to help keep the crust soft, and add flavor. Slice when completely cool. Enjoy!
Top similar recipes
Curated for youYour folders
 196 views
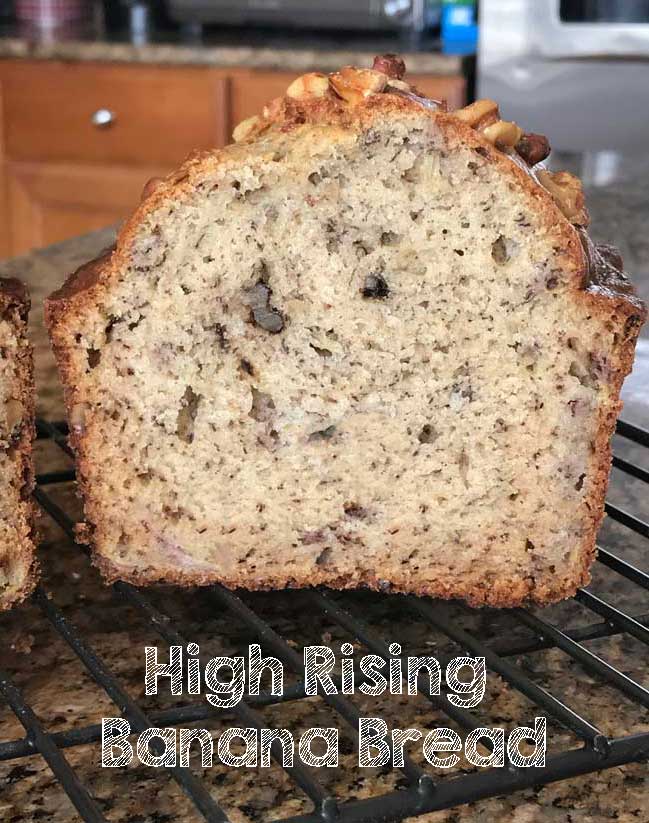
High Rising Banana Bread
cookiemadness.net
60 minutes
Your folders
 548 views
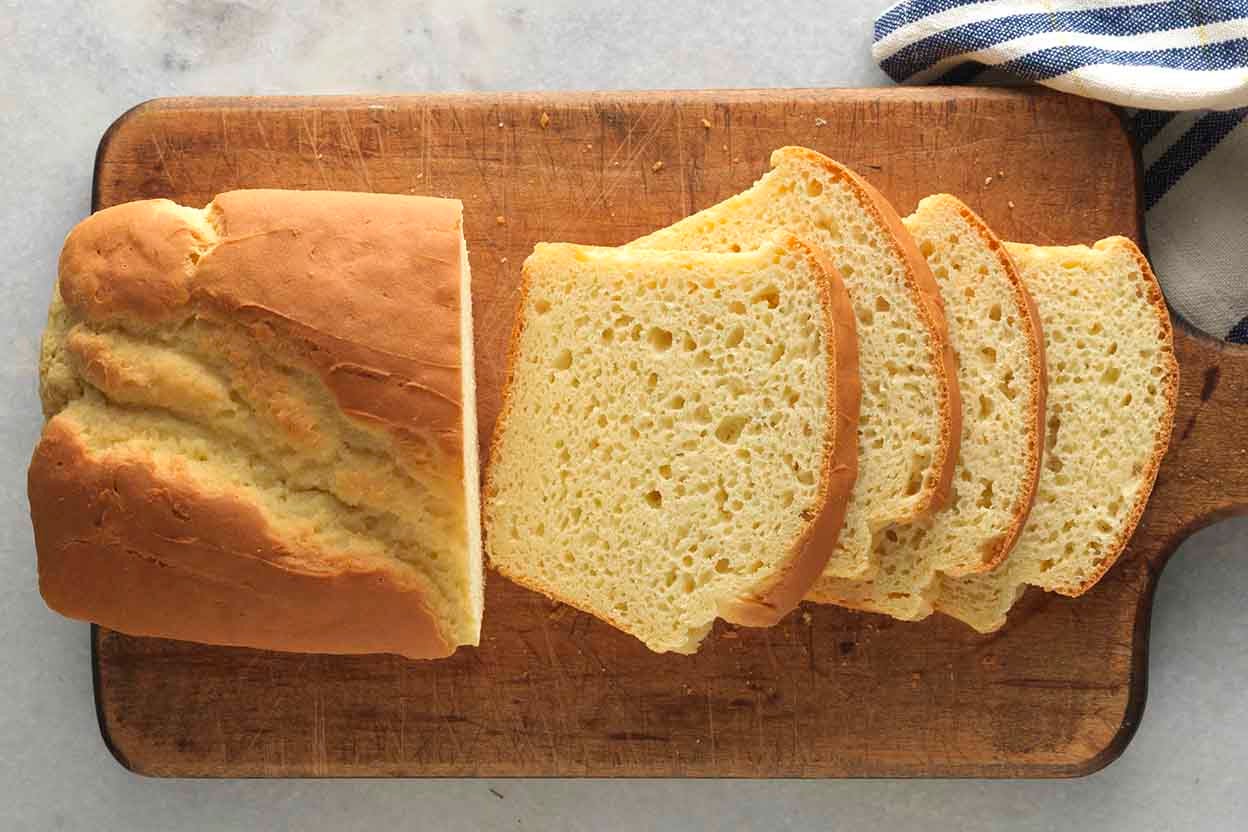
Gluten-Free Sandwich Bread
kingarthurbaking.com
4.4
(271)
42 minutes
Your folders
 264 views
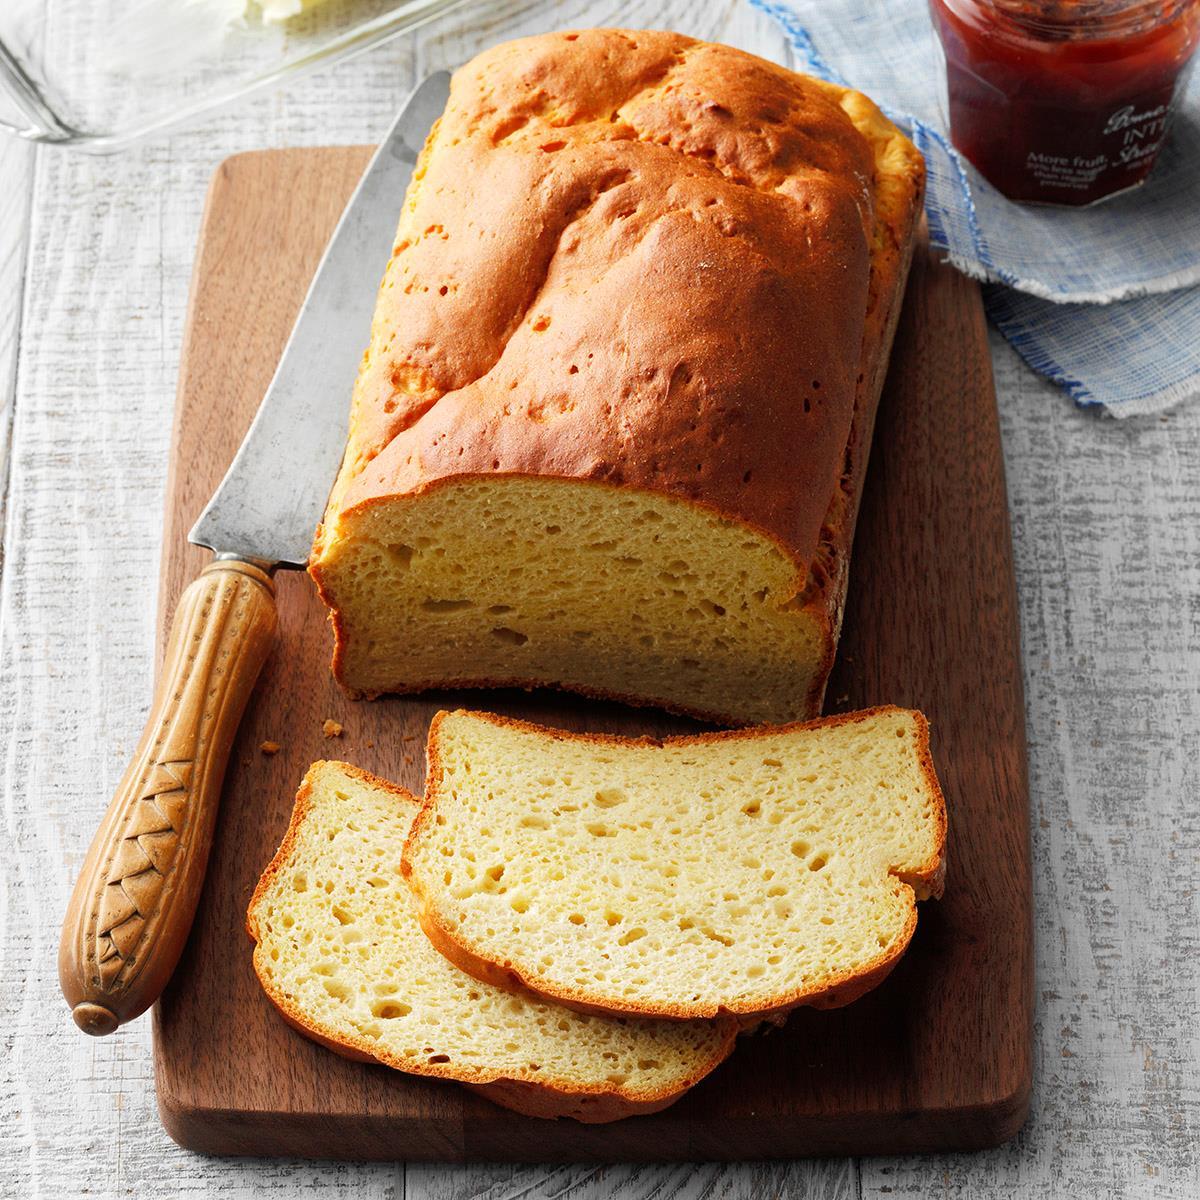
Gluten-Free Sandwich Bread
tasteofhome.com
4.0
(24)
30 minutes
Your folders
 208 views
Gluten Free Self-Rising Flour
gfreefoodie.com
3.9
(93)
Your folders
 565 views
Easy Gluten Free White Sandwich Bre...
glutenfreeonashoestring.com
5.0
(243)
60 minutes
Your folders
 442 views
Gluten-Free Sourdough Sandwich Brea...
kingarthurbaking.com
42 minutes
Your folders
 98 views
Easy Gluten Free Sandwich Bread
theloopywhisk.com
Your folders
 77 views
Gluten Free Sandwich Bread Recipe
letthemeatgfcake.com
4.8
(31)
50 minutes
Your folders
 98 views
Easy Gluten Free Sandwich Bread
theloopywhisk.com
4.9
(87)
60 minutes
Your folders
 227 views
Soft Gluten Free Sandwich Bread Rec...
alittleinsanity.com
4.7
(71)
45 minutes
Your folders
 222 views
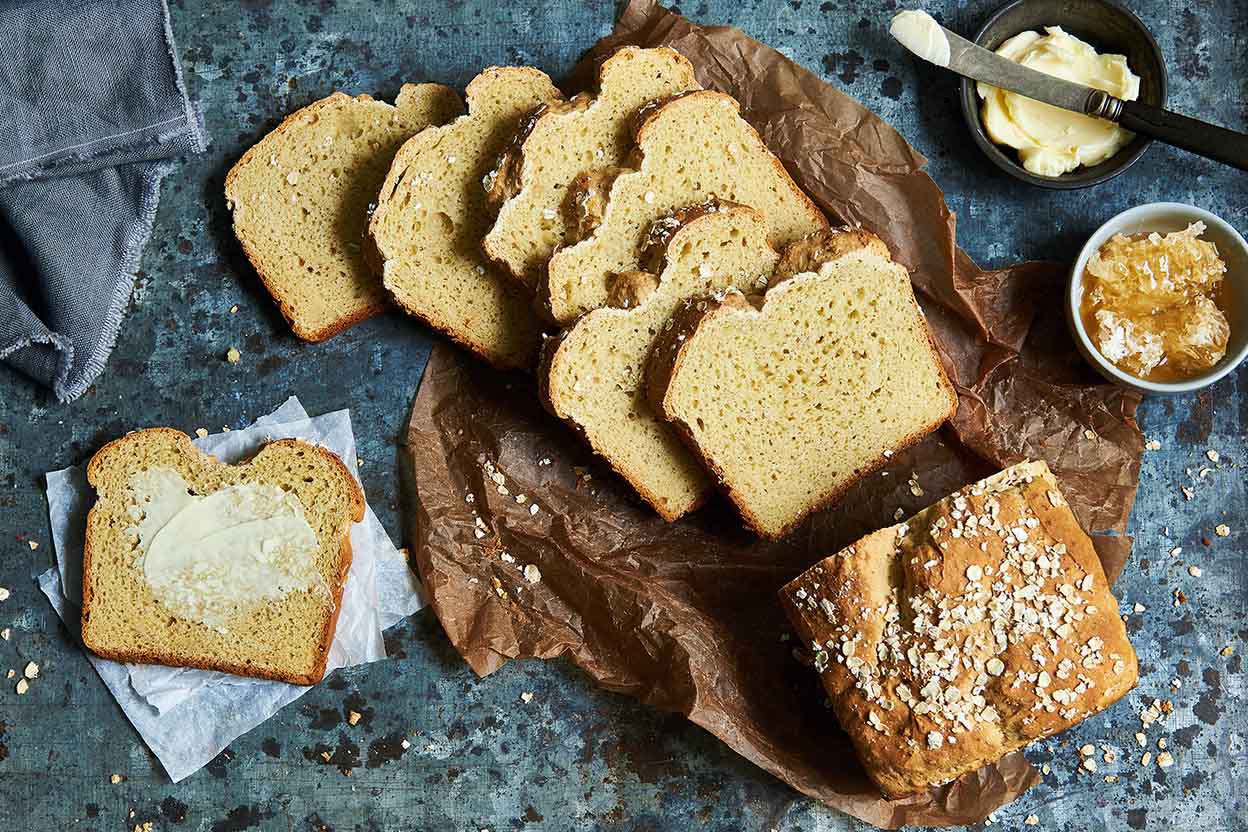
Gluten-Free Honey-Oat Sandwich Brea...
kingarthurbaking.com
4.0
(19)
50 minutes
Your folders
 404 views
Gluten-Free Toasting and Sandwich B...
kingarthurbaking.com
4.4
(28)
50 minutes
Your folders
 118 views
Homemade Sandwich Bread (Super Tend...
fullofplants.com
5.0
(7)
30 minutes
Your folders
 295 views
Microwave Sandwich Bread (Low-Carb,...
theharvestskillet.com
4 minutes
Your folders
 443 views
Salt-Rising Bread
cooking.nytimes.com
4.0
(227)
Your folders
 130 views
Gluten-Free Sweetheart Sandwich
flippindelicious.com
4.9
(7)
1 minutes
Your folders
 146 views
Gluten-free bread
bbc.co.uk
3.4
(18)
1 hours
Your folders
 165 views
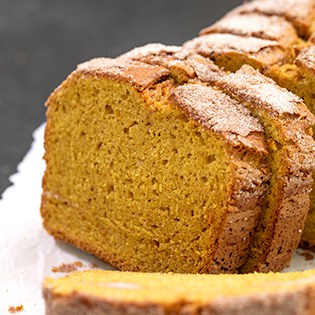
Easy Gluten Free Pumpkin Bread Reci...
glutenfreeonashoestring.com
5.0
(22)
50 minutes
Your folders
 183 views
Tender, Fluffy Gluten-Free Berry Sc...
mamagourmand.com
4.8
(6)
17 minutes