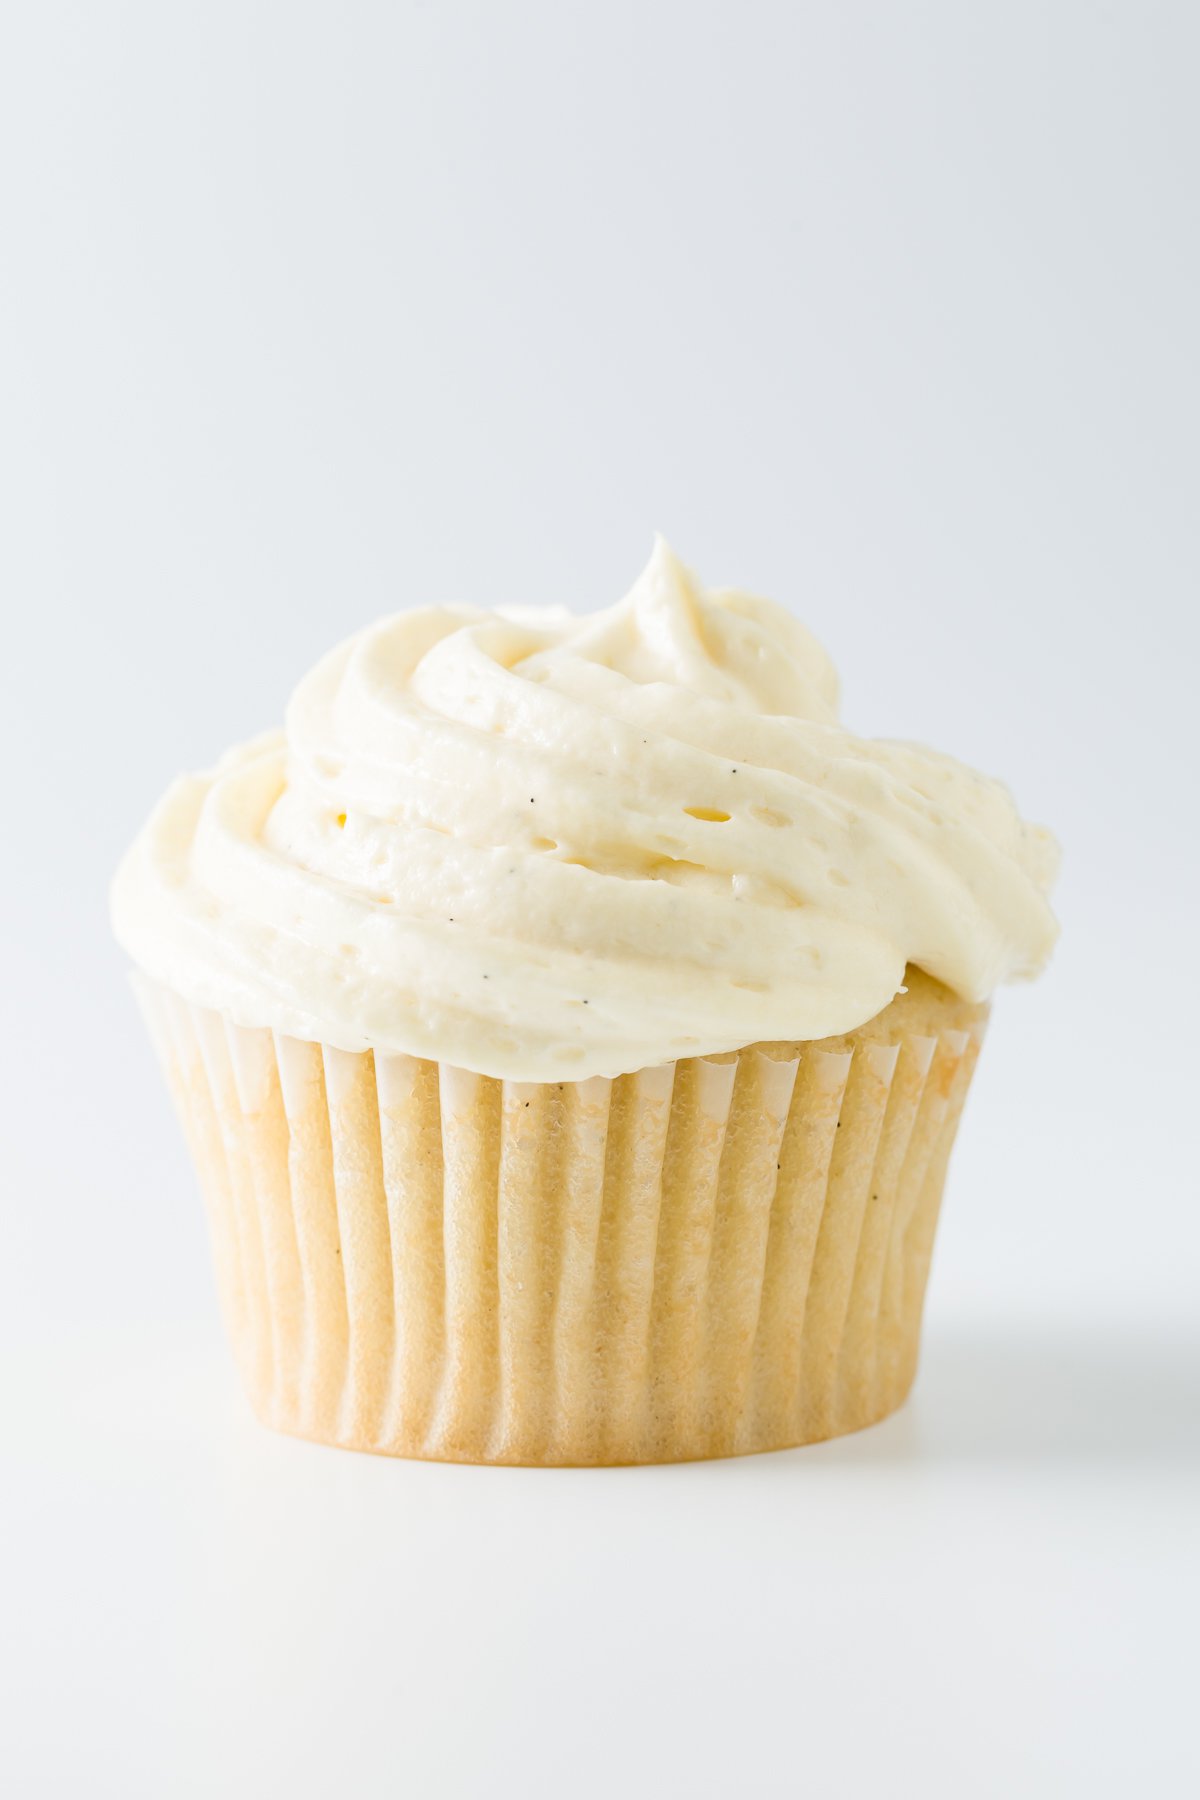
The Best Vanilla Cupcakes
4.2
(456)
Your folders
Your folders
Prep Time: 15 minutes
Cook Time: 14 minutes
Total: 29 minutes
Servings: 16
Cost: $4.38 /serving
Author : Stefani

Ingredients
Export 9 ingredients for grocery delivery
Instructions
Step 1
Preheat oven to 350 F (175 C).
Step 2
In a small bowl, combine sugar and seeds from the vanilla bean. (For those of you who are new to using vanilla beans, watch the video in this post to see how it's done.)
Step 3
Using the back of a spoon, move around the bowl and apply pressure to break up any clumps of seeds and to better infuse the vanilla flavor into the sugar. Set aside.
Step 4
In a medium-sized mixing bowl or bowl of a stand mixer, mix together cake flour, baking powder, baking soda, and salt.
Step 5
Add the vanilla bean sugar and mix until well combined.
Step 6
Add butter and mix on medium-low speed for three minutes. Because there is so little butter, you'll end up with a very fine crumb texture.
Step 7
In a small mixing bowl, whisk together eggs, sour cream, oil, and vanilla extract until smooth.
Step 8
Add the egg mixture to the flour mixture and beat on medium speed until just combined.
Step 9
Slowly add milk and mix on low speed until just combined. The batter will be liquid. (Don't worry, you didn't do anything wrong. It's supposed to be that way.)
Step 10
Fill cupcake liners just over 1/2 full.
Step 11
Bake for 14 minutes and then test to see if they are done. They are done when a toothpick comes out without wet batter stuck to it. The cupcakes should appear white with specks of vanilla bean. They should not turn a golden brown. If they are not done, test again in two minutes. If they are still not done, test again in another two minutes.
Step 12
When the cupcakes are done, remove them immediately from the tins and leave them on a cooling rack (or just on your counter if you don't own a cooling rack) to cool.