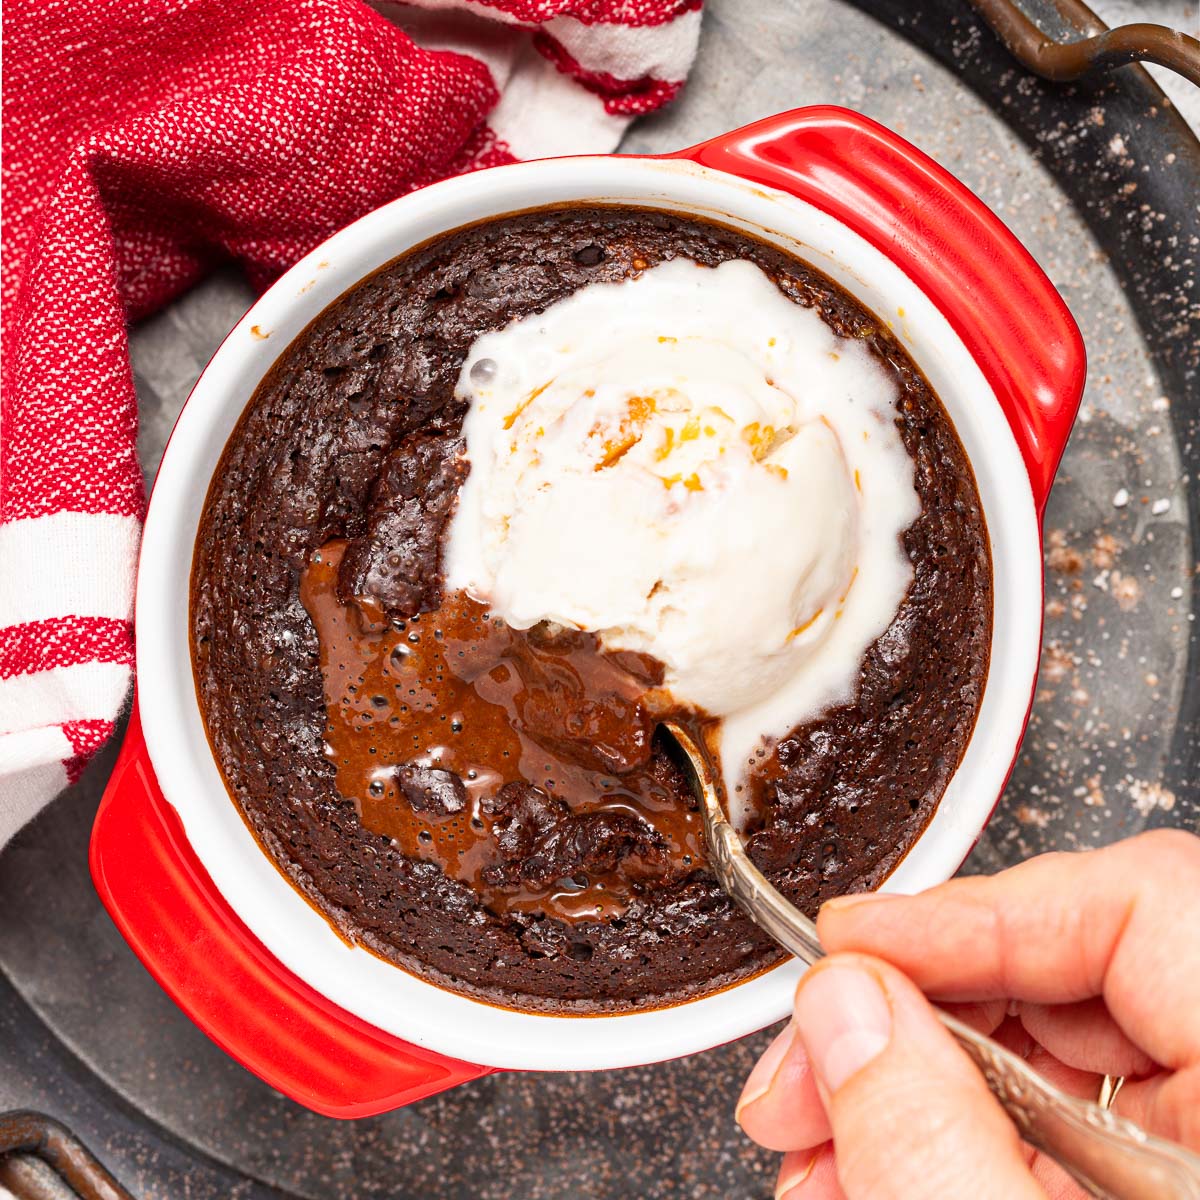
Vegan Lava Cakes
5.0
(5)
Your folders
Your folders
Prep Time: 5 minutes
Cook Time: 13 minutes
Total: 18 minutes
Servings: 2
Author : Melanie McDonald
Ingredients
Export 6 ingredients for grocery delivery
Instructions
Step 1
Preheat oven to 390 °F (198 °C) and have 2 small ovenproof dishes that will hold about 175mls (6 oz or ¾ cup) ready on a small baking tray. I use mini cocottes but ramekins are fine.
Step 2
If using the optional peanut butter or chocolate (or both!) add them to the middle of both dishes.
Step 3
Then to a medium bowl add the flour, cocoa powder, sugar, baking powder and salt. Mix them together well.
Step 4
Pour in the milk and whisk really well to combine. It's easier with a whisk than a spoon as there is a lot of milk and the cocoa tends to want to float on the top. It's normal for the batter to be very thin.
Step 5
Divide the batter evenly between the 2 ovenproof dishes, over the top of the optional peanut butter/chocolate.
Step 6
Bake for about 13 to 14 mins or until they have puffed up and look set but if you wobble them or poke the centre really gently you can feel they are still liquidy. They will continue to cook a little once removed them from the oven. If you leave them in too long the centre will set.
Step 7
Serve immediately.
Step 8
Important - It's very easy to overcook these cakes in the microwave. Cooking them in the oven is much easier. Remember that all microwaves cook at different strengths so the first time you make these it will be a case of trial and error. If you want to try, here's how:
Step 9
Follow all of the above instructions but use microwave-safe containers. I recommend going up in size a little as the cake swells up more in the microwave than in the oven. Keep an eye on them through the door while they cook in case they start to overflow.
Step 10
Cook on full power for about 40 seconds. Check after 40 seconds. You need them to be puffed up and set around the edges with a wobbly/liquidy middle. If you poke the centre gently with your finger it should have a bit of a crust on the top but feel liquidy underneath.
Step 11
If they aren't at that stage, cook again in 5 second increments checking each time until done. Keep in mind that they will continue to cook once you remove them from the microwave so it's better to undercook rather than go too far.