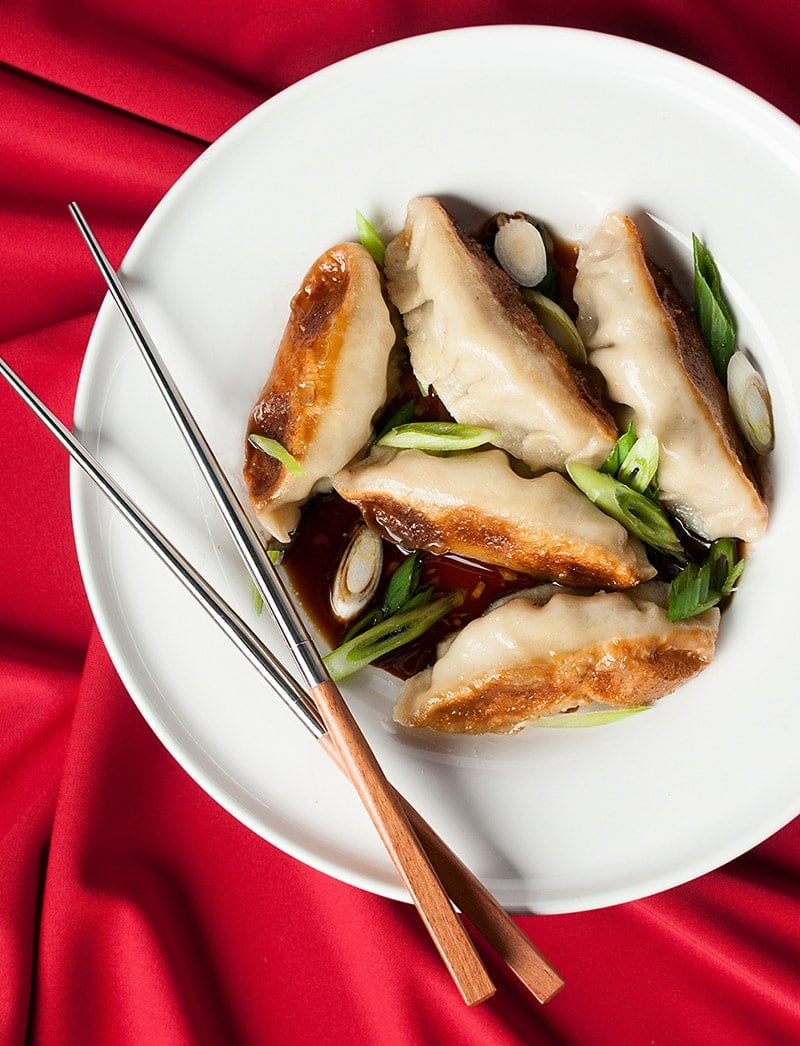
Venison Potstickers, Chinese Dumplings
5.0
(18)
Your folders
Your folders
Prep Time: 45 minutes
Cook Time: 20 minutes
Total: 65 minutes
Servings: 4
Ingredients
Export 15 ingredients for grocery delivery
Instructions
Step 1
Mix all the ingredients for the sauce together and let sit at room temperature while you make everything else.
Step 2
In a large bowl, mix all the ingredients for the filling together until well combined. It is better to let the mixture sit for 30 minutes to overnight, but you can use it right away.
Step 3
Fill each wrapper with a scant tablespoon of filling. Close each one into a half-moon, making sure there are no air pockets. It is probable that some of the filling will squirt out the ends as you seal them -- this is normal, just drop it back into the bowl with the rest of the filling. If the wrappers are dry, get a little bowl of cool water and wet half of each wrapper circle with the water; this will help it seal tightly.
Step 4
Pleat the edges: I usually start from the center and do 3 pleats on the left of the dumpling, then another 3 on the right of the dumpling, As you make the pleats, settle the dumpling on your work surface so it sits flat. You will need this flat surface to get a nice crispy bottom to your potsticker. Set each finished dumpling on a baking sheet lined with either parchment or a little semolina flour or corn meal.
Step 5
To cook your potstickers, get a large, non-stick frying pan out and heat about 2 to 3 tablespoons of vegetable oil (I use peanut) over medium-high heat. When the oil is hot, about a minute or two, lay the potstickers down in one layer; they can touch each other. Fry like this 1 to 2 minutes, until the bottoms are browned.
Step 6
Add enough water to come up about 1/4 inch. The pan will sputter and spit, so have a lid ready. Turn the heat down to medium, cover the pan and cook for 6 minutes. After 6 minutes, move the lid partway off the pan to let steam escape. Cook 2 more minutes, then remove the lid entirely. You will soon hear the cooking change from boiling to sizzling -- that's your cue they are done. Serve immediately.
Step 7
Put the flour in a large bowl and make a well in the center. Boil some water, turn off the heat and pour in a healthy 3/4 cup of the water into the well you've made in the flour (when I mean "healthy" I mean to err on more water, not less). Stir the mixture with a fork until it gets shaggy, then knead with your hands (the dough will not be too hot to handle) for a few minutes, until it is smooth and elastic. Put the dough in a plastic bag and let sit on the counter for at least 30 minutes and up to 2 hours.
Step 8
Roll the dough into a thick snake and cut it in half, then in half again. Put the three pieces you are not using back in the plastic bag.
Step 9
Roll the snake you are working with until it is about 1-inch thick. Cut it into 8 disks. Use your hands to return each disk to a nice cylinder. If the dough is tacky, dredge it lightly in a little flour.
Step 10
Open your tortilla press. Put the cylinder between two pieces of plastic or wax paper (I use sheets cut from a freezer bag) and squash it with the tortilla press. Move the circle of dough to your work surface and do the other 8 pieces of dough.
Step 11
Now use your little dowel to roll out the outer edges of each circle. You want to keep an area about the size of a nickel at the center thick, so hold the wrapper here while you flatten the edges out with the dowel. Do this while constantly rotating the wrapper. It does not matter if the wrapper is perfectly circular; just try your best.
Step 12
Once you have your 8 wrappers, fill them and pleat as above. Continue with another 8 wrappers at a time until you finish.